ServiceNow
Learn how to connect ServiceNow to Opal.
With Opal, you can create audit tickets in ServiceNow for your engineers' access requests, link access requests to existing ServiceNow tickets, and propagate access using ServiceNow tickets.
See the guide to ticket propagation for more detail, and follow this guide to configure your ServiceNow integration.
1. Create a ServiceNow service user
To enable the ServiceNow integration, Opal requires the administrator of your ServiceNow instance to create a service user.
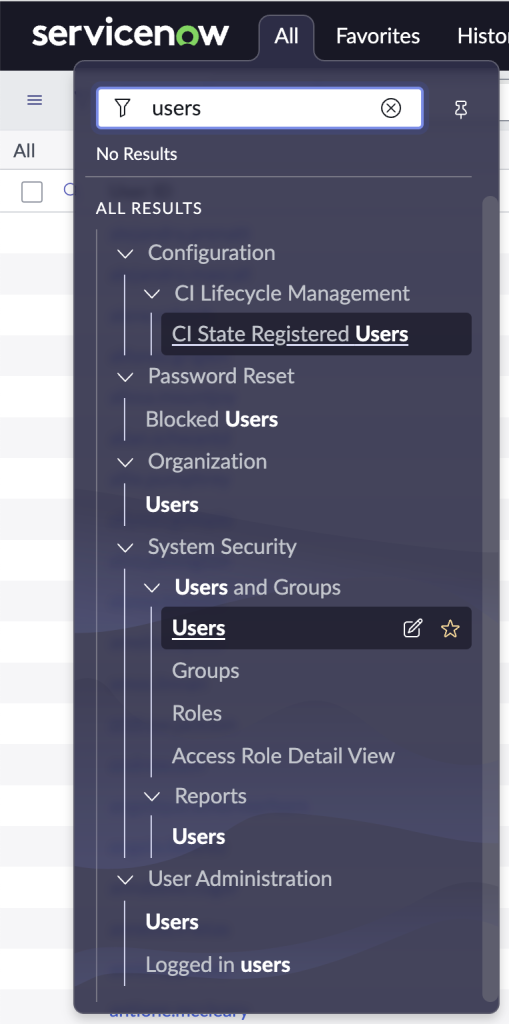
In ServiceNow, go to the Users section by clicking All, then select Users and Groups > Users.
Select the Web service access only checkbox.

At minimum, the service user needs catalog_admin and sn_request_write roles, available via the ITSM Roles plugin, to create and update entries in the requests (sc_request) and items (sc_req_item) tables.
You'll need to save their User ID and password to create the ServiceNow integration in Opal.
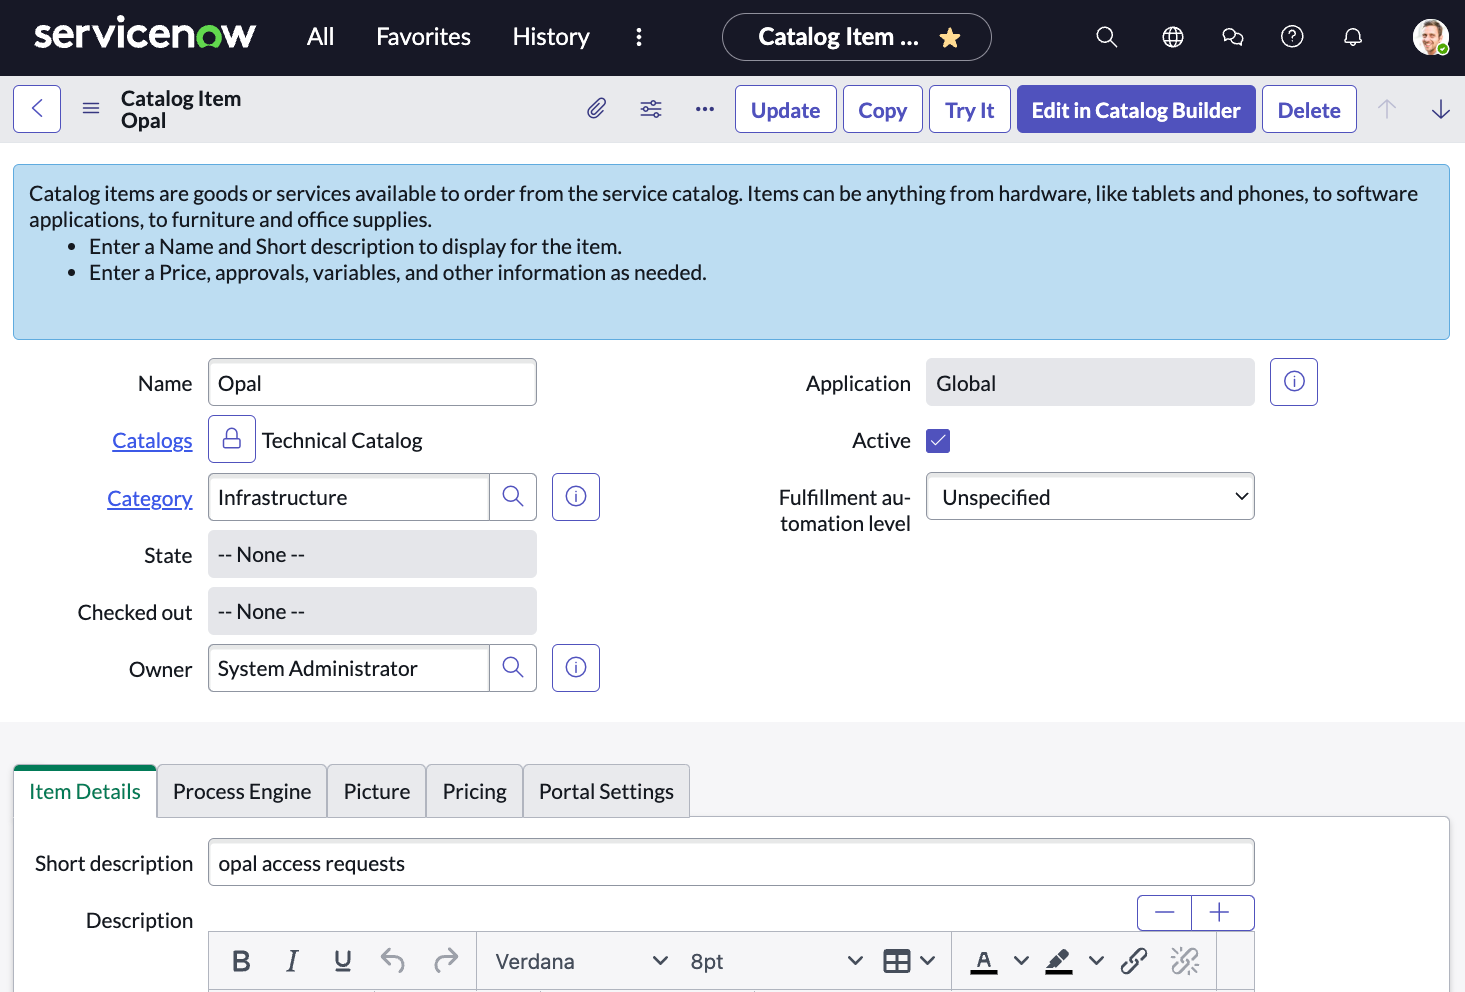
2. Create a catalog item for Opal
Create a catalog item under any catalog to bucket Opal requests. A request will be made for this catalog item for every request made in Opal. The state of the request will also reflect the approval state of the Opal request.
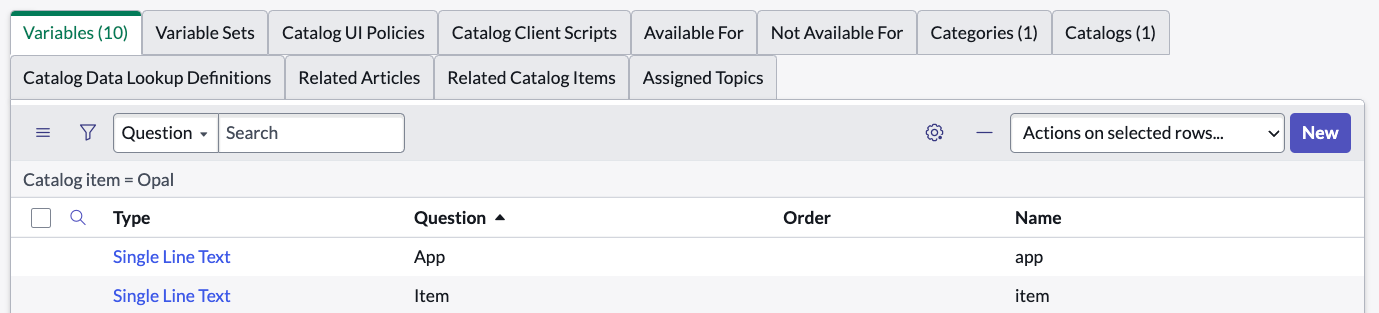
Optionally, you may add variables associated with this catalog item, and Opal will post the relevant metadata about the access request. Any or all of these variables can be added:
| Variable Name | Description |
|---|---|
reason | The reason for which the user requested the item |
app | The app for the group or resource requested |
requested_duration | The duration of the request in minutes |
item_type | Either RESOURCE or GROUP |
role | The role for which the item was requested |
requester | The email of the requester |
requester_user | The Sys ID of the ServiceNow user who made the request |
requested_for | The email of the user for whom the request was made |
requested_for_user | The Sys ID of the ServiceNow user for whom the request was made (empty if not found) |
item | The name of the item requested |
item_id | The Opal ID of the item requested |
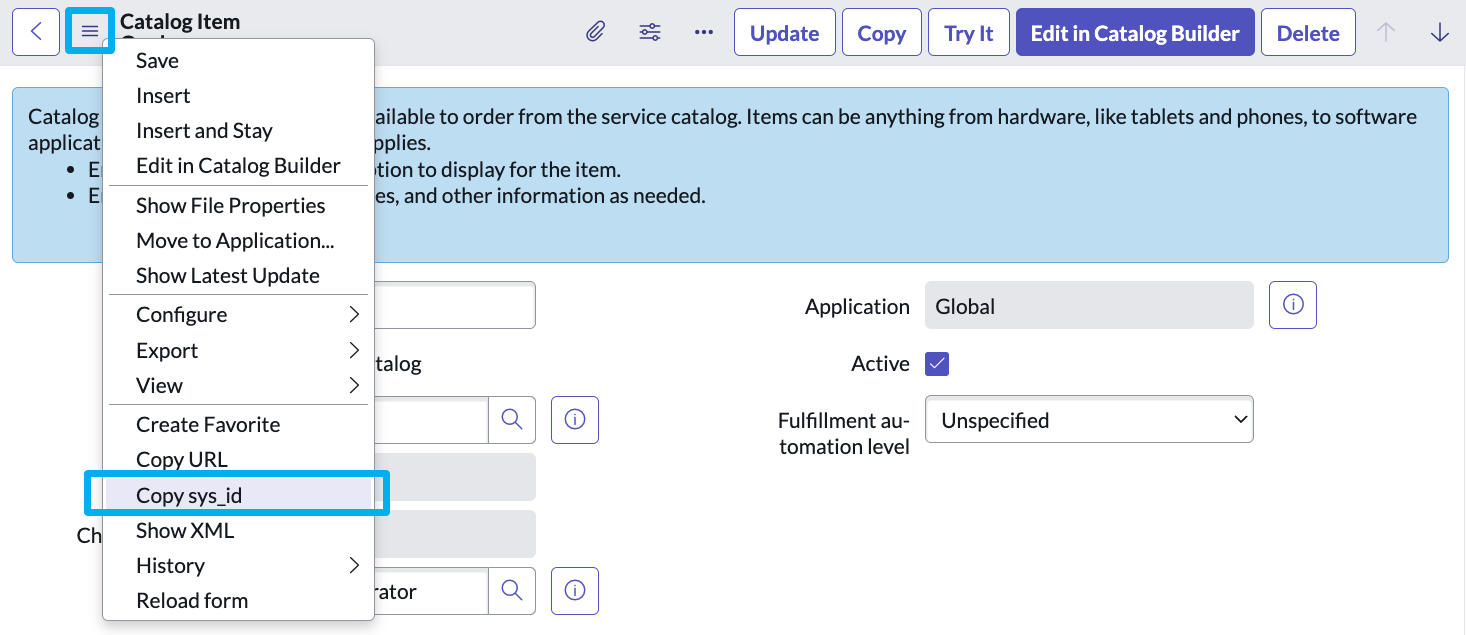
Once created, you will need to provide the Sys ID of the catalog item to Opal during setup. You can copy the Sys ID from this dropdown:
3. Create an OAuth application
To allow Opal to authenticate with your ServiceNow instance to perform automated API operations, create an OAuth application by going to System OAuth > Application Registry. Click New and proceed to "Create an OAuth API endpoint for external clients".
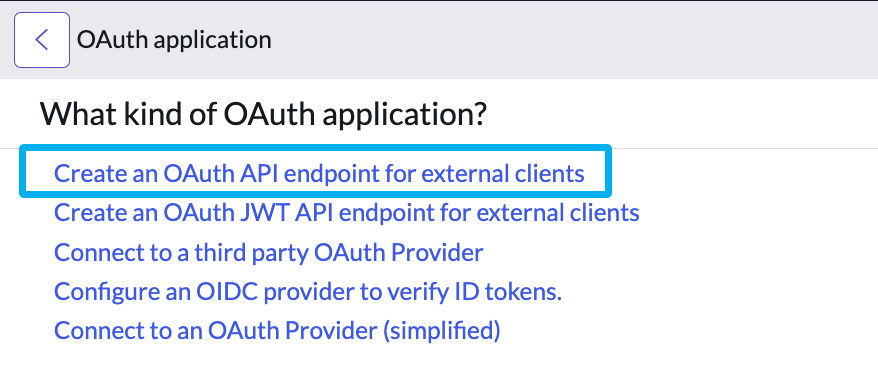
The fields on this application can be customized to your liking. Just be sure to record down the Client ID and Client Secret for creating the integration in Opal in the next step.
4. Add your ServiceNow credentials to Opal
To enable the ServiceNow integration, go to the Configuration > Settings panel in Opal. Click Productivity Integrations, then select ServiceNow and enter the information created from the previous step. You need your ServiceNow hostname, Sys ID from step 2, username and password of the service account from step 1, and Client ID and Client Secret from step 3.
See the guide to ticketing providers to learn about how to use the integration. You can create audit tickets on every request, reference existing tickets, or propagate access using tickets.
Request behavior
Opal's integration with ServiceNow will create a request (REQ) to mirror each request in Opal. Each request will have a requested item (RITM) for each item in the Opal request. In this example, we requested two items in Opal, which reflects as this request in ServiceNow:
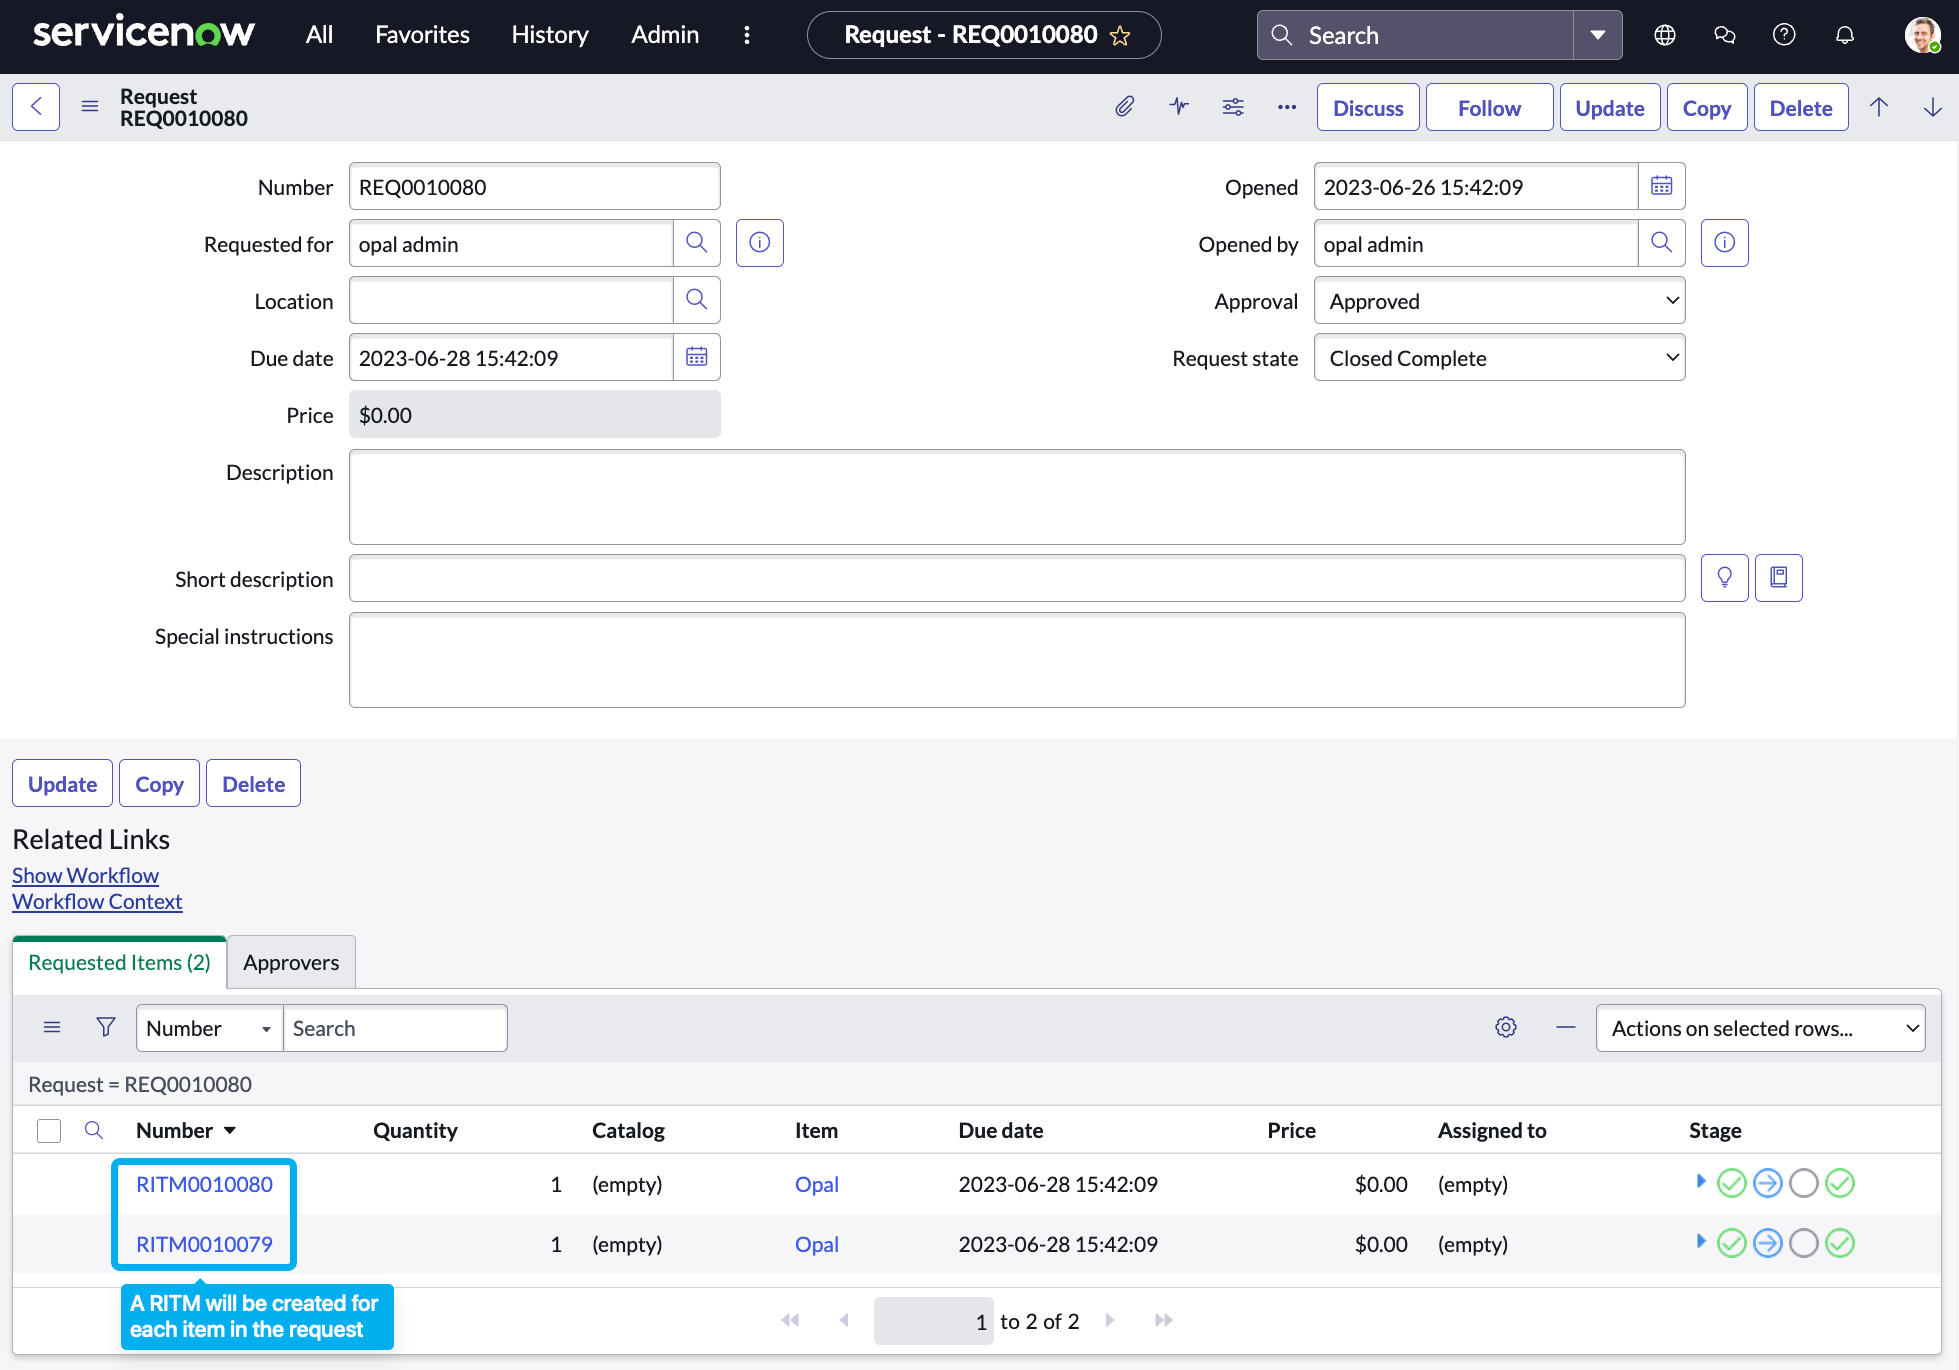
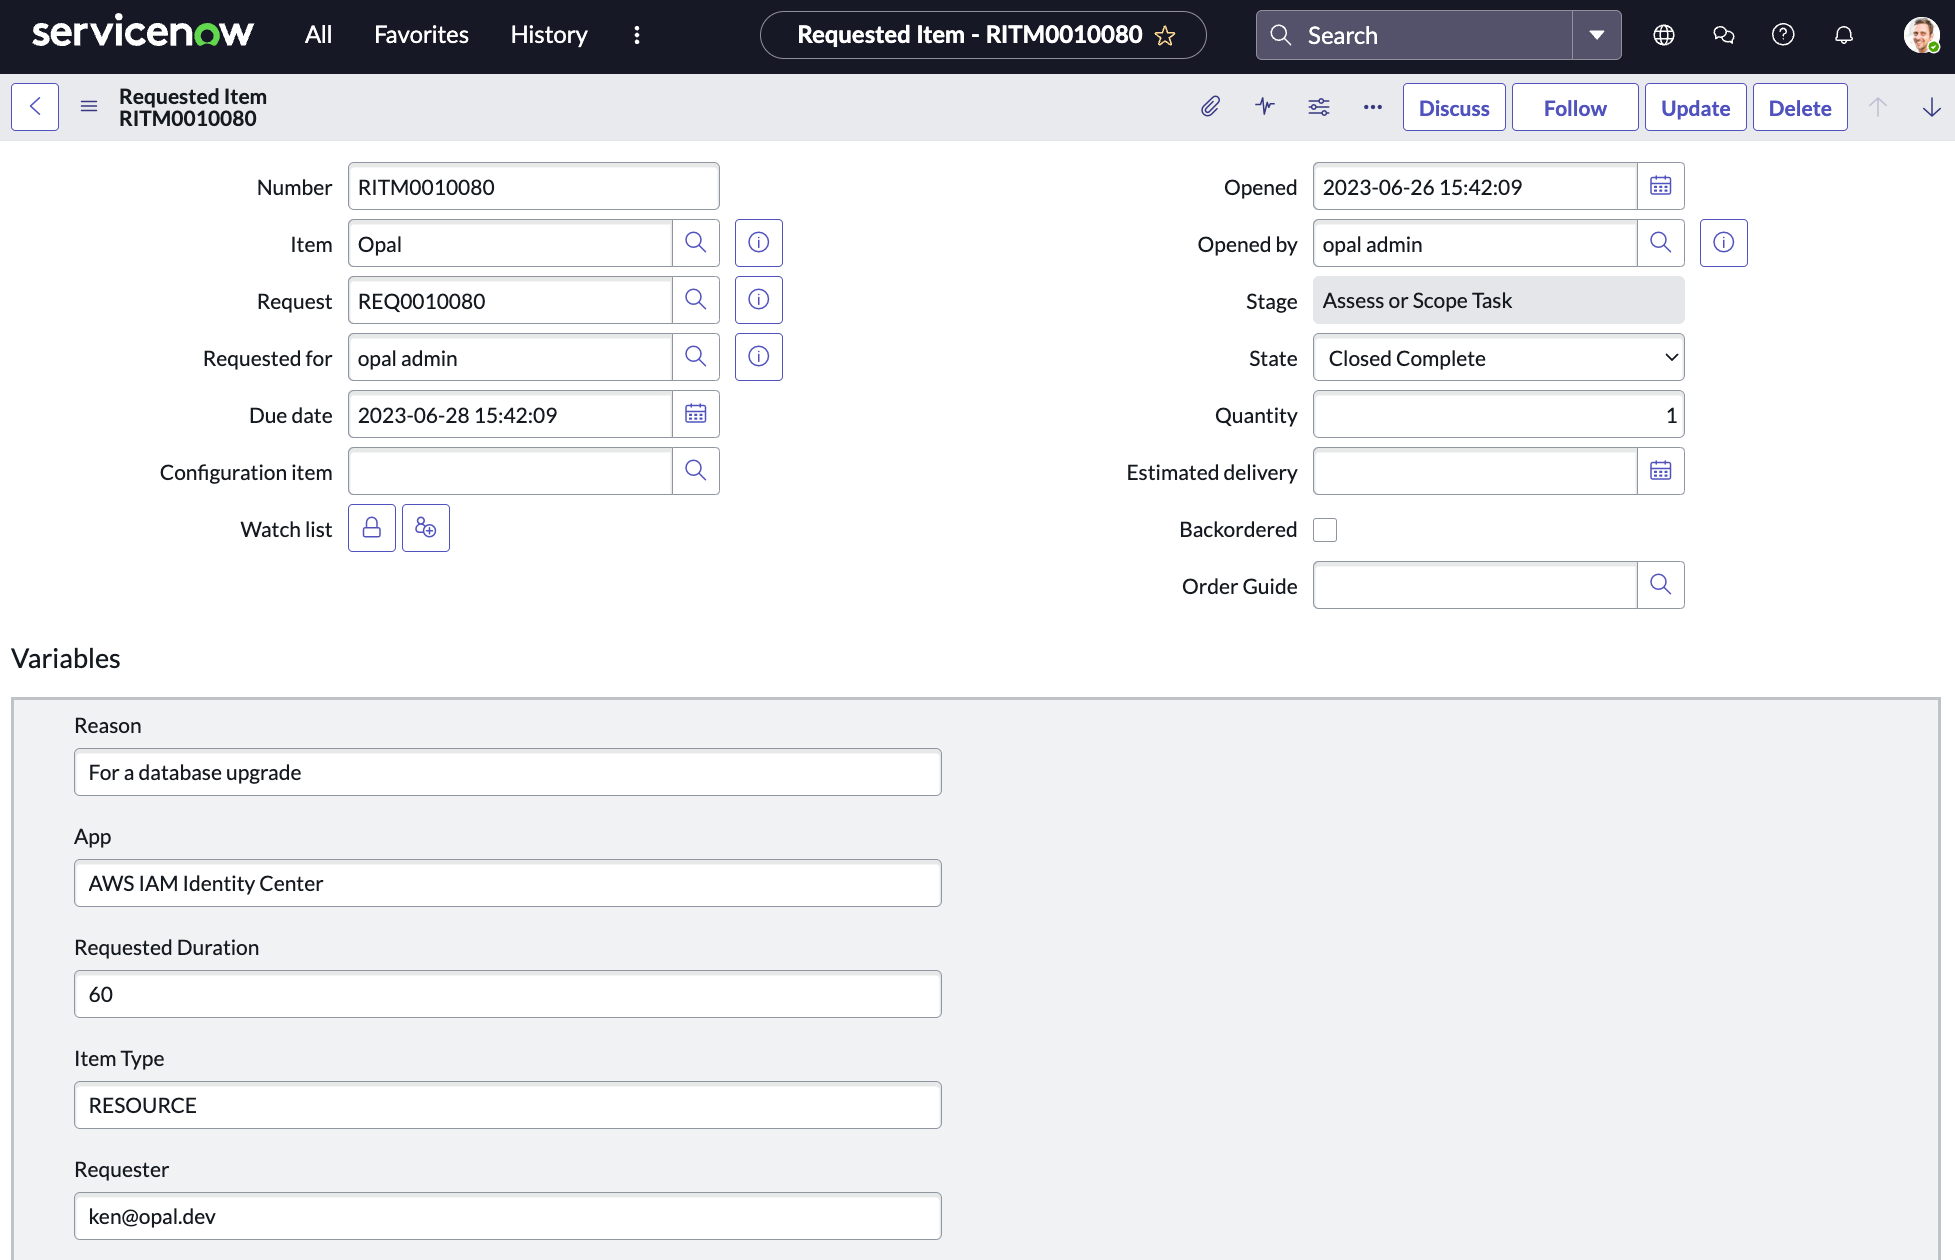
Each requested item will be made for the "Opal" catalog item created during setup, and variables for the item will be attached to give more description to the item requested.
Updated 8 months ago