Resource admins
Owners can be used as Admins of a resource, allowing you to decentralize access management. Both Owners and Opal Admins can manage the configuration of approval and additional security settings from a resource’s Edit page.Allow requests
To allow end users to request access to your resource, expand the Request configuration section and ensure Allow requests is enabled. See Security settings to learn how to further customize request flows.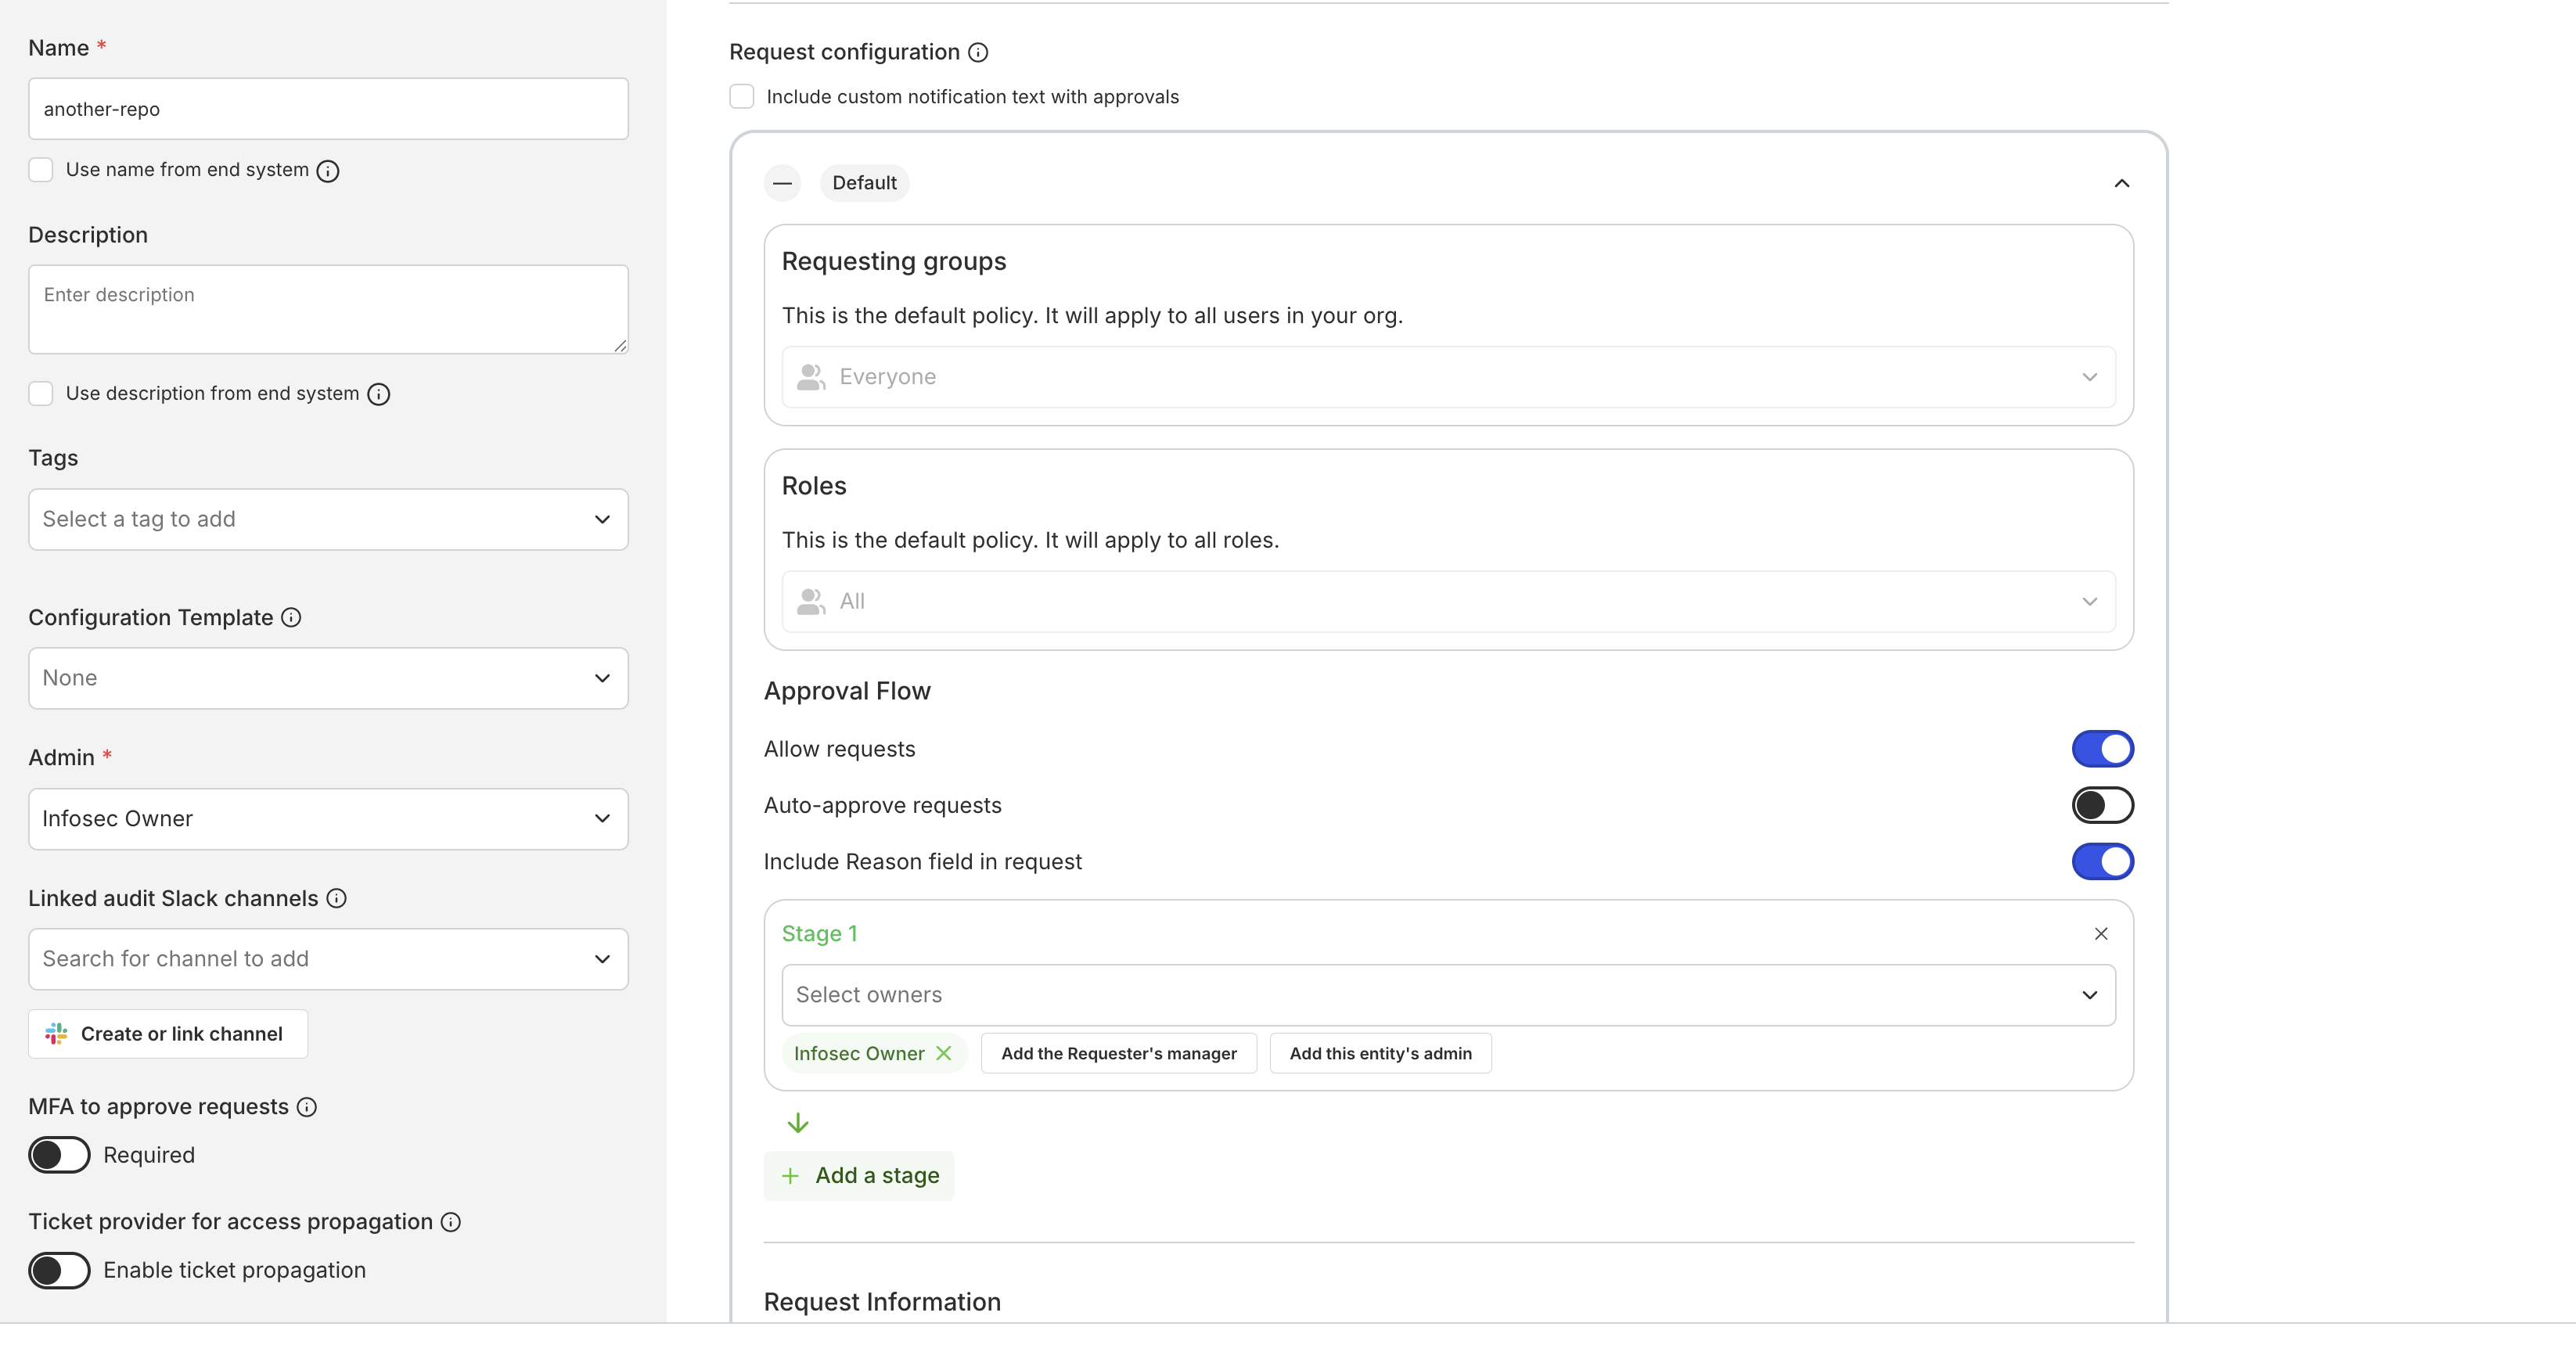
Allow request extensions
Allow end users to extend access from the catalog by toggling Allow request extensions in a request configuration, then select a duration. The additional duration is added to the original request expiration time. End users can request extensions from the Opal UI or in Slack.Visibility
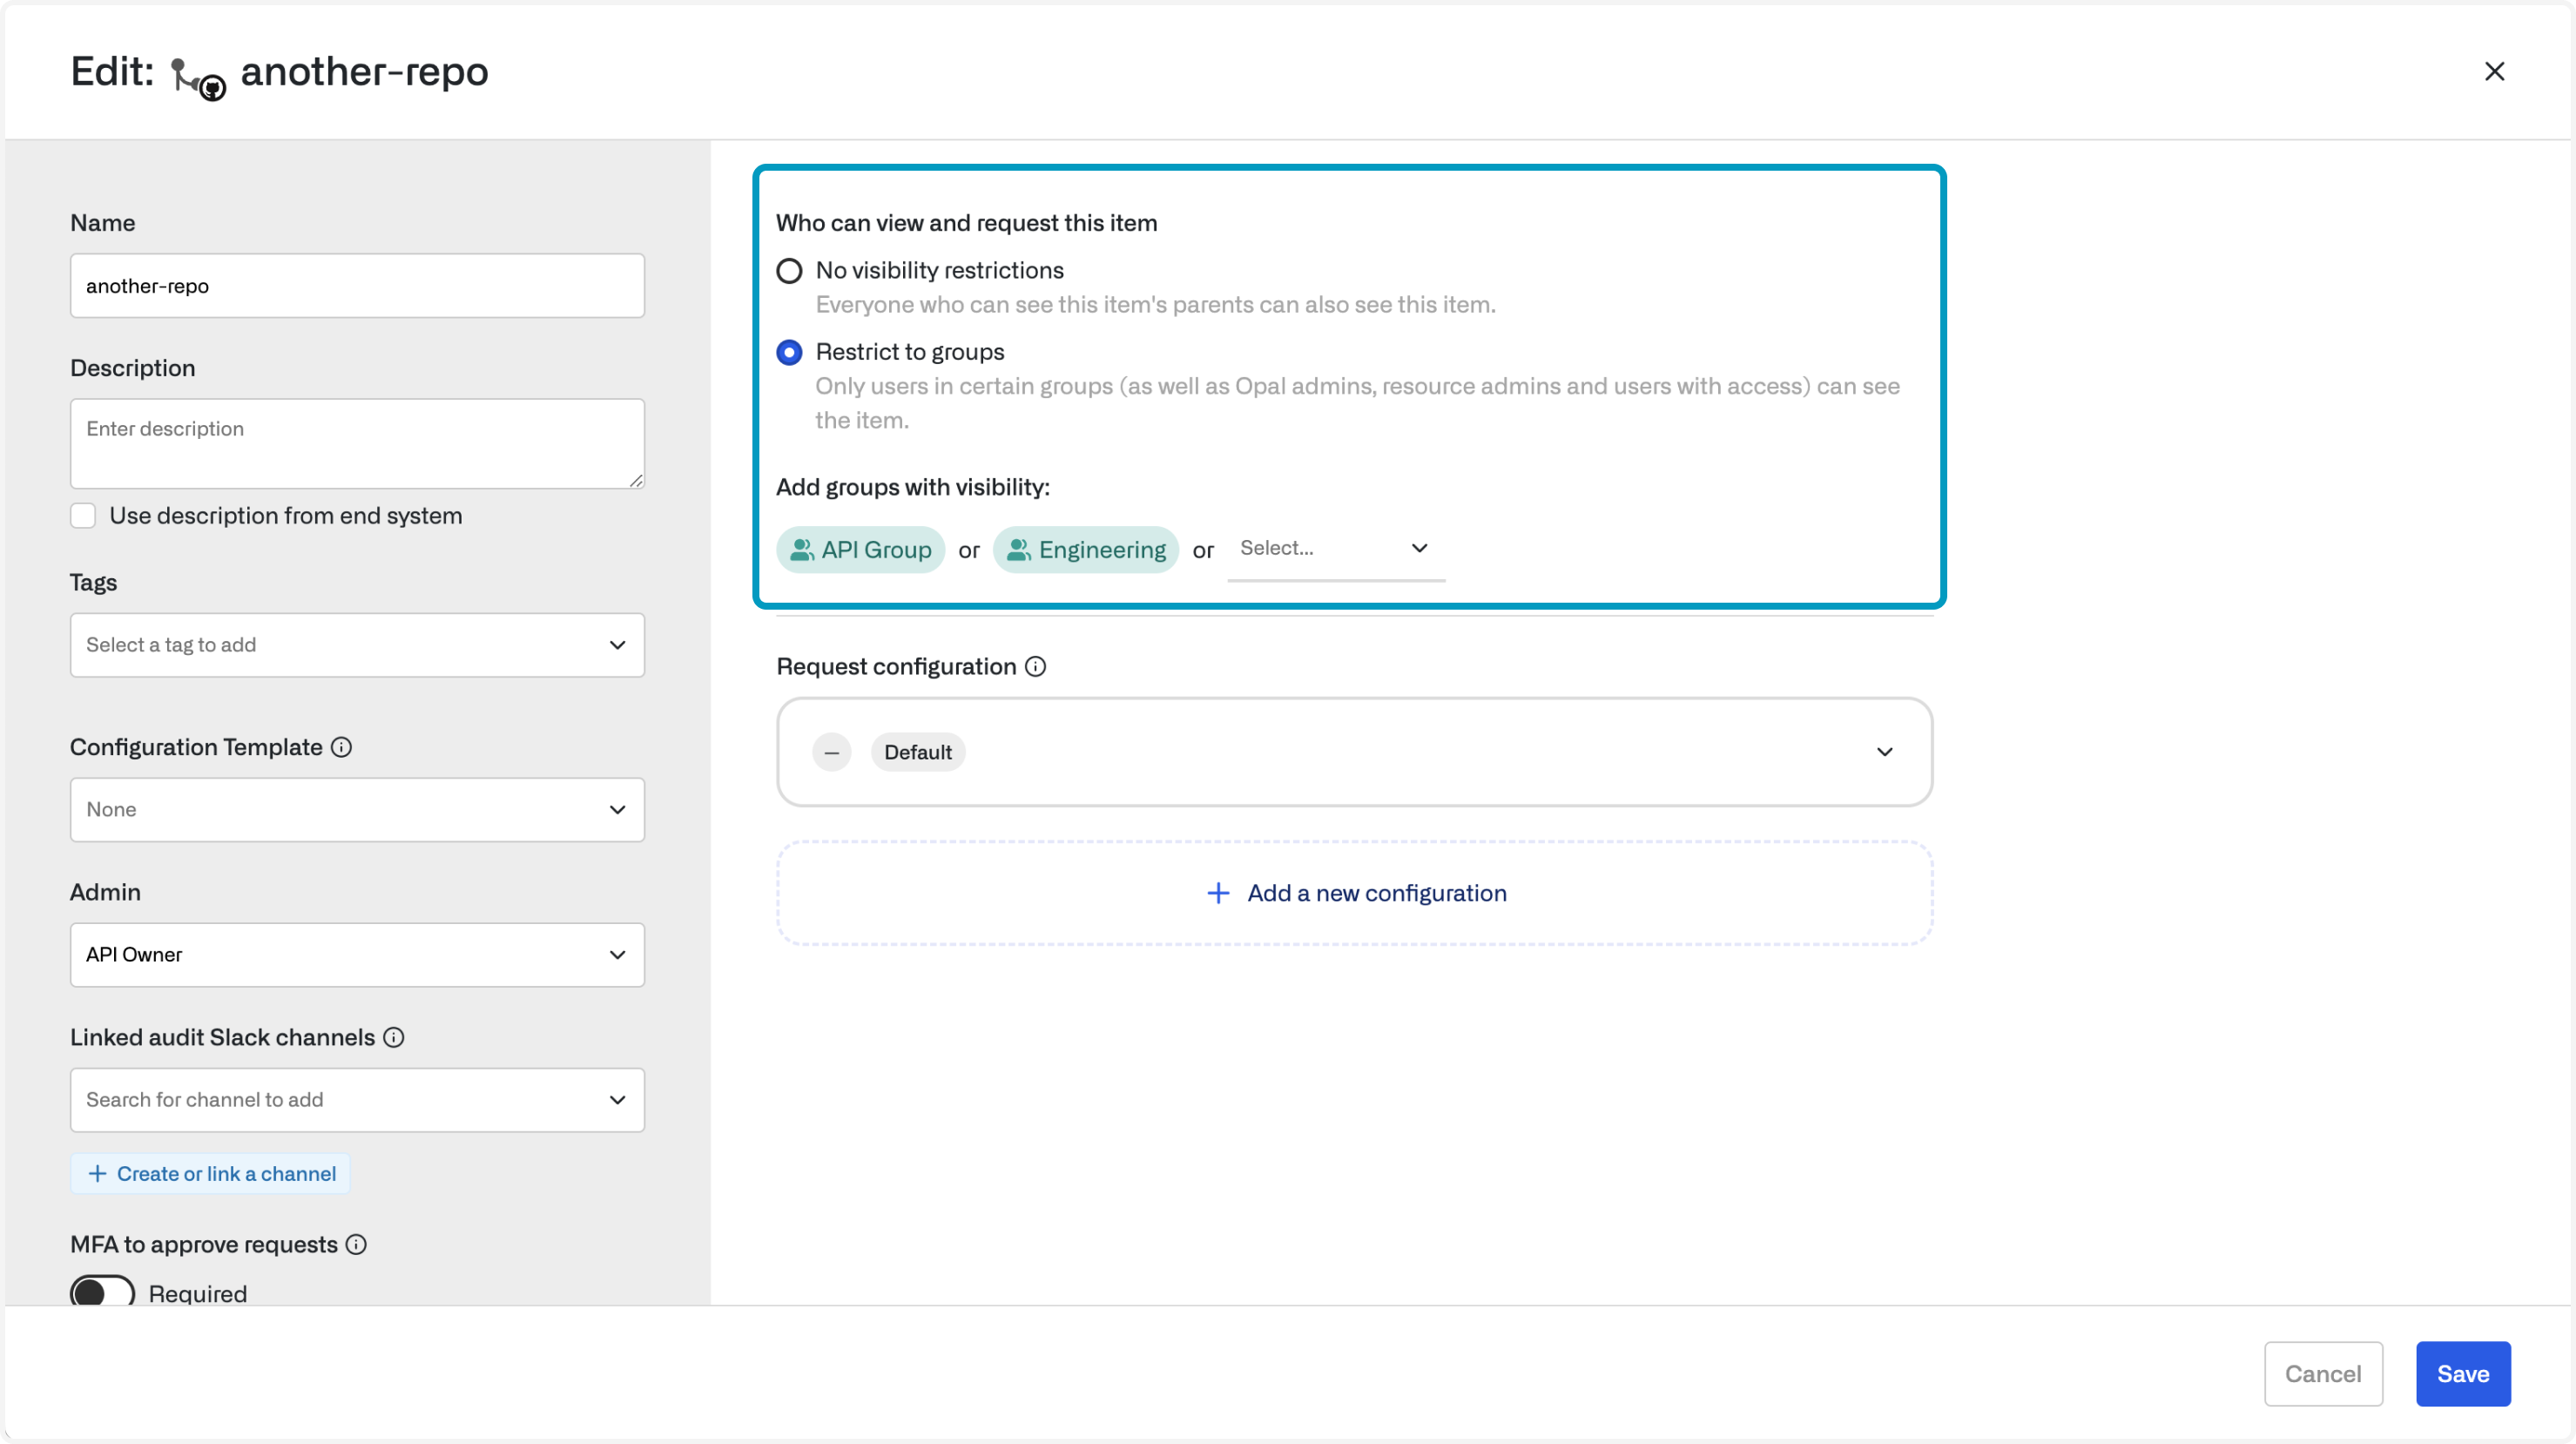
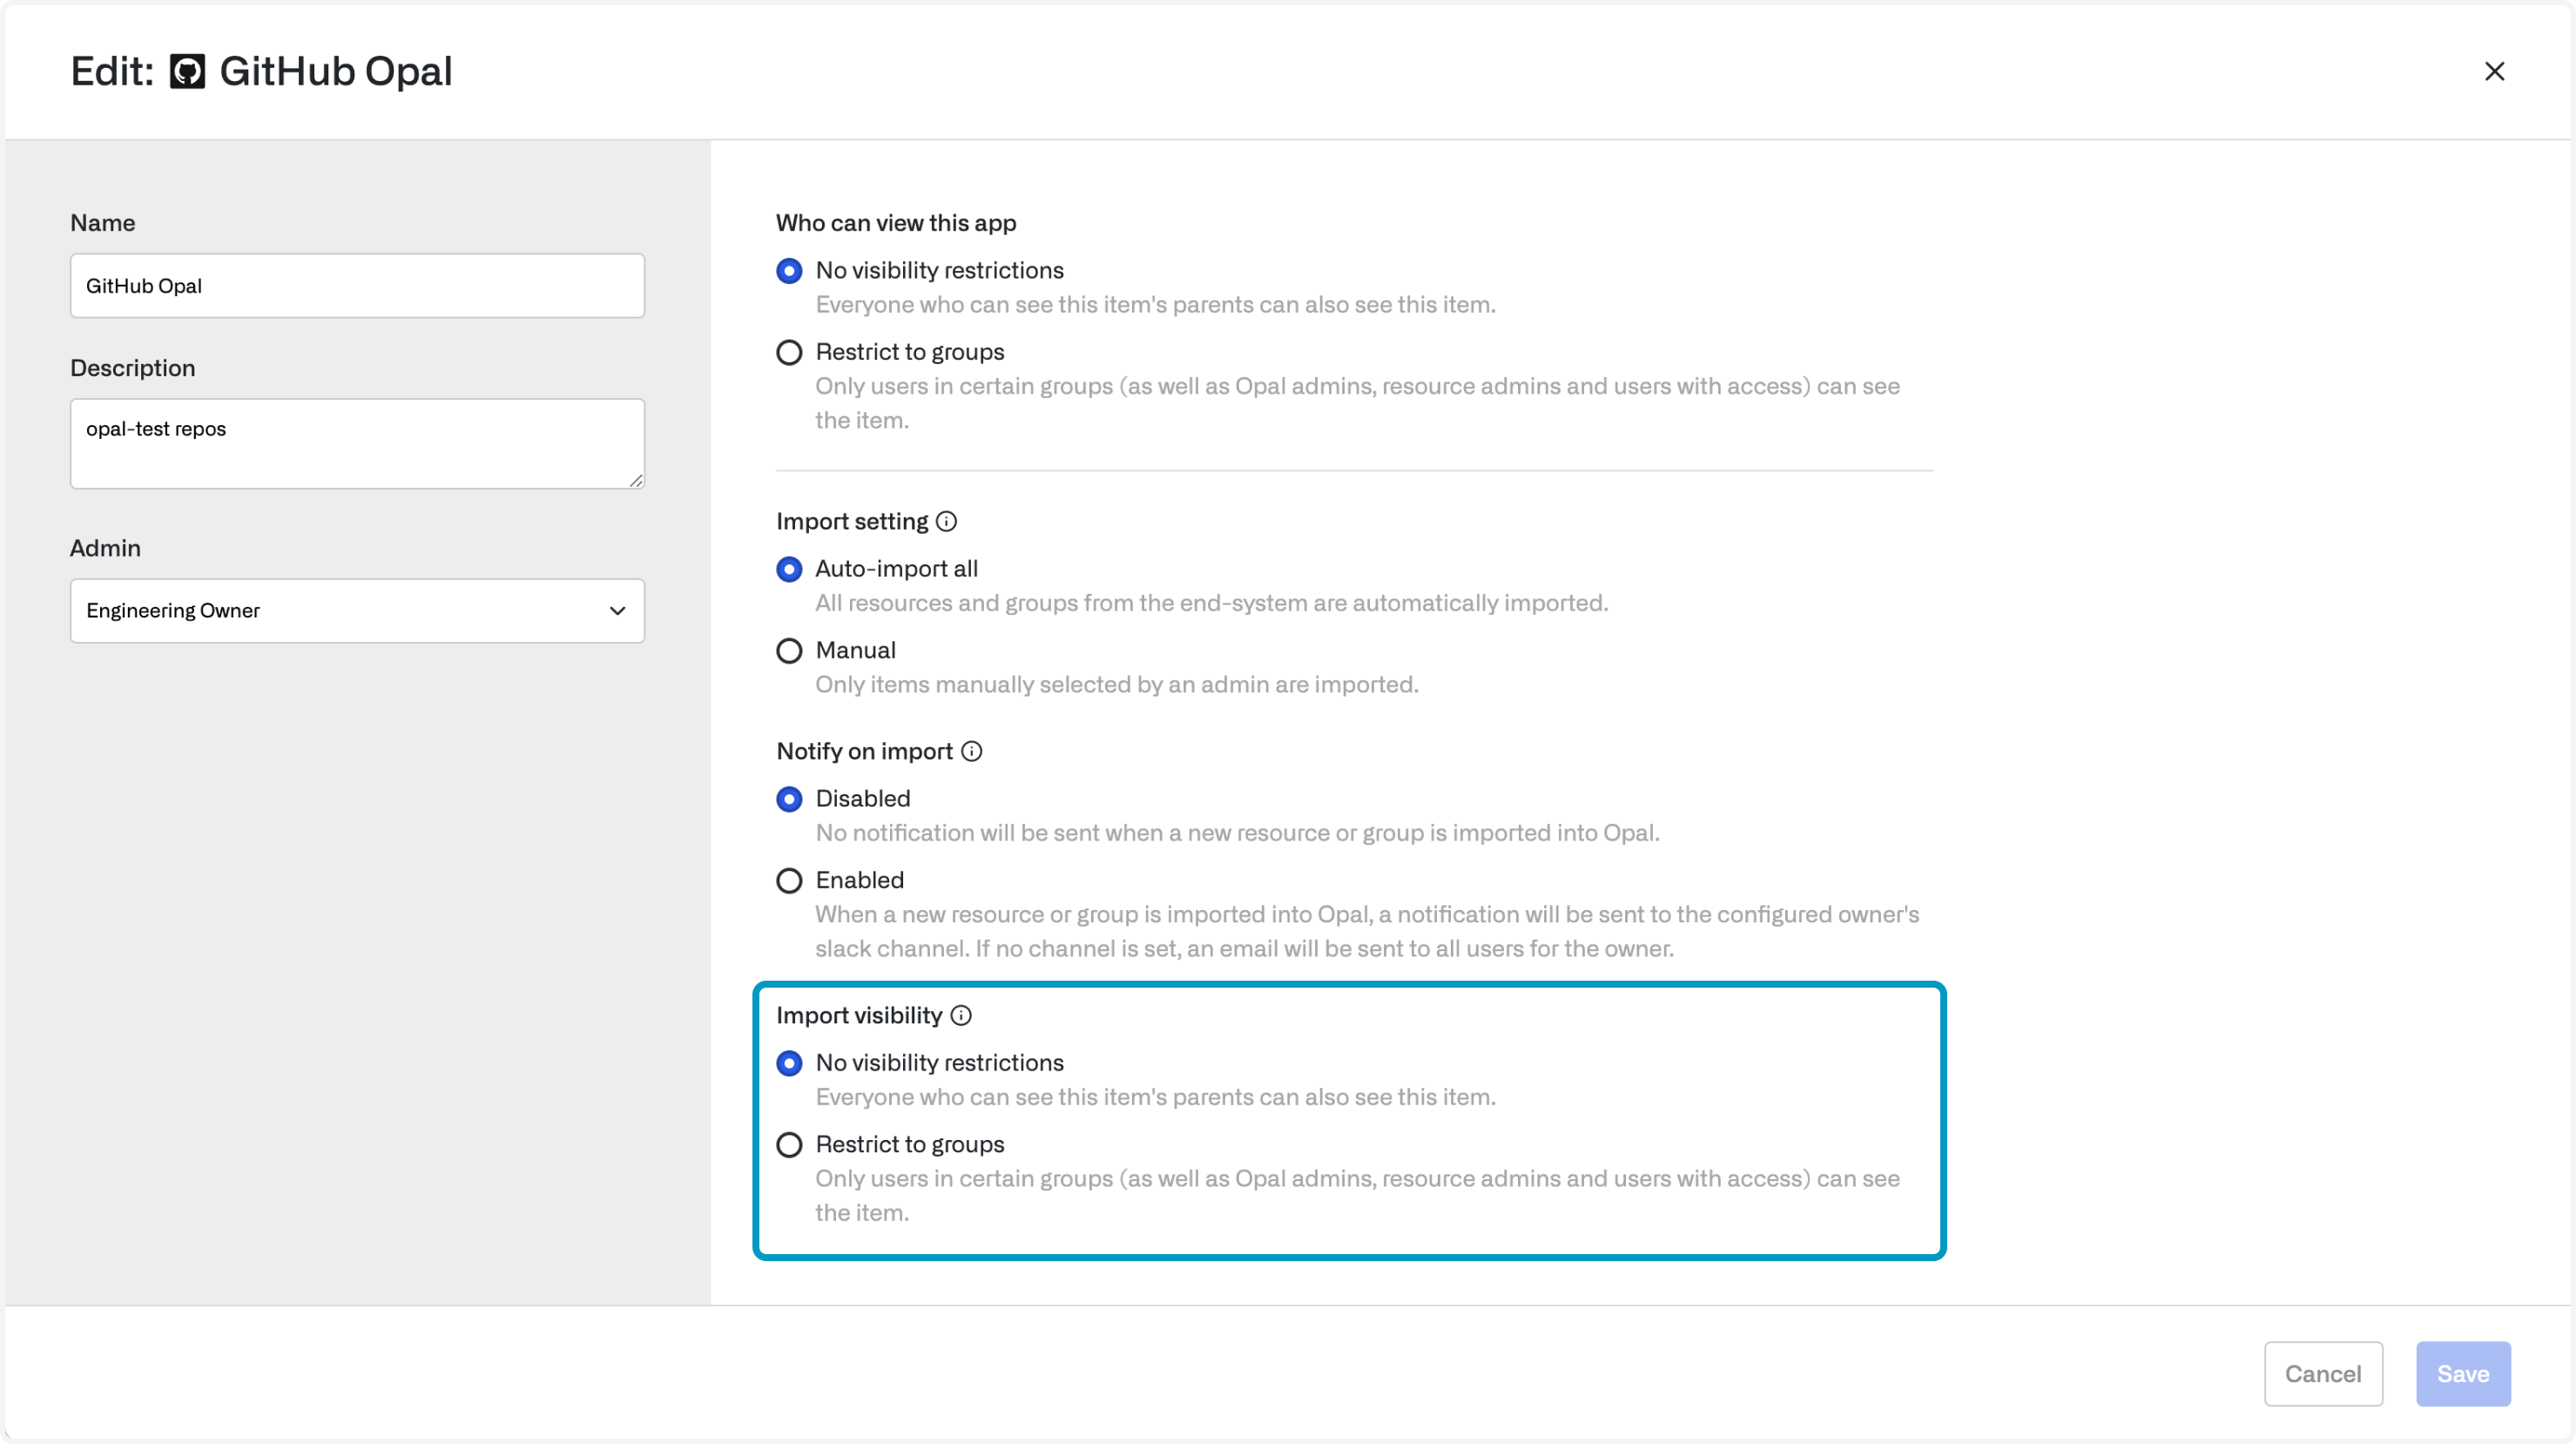
Every resource and group has a visibility setting. This is a “hard” visibility setting: a user who doesn’t have access, isn’t an admin, and isn’t in a group that’s been granted visibility cannot see the resources or groups in their catalog. Visibility enables you to hide resources from anyone who doesn’t have access, or restrict requests to certain groups.- No visibility restrictions: This resource/group is visible to all employees.
- Restrict to groups: Only users in certain groups, admins, and users who have direct access to this item can see the item.
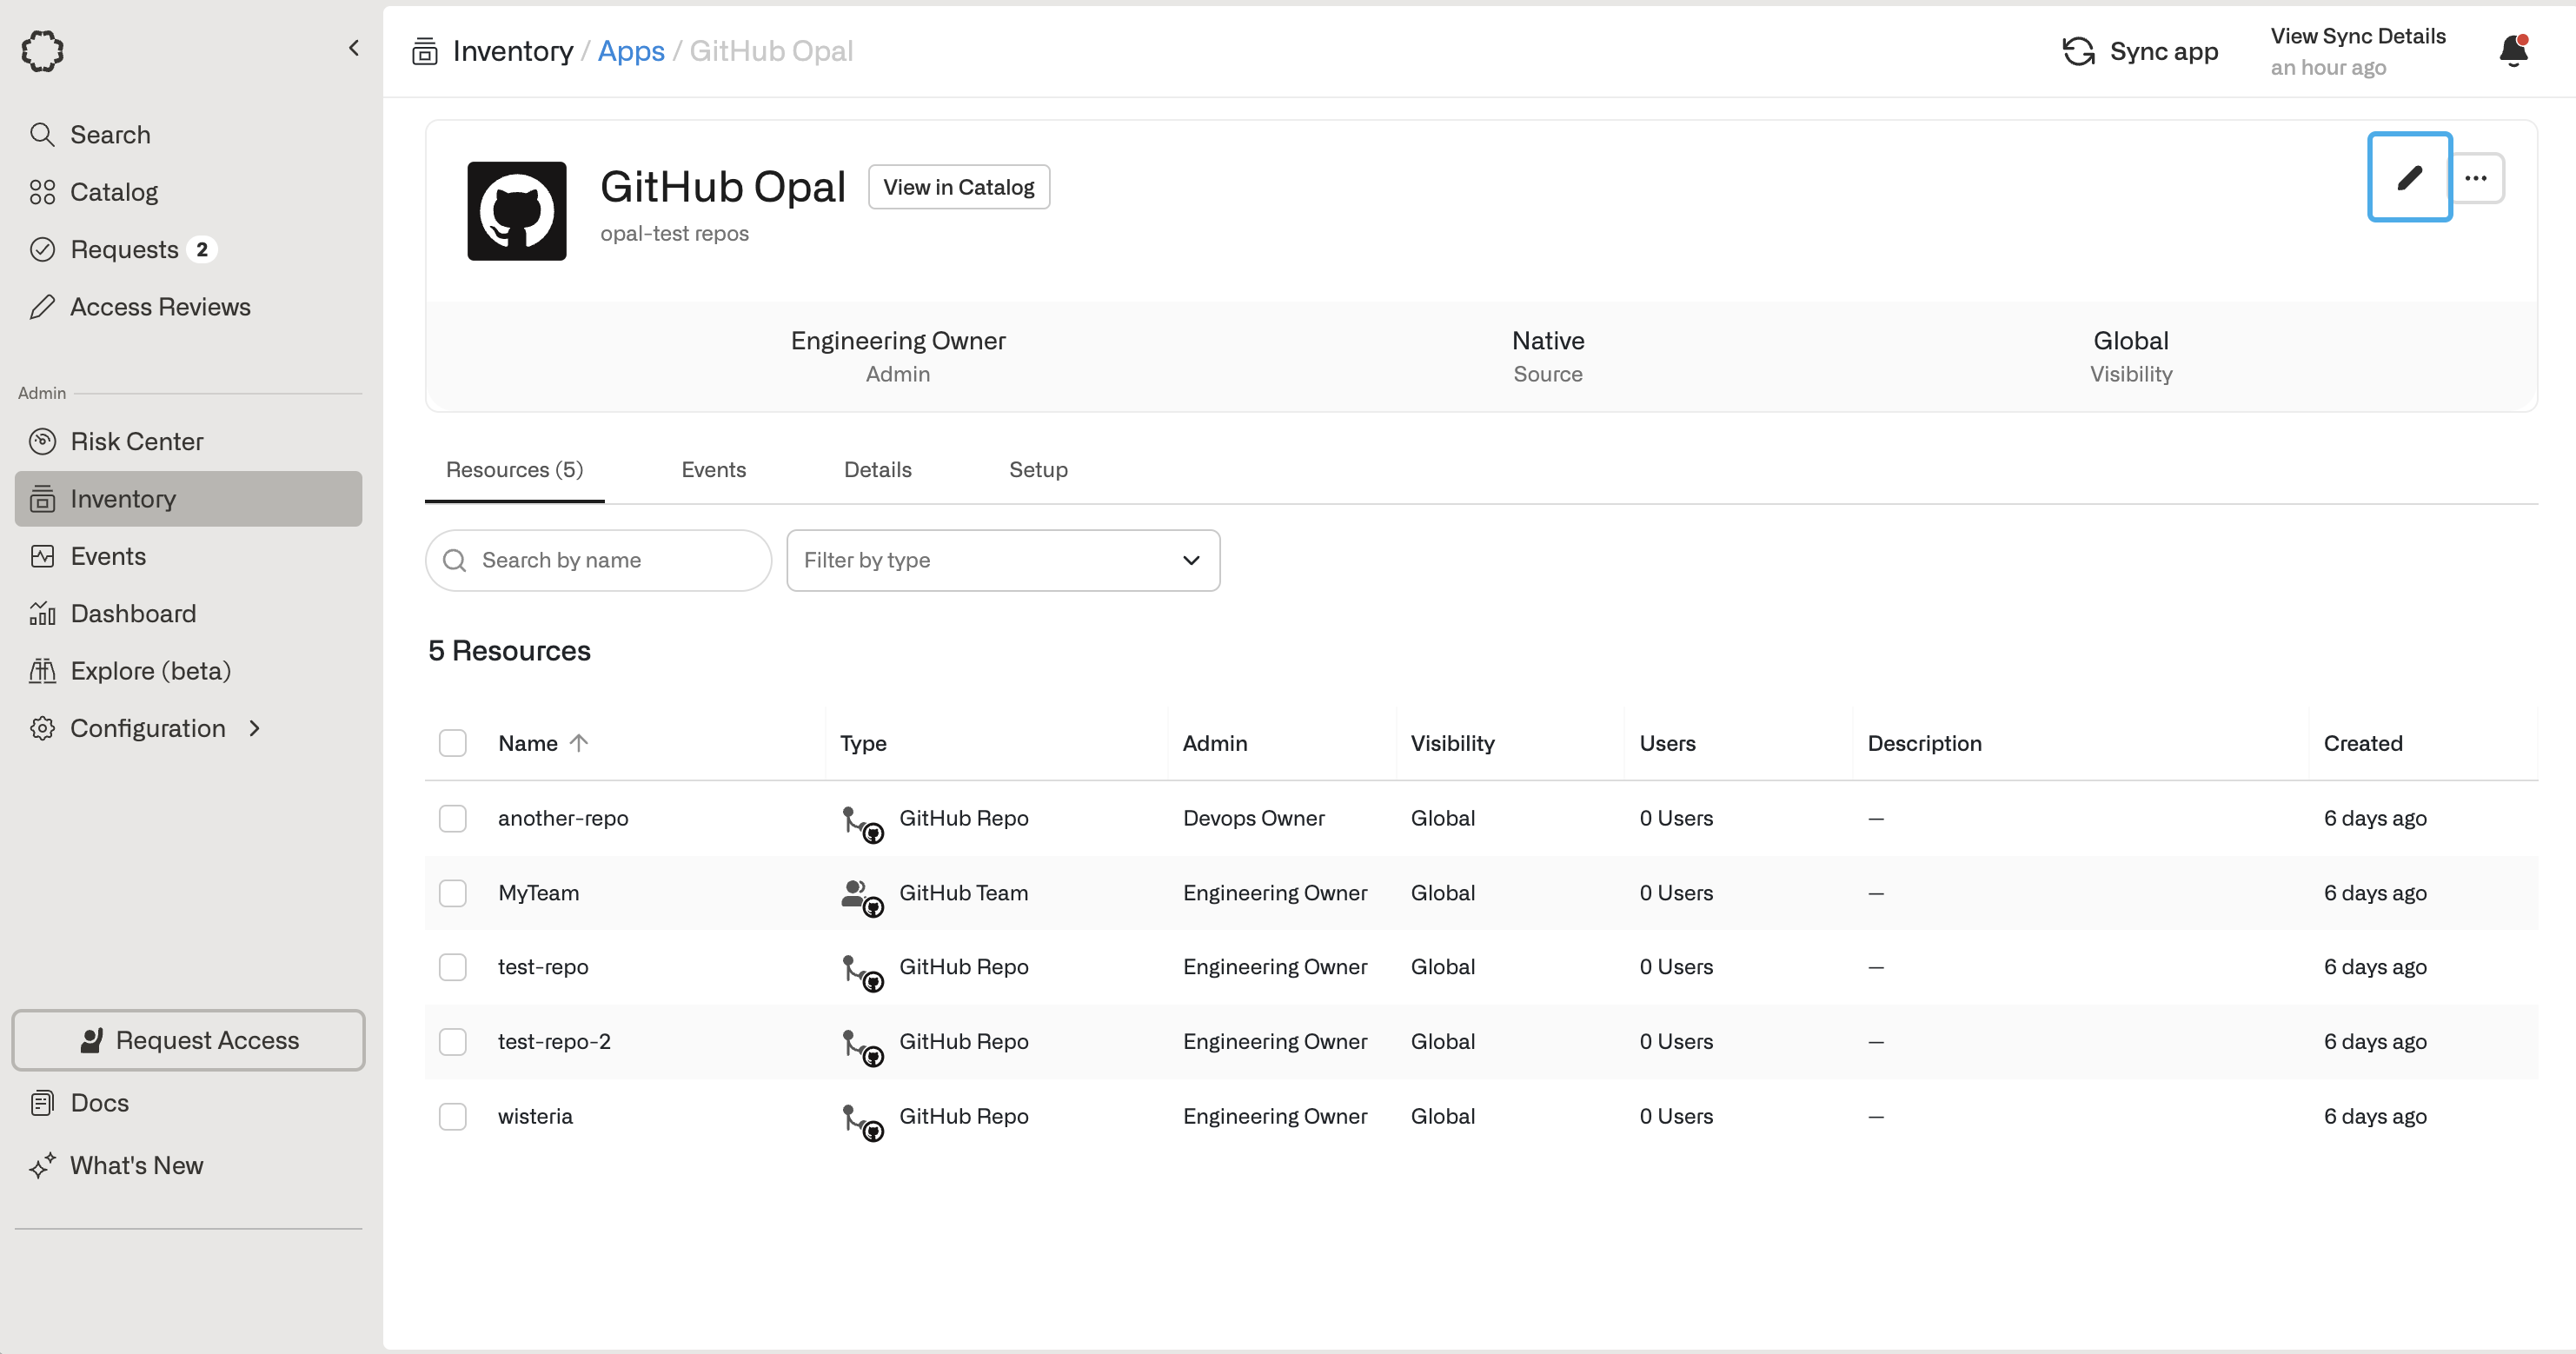
You can set Import Visibility at the app level. This creates a default Visibility setting for all resources that are imported from the app. Setting visibility at the app level does not change visibility settings for resources that have already been imported.
Security settings
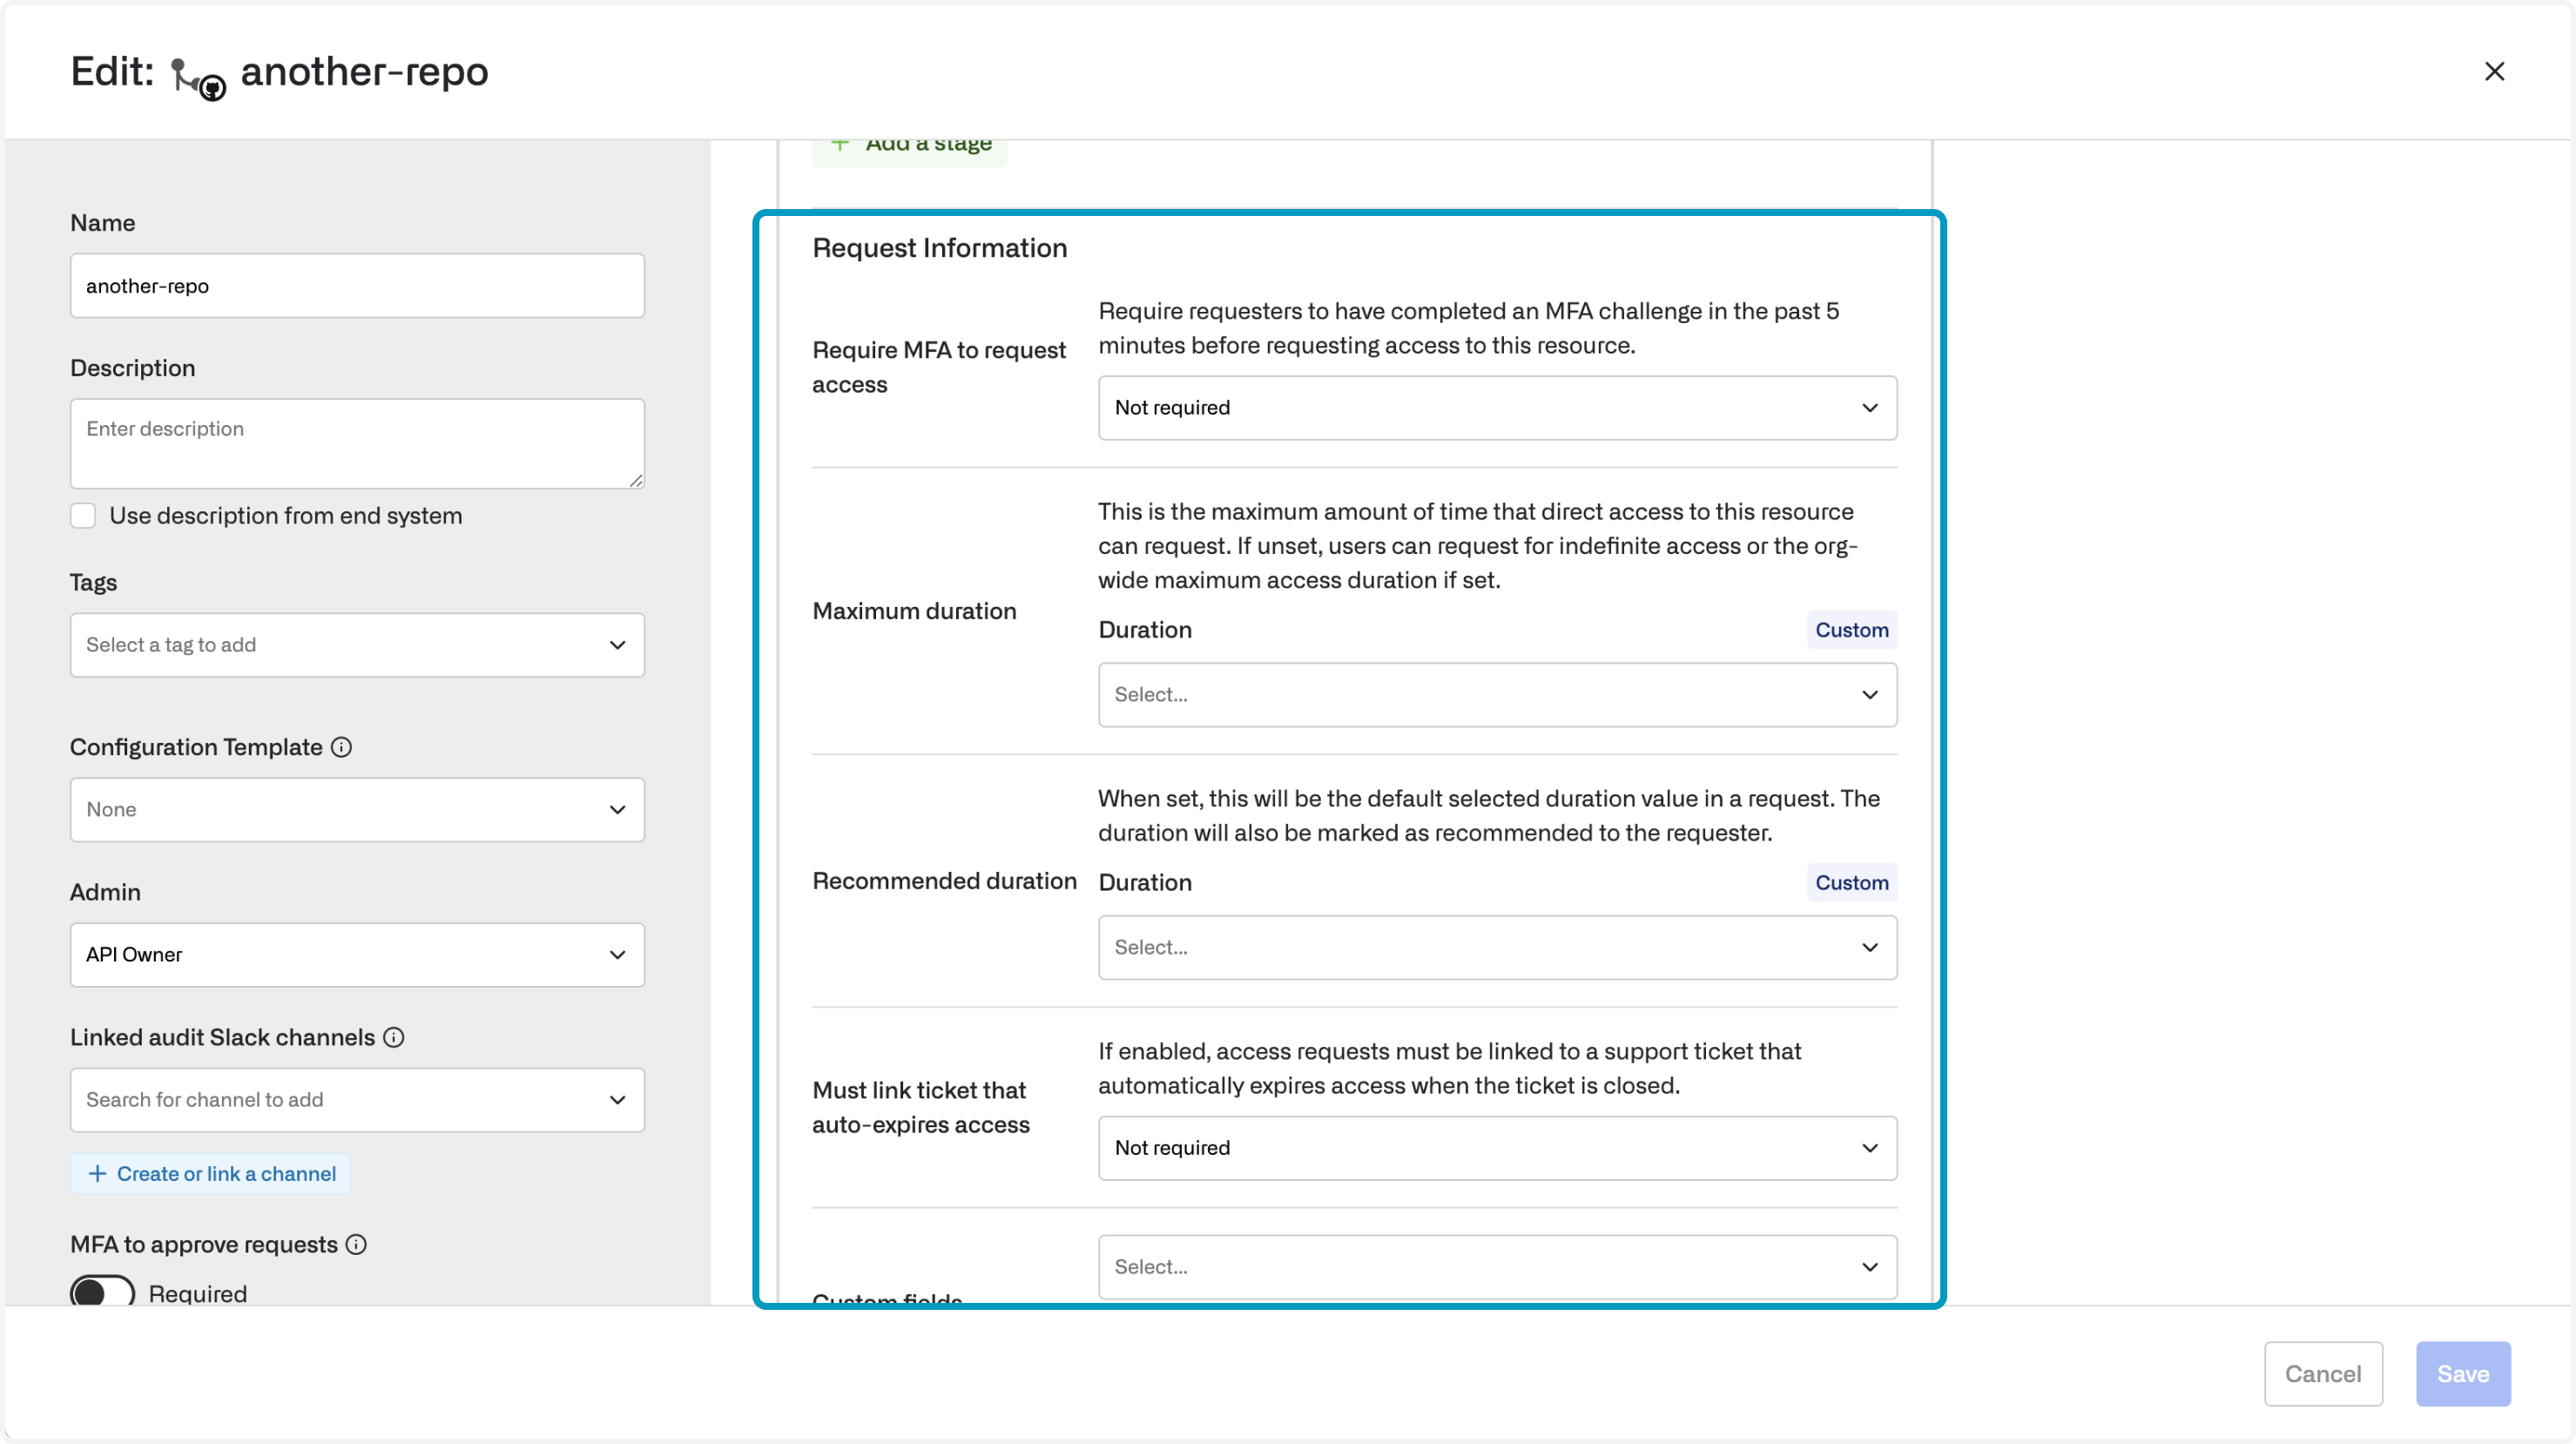
Some resources are more sensitive than others. You can apply the following settings to your critical resources:- Require MFA to approve requests (and make connections): Requires MFA to approve requests via web and Slack. In addition, for certain resources, Opal will also require MFA before end users can connect to the resource.
- Maximum duration: Enforces the maximum amount of time a resource or group can be requested for
- Recommended duration: Shows the recommended duration as the default option in both Slack and web
- Require support ticket: Requires a support ticket to create a request
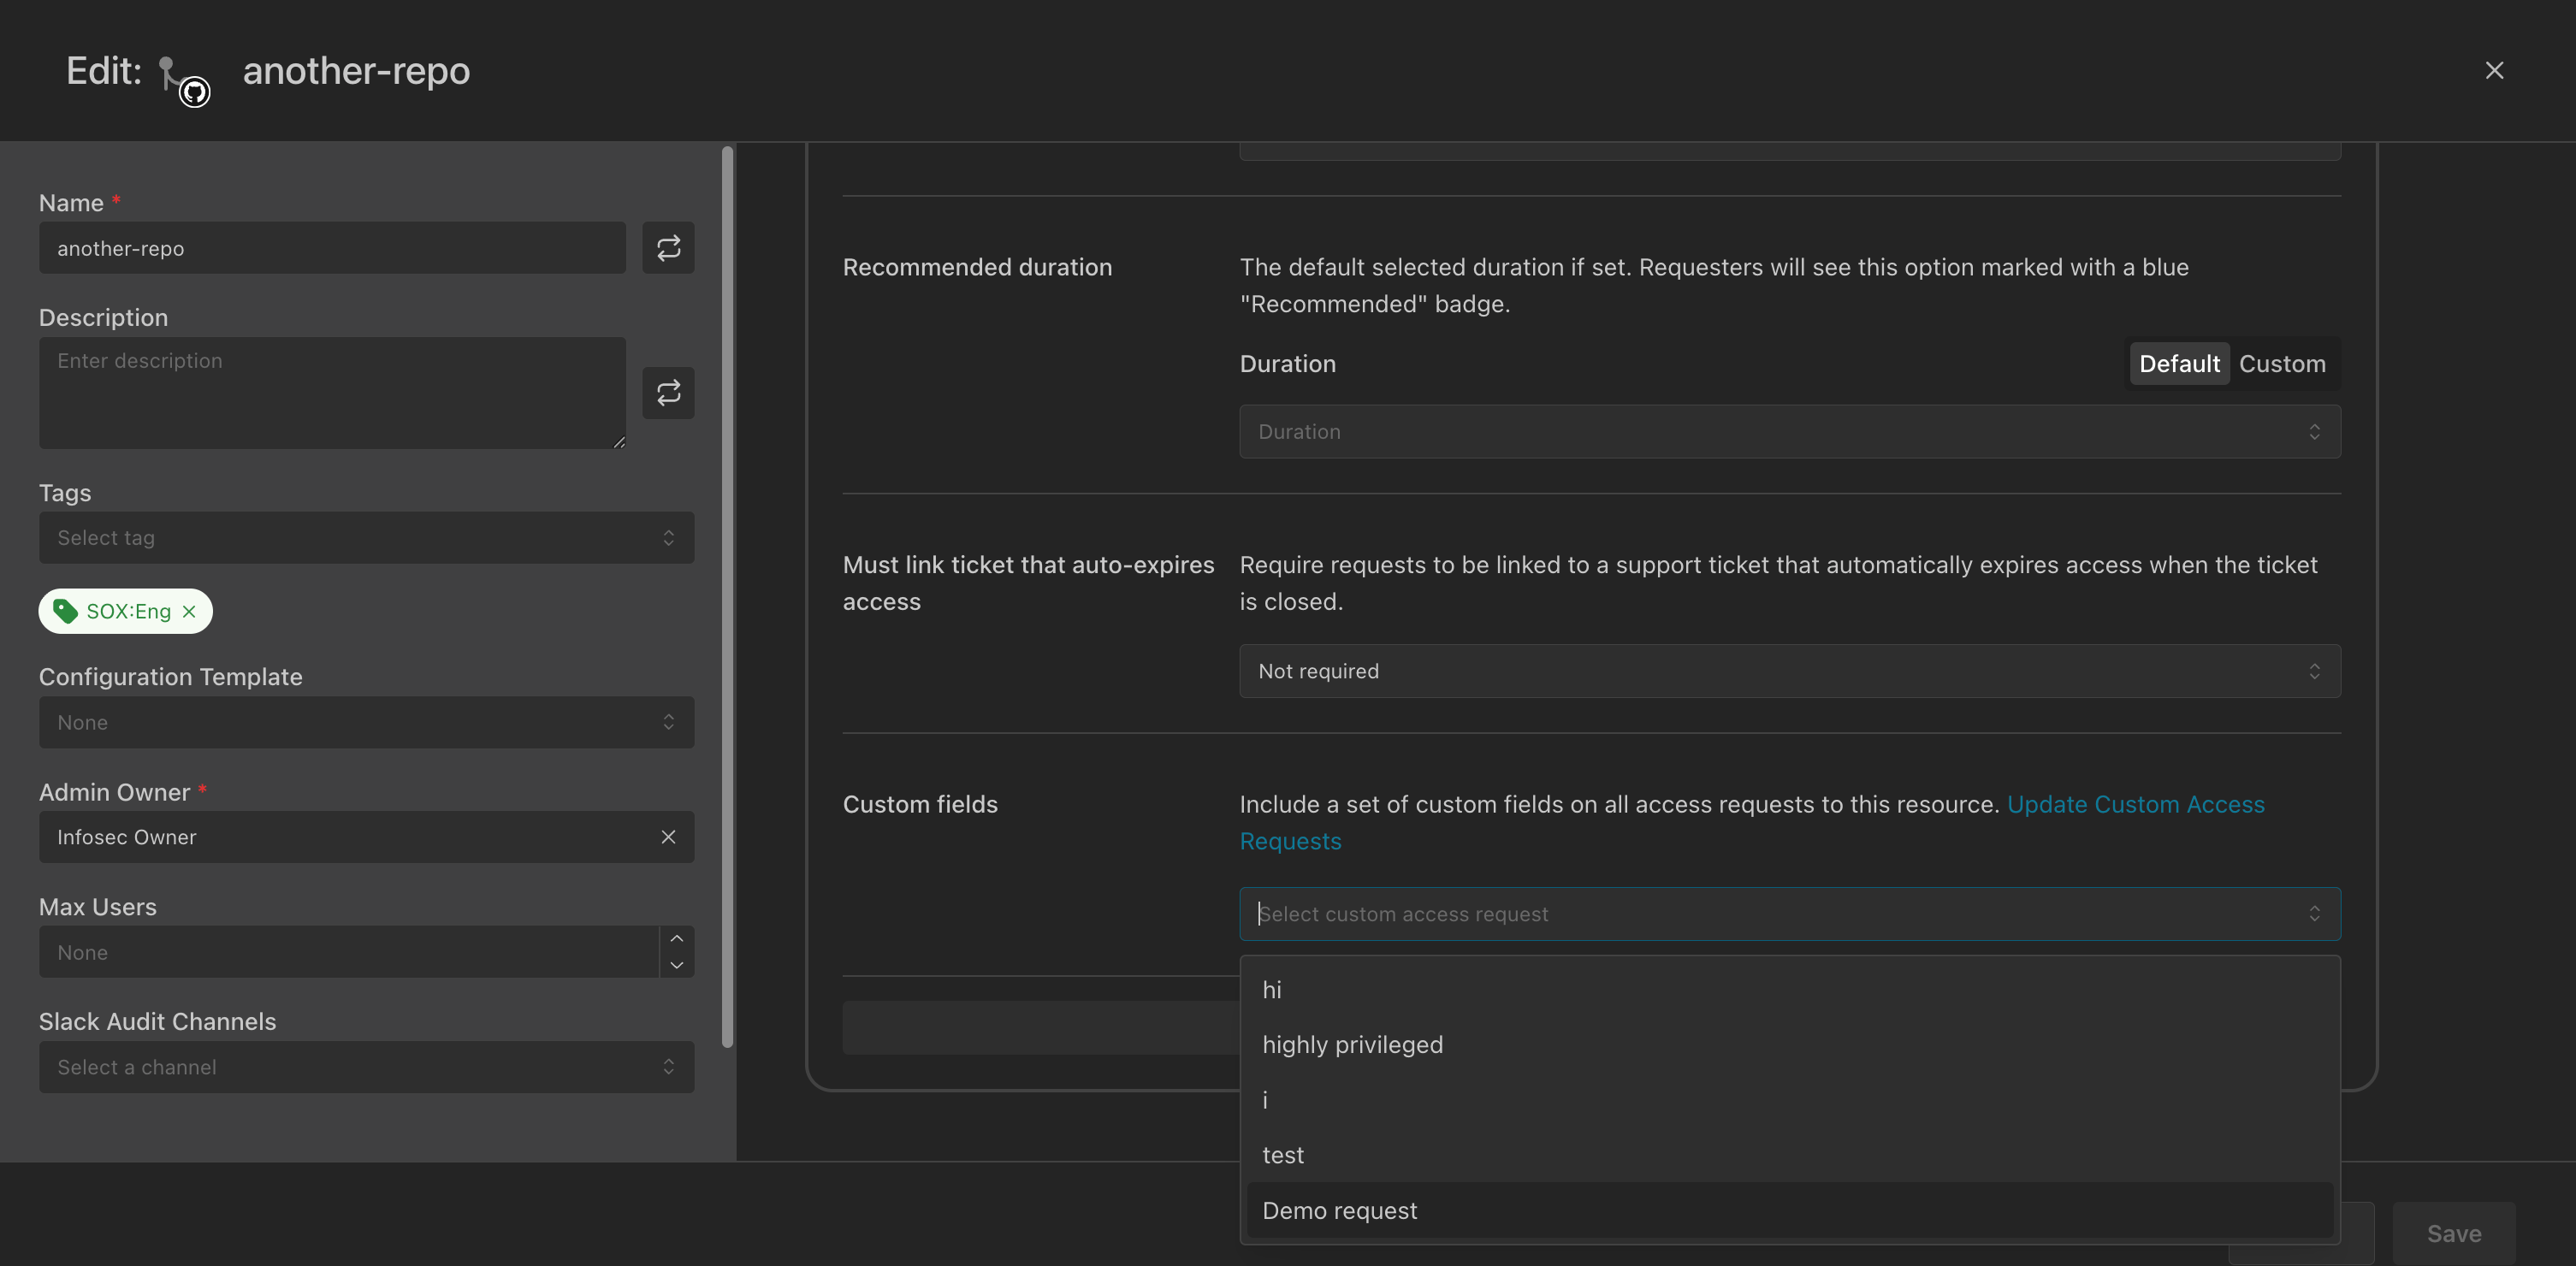
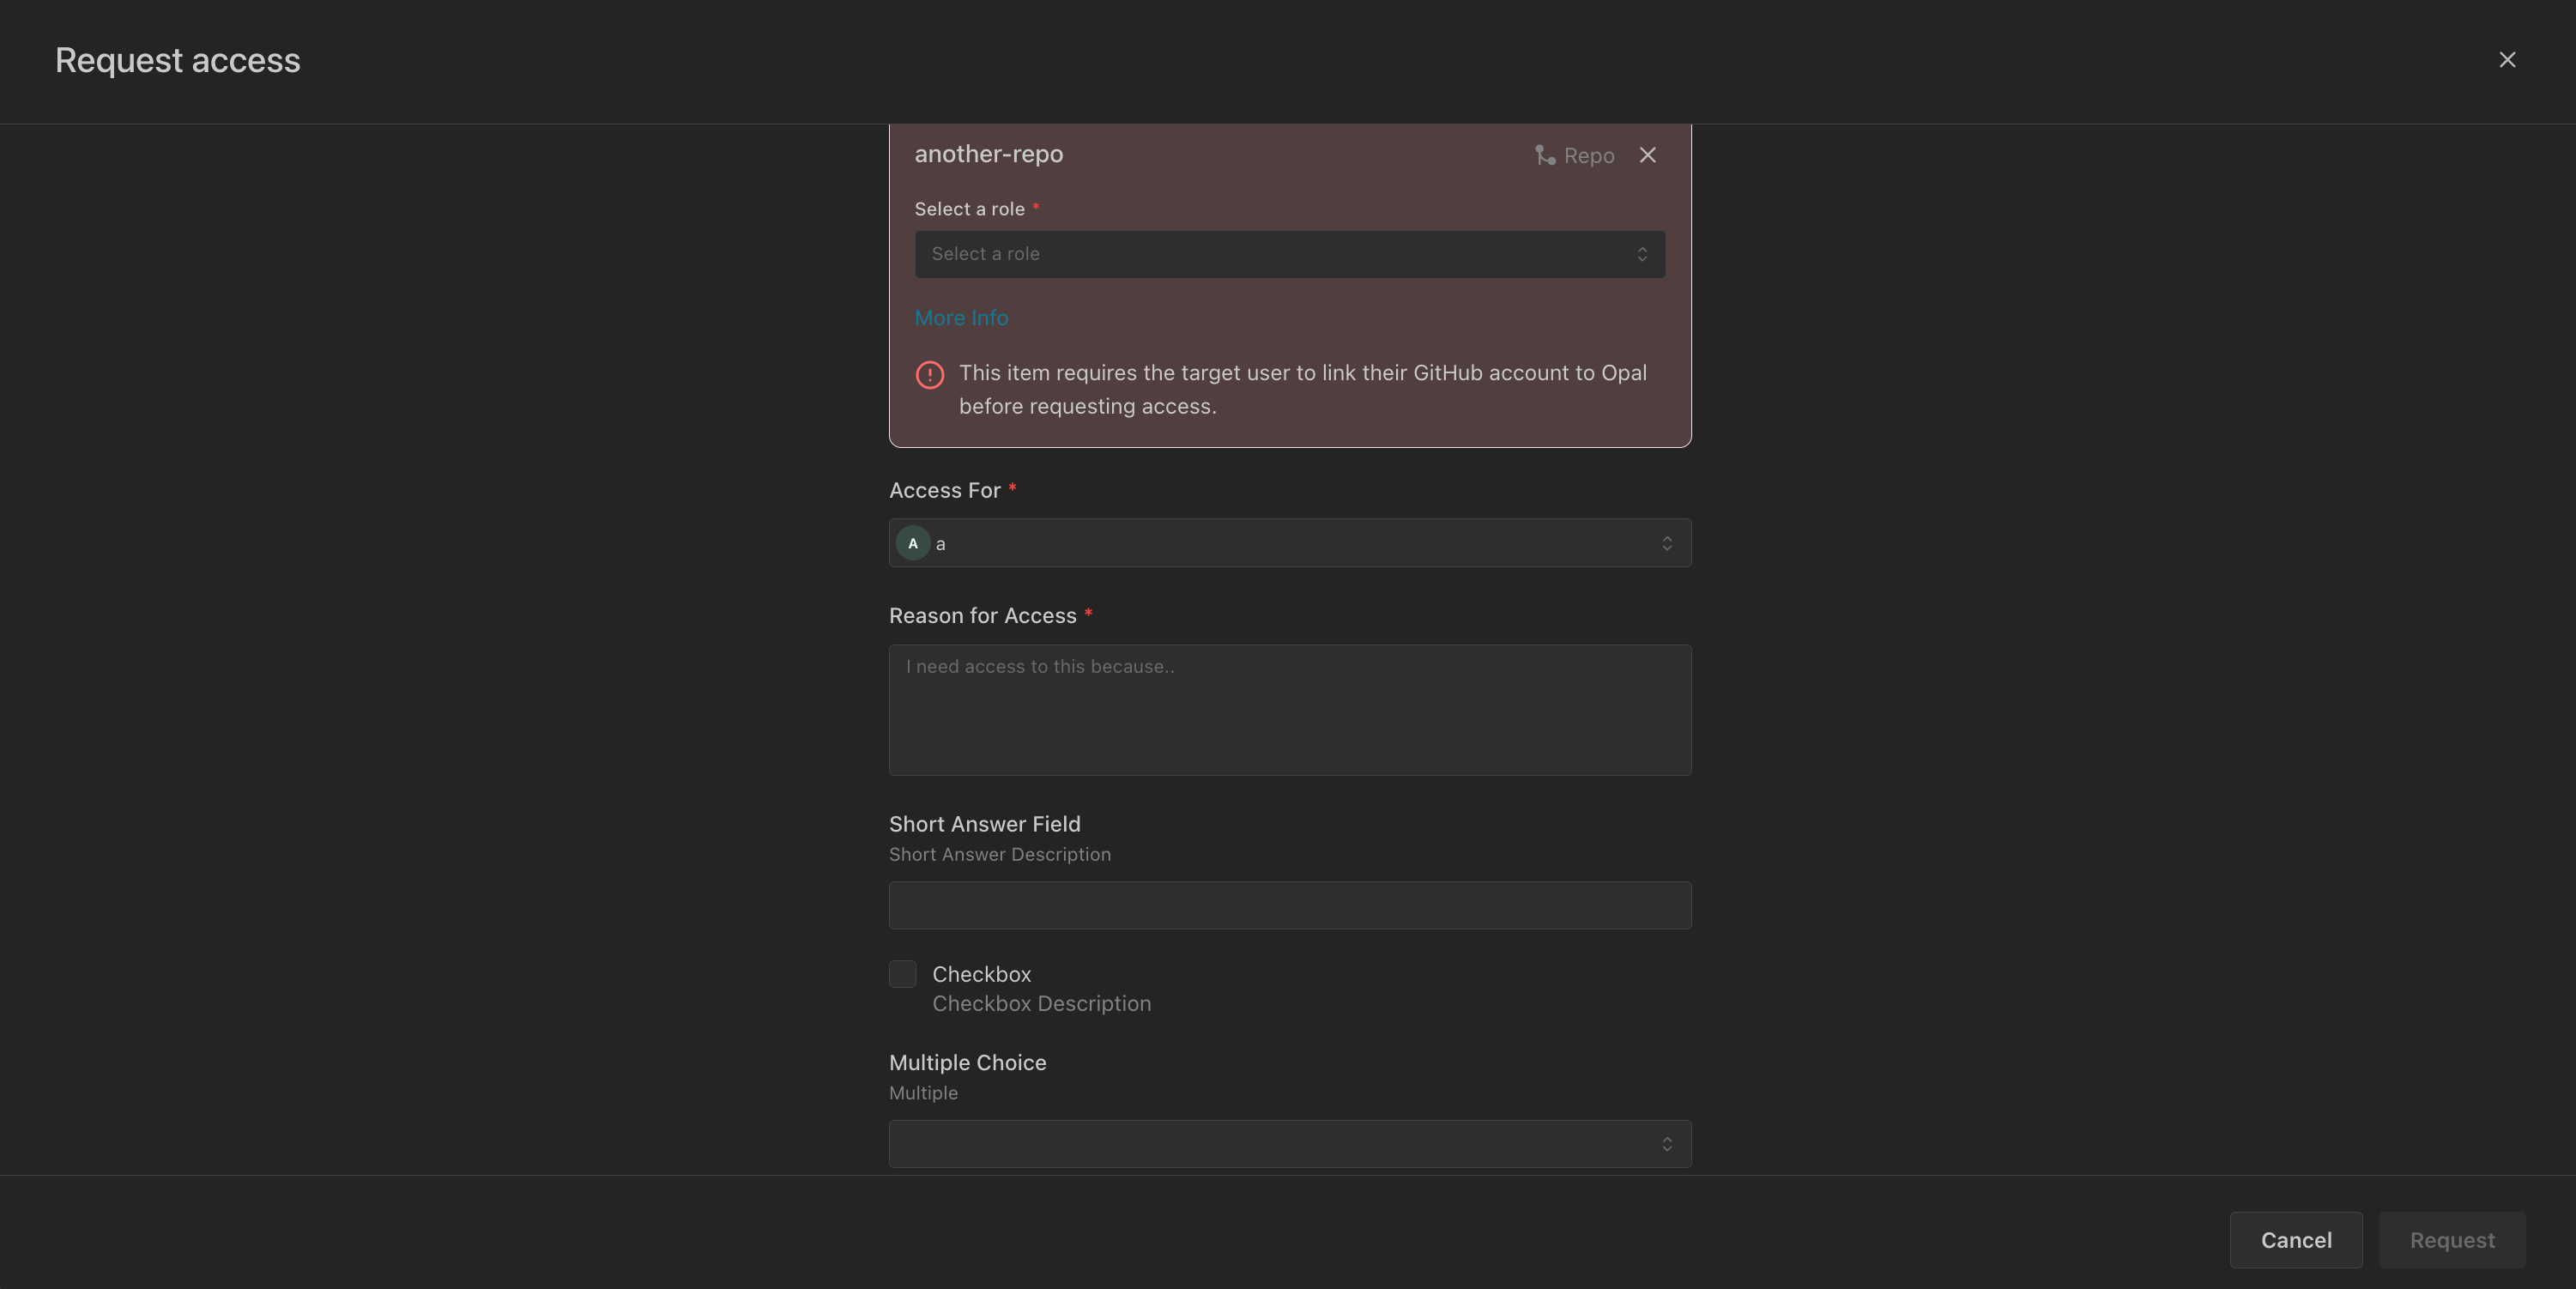
- Custom fields: Create a standard set of questions for employees to answer before submitting an access request
1. Require MFA to approve requests
If MFA to approve requests is enabled, Opal triggers an MFA prompt before reviewers can approve requests in Slack and web. This protects sensitive resources and validates the approver’s identity. For some resources, Opal can be used to generate short-lived credentials via CLI or web. If MFA is enabled for these resources, end users must validate their identities before connecting to the resource.2. Maximum duration
Set a maximum duration to enforce timebound access. If it’s unset, duration defaults to the organization-wide maximum duration if present, and indefinite access otherwise.3. Recommended duration
If a recommended duration is selected, it shows as the default duration on access requests, but employees can still specify other durations.4. Require support ticket
If this is enabled, then a support ticket must be submitted with an access request. This will enable an access request to be dynamically revoked if the support ticket has been completed. This enables a strong security posture as you can revoke access based on the completion of an activity. You can only attach tickets that are assigned to you.If both a time duration and support ticket is enabled, then Opal will take the event that comes first.
5. Custom fields
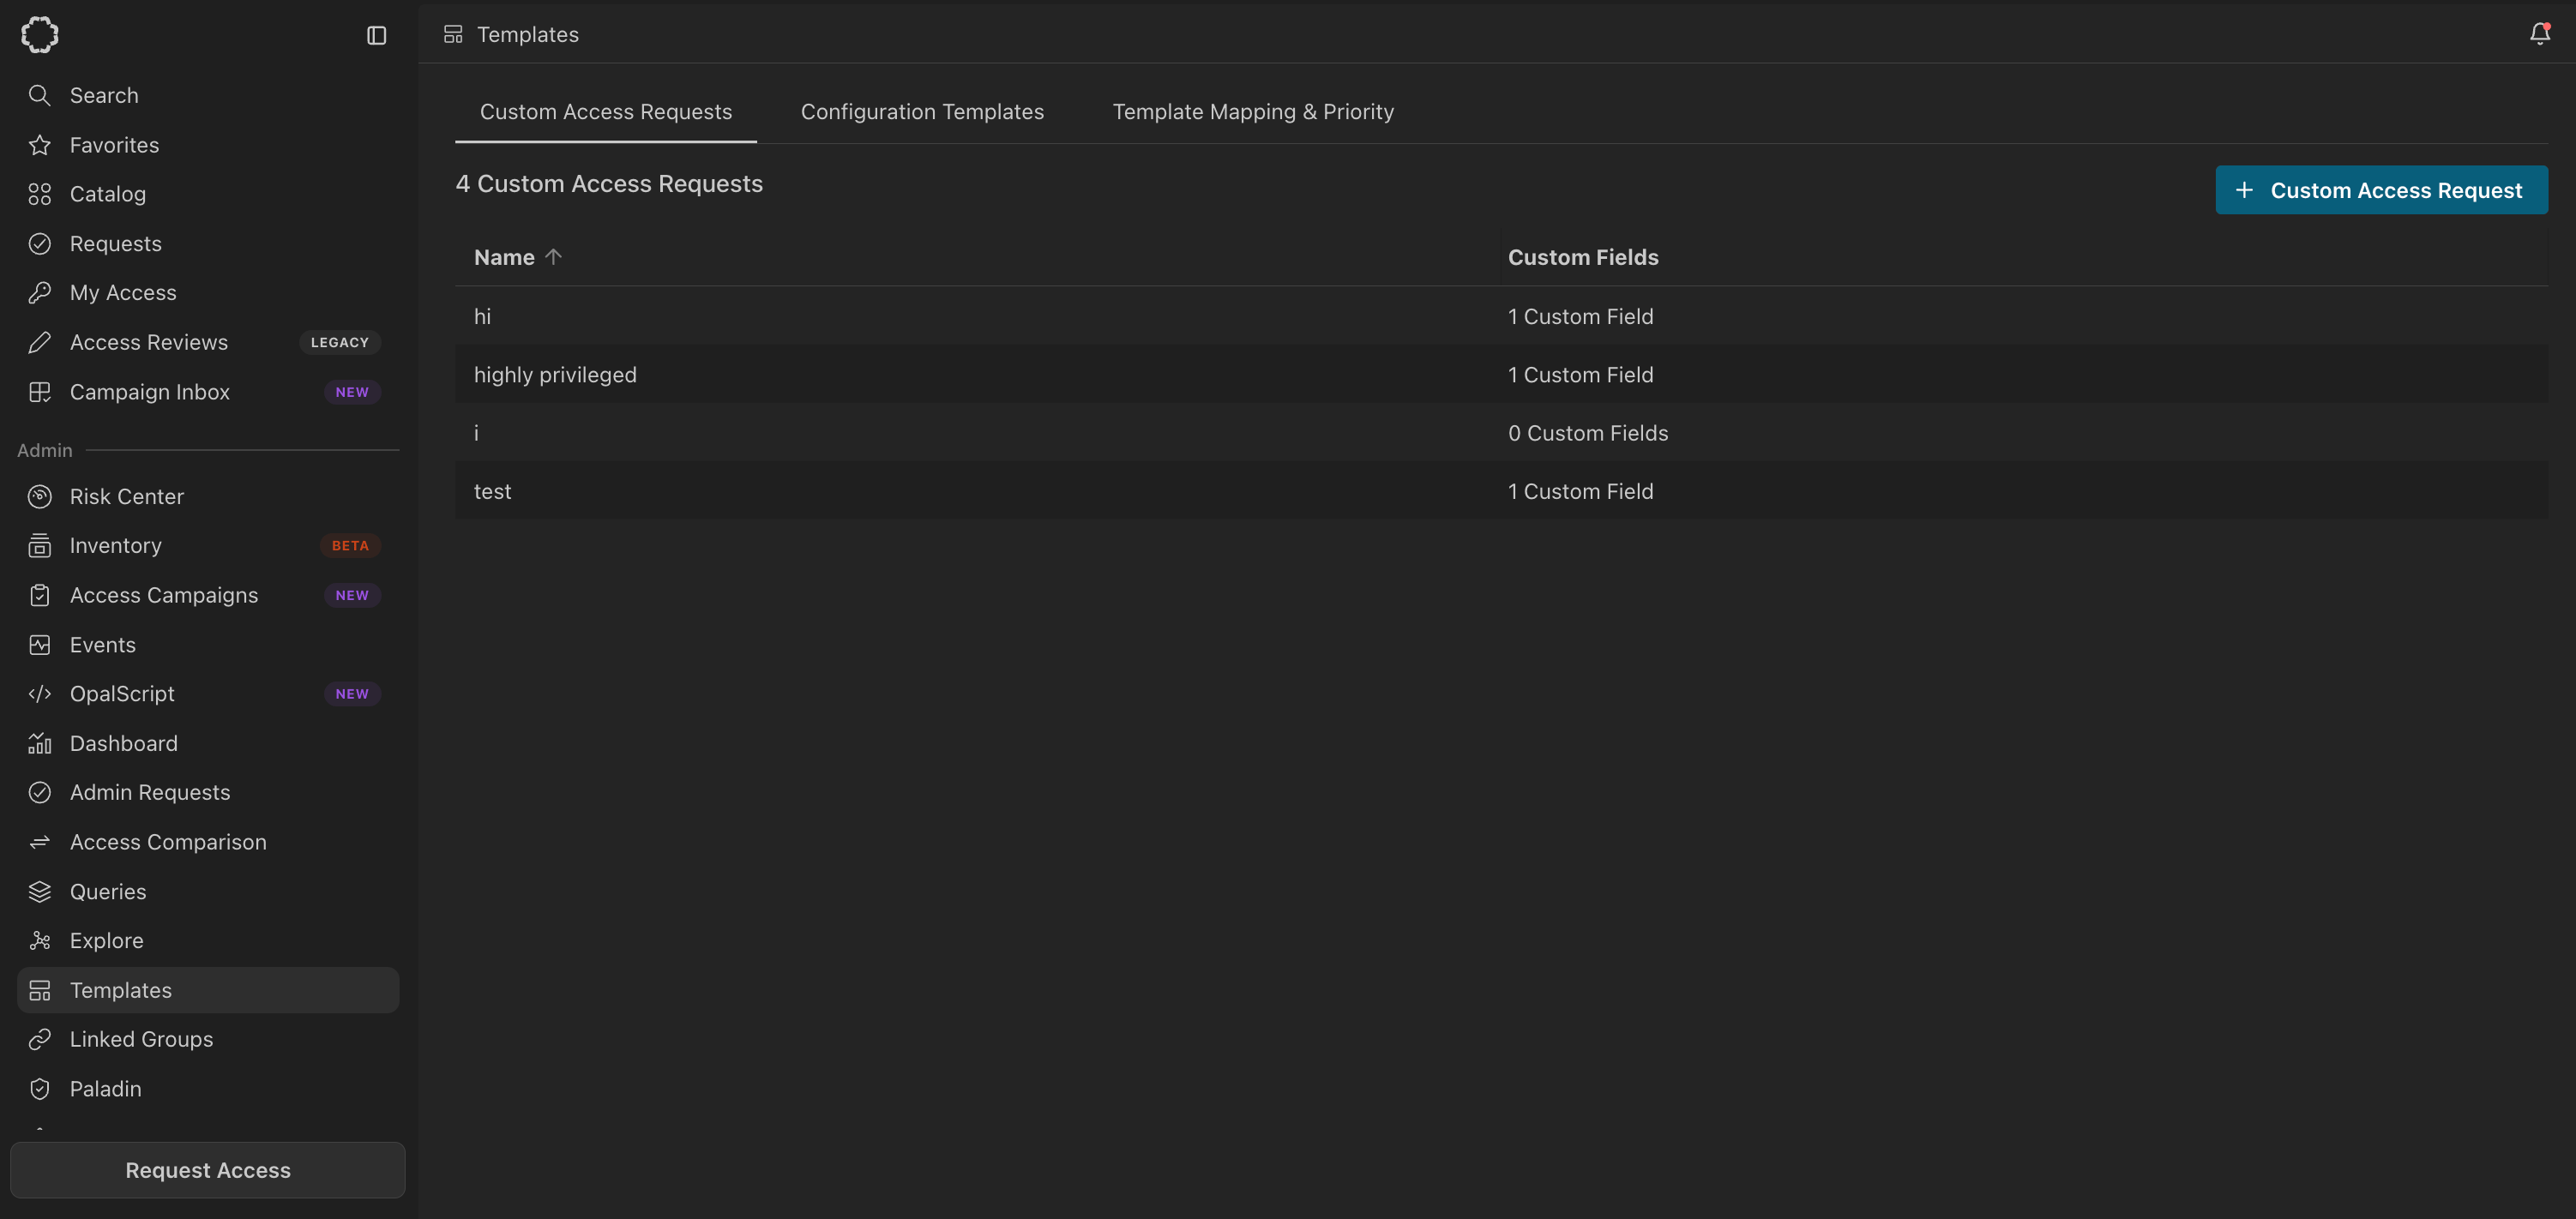
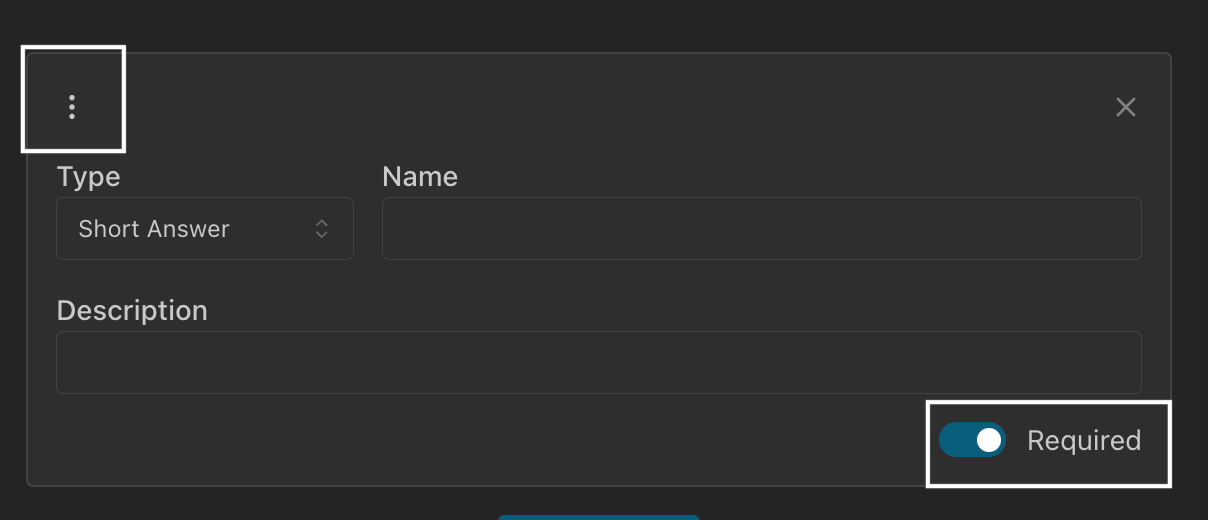
Admins can customize questions for employees to answer before submitting an access request to a given resource.- To create custom fields, Admins must first go to Templates under the in the left-hand bar and click on + Custom Access Request
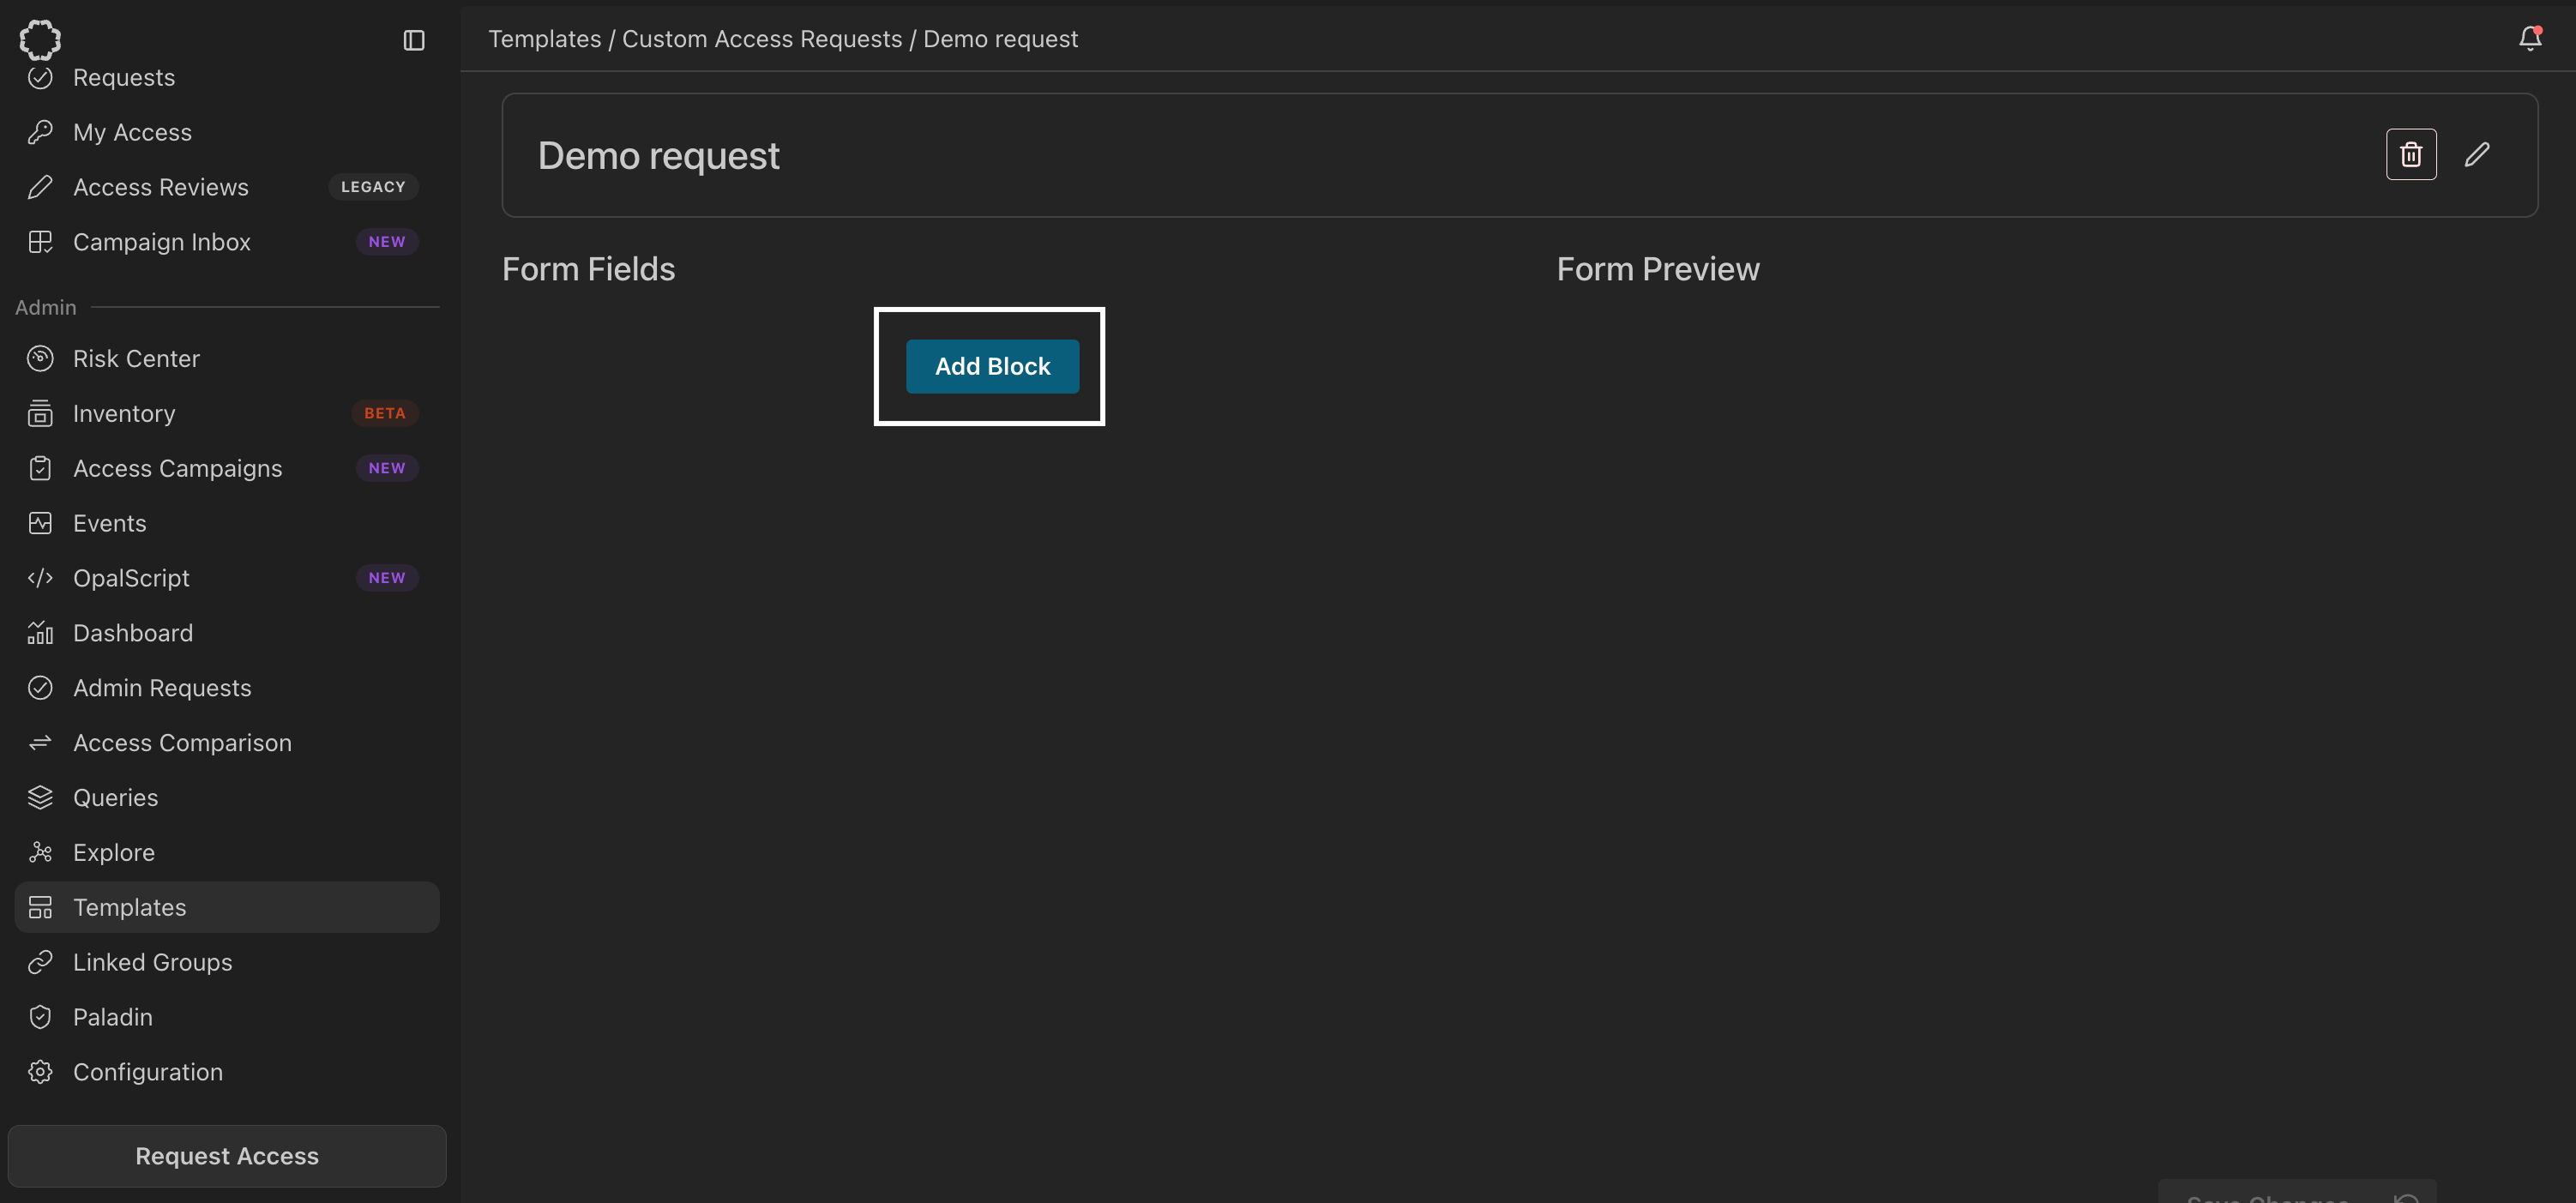
- After creating the template, admins can set up custom fields by clicking on Add Block.
- Short Answer: Short text fields
- Paragraph: Longer text fields
- Checkbox: A binary selection
- Multiple Choice: A dropdown selection that only allows one choice
- Multi-select: A dropdown selection that allows multiple choices
- Callout: A customizable message that will be shown when a user requests access to a certain group or role
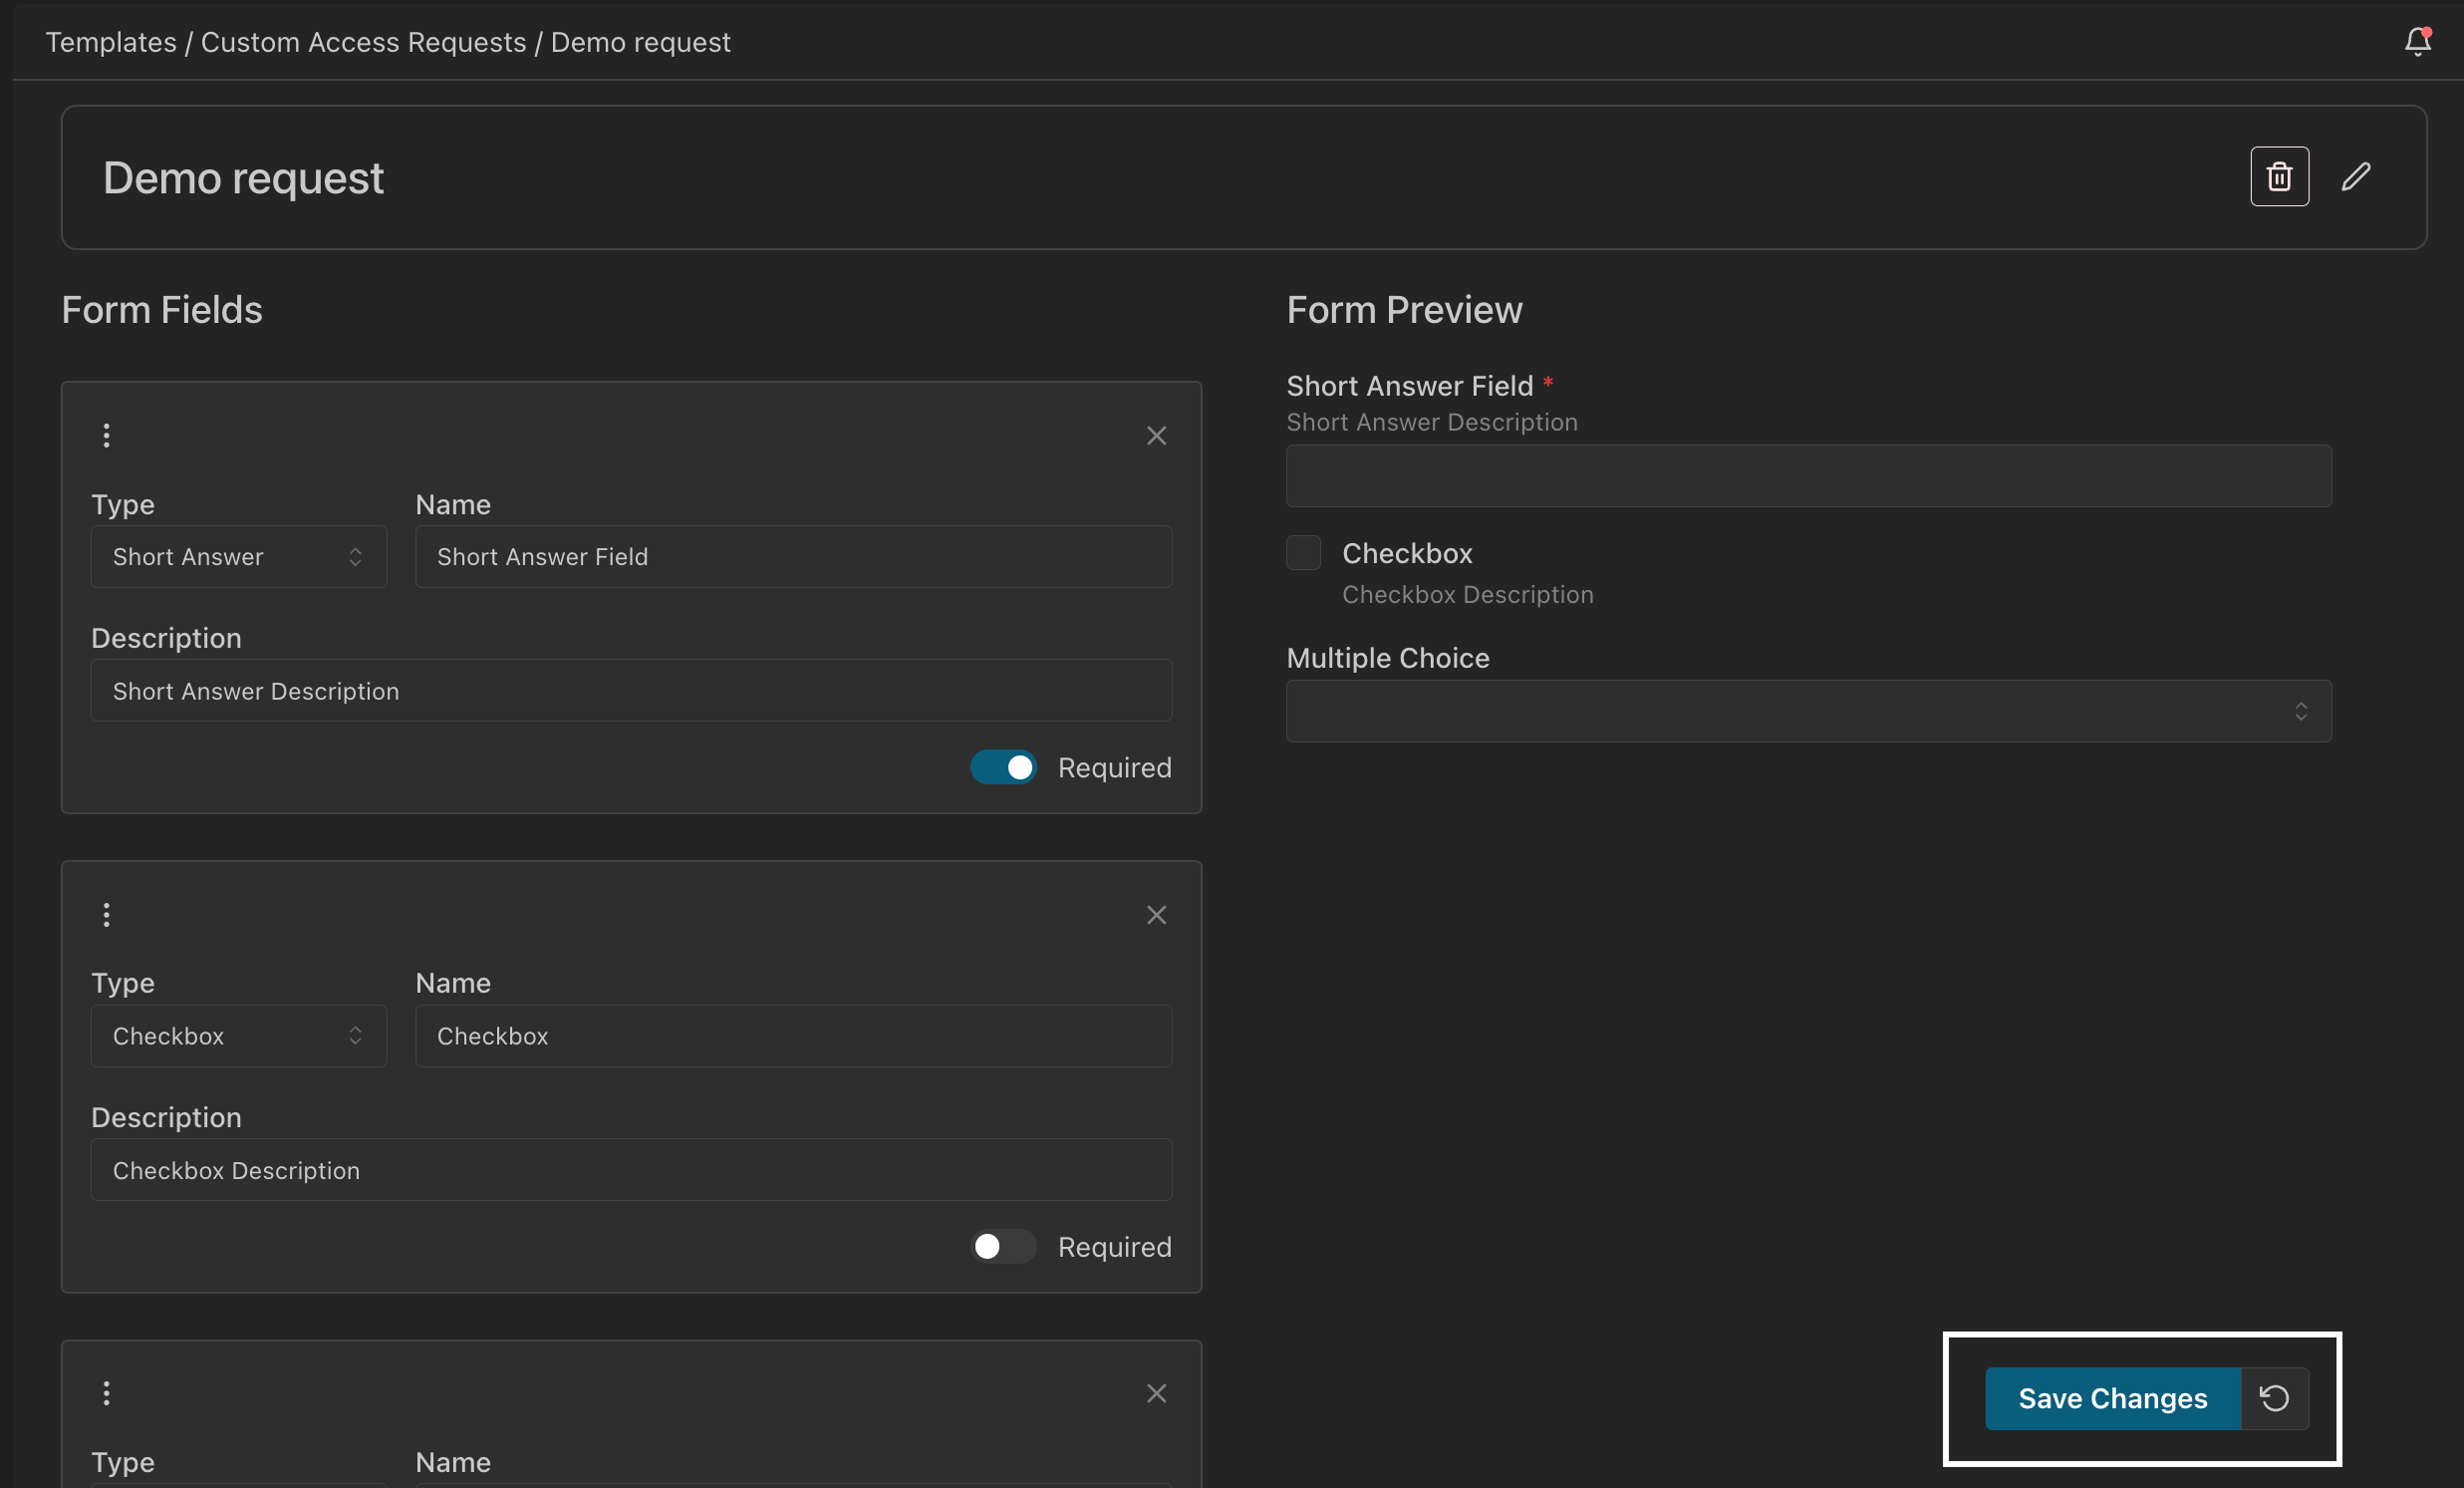
- Once the template has been created and saved, you can attach your Custom Field template to a resource under the Custom fields section:
Links to apps in catalog
We support direct links to apps in our catalog so that users can launch that app or resource immediately.
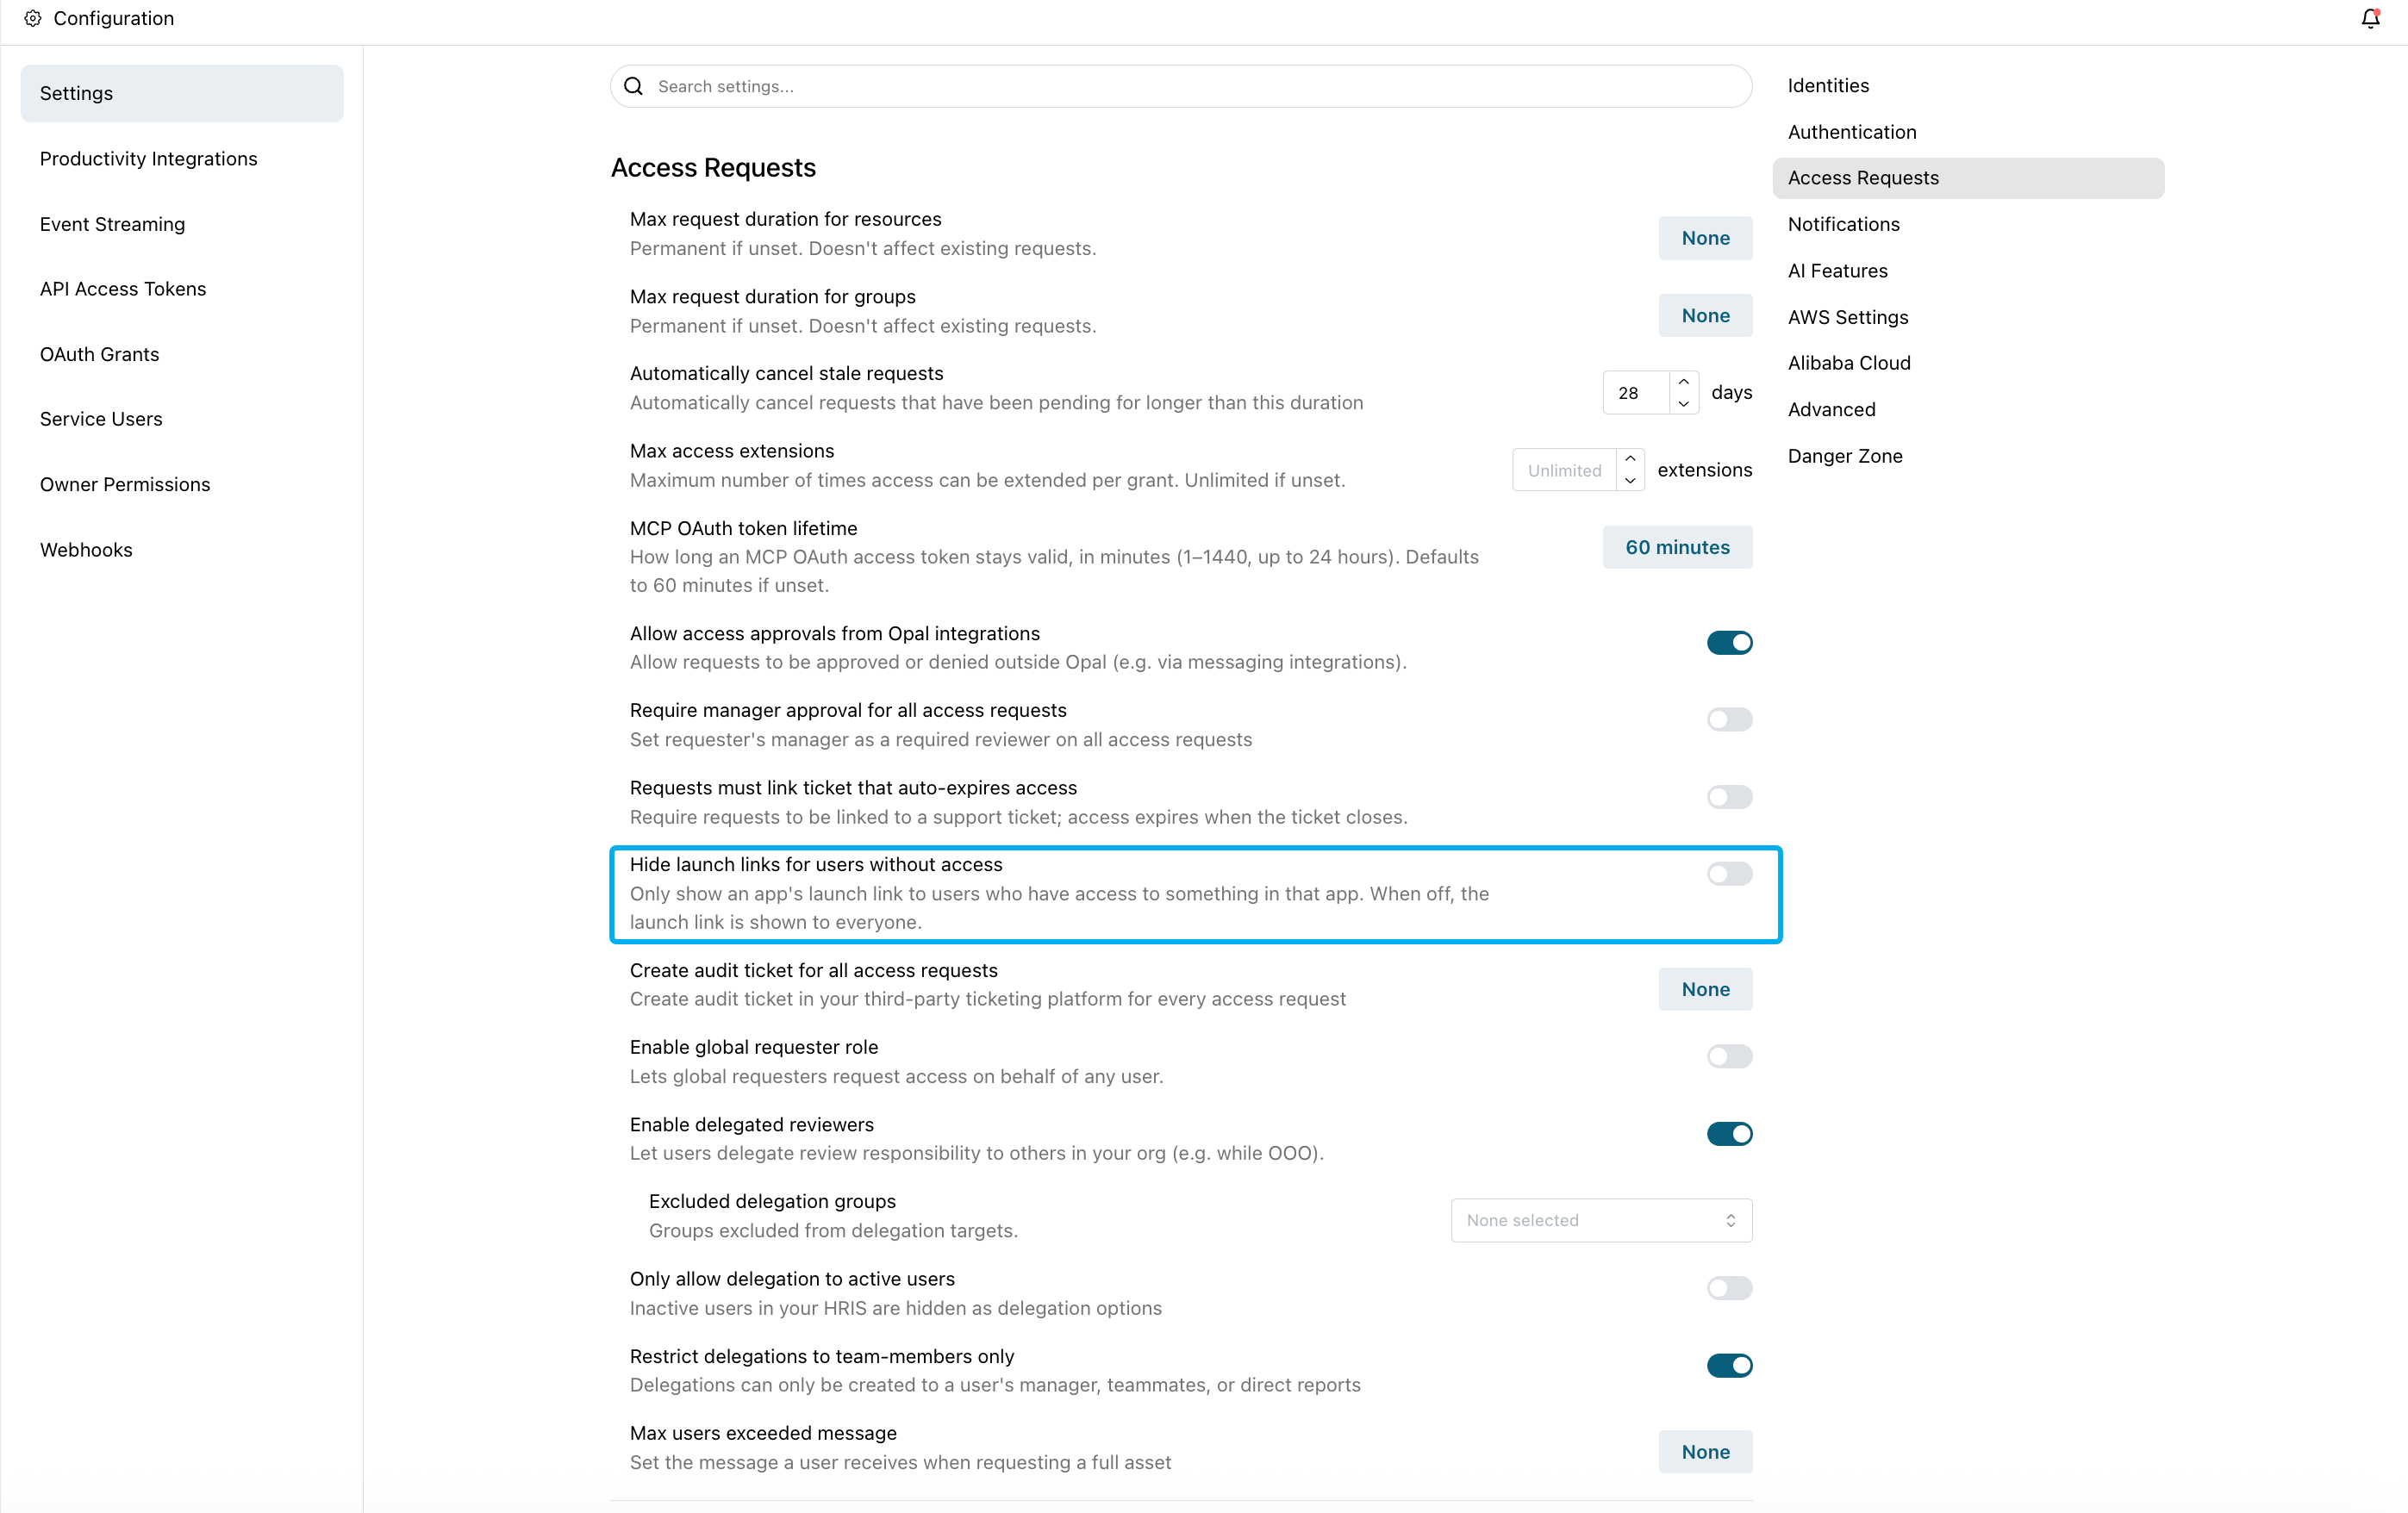
By default, users can navigate to the link to the app or resource regardless of their access. If you want to hide this link, you may do so in Configuration > Settings > Access Requests > Hide launch links for users without access.