- Users can request time-bounded access to your GCP resources.
- Auditors can initiate access reviews that assign managers or group admins to periodically review users with long-lived access to GCP resources.
- All access changes are tracked as events that you can log to Slack or export to your favorite tools.
Supported resources
*You can assign give users access to GCP Service Accounts and grant GCP Service accounts access to resources. You cannot yet add GCP Service Accounts to groups.
Create a service account
To get started, create a service account with the proper permission scopes.- Open the Service accounts page. If prompted, select a project.
- Ensure that the selected project has the Cloud Resource Manager API and the IAM API enabled.
- At the top of the page, click ”+ Create Service Account”. Enter a name and description for the service account. When done, click Create.
- The Service account permissions section that follows is not required. Click Continue.
- On the Grant users access to this service account screen, click Done.
- Select the new service account.
- Click the Keys tab.
- Click the Add key drop-down menu, then select Create new key.
- Select JSON as the Key type and click Create.
- Your new public/private key pair is generated and downloaded to your machine.
- Click Close on the Private key saved to your computer dialog, then return to the table of your service accounts.
- Make a copy of the full email of the service account.
- Select the organization level at the top:
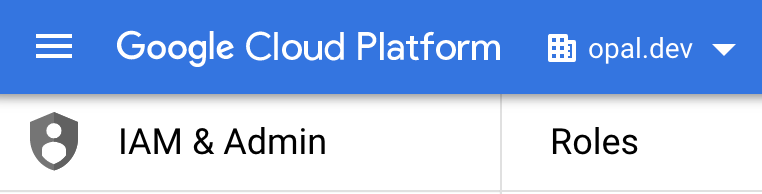
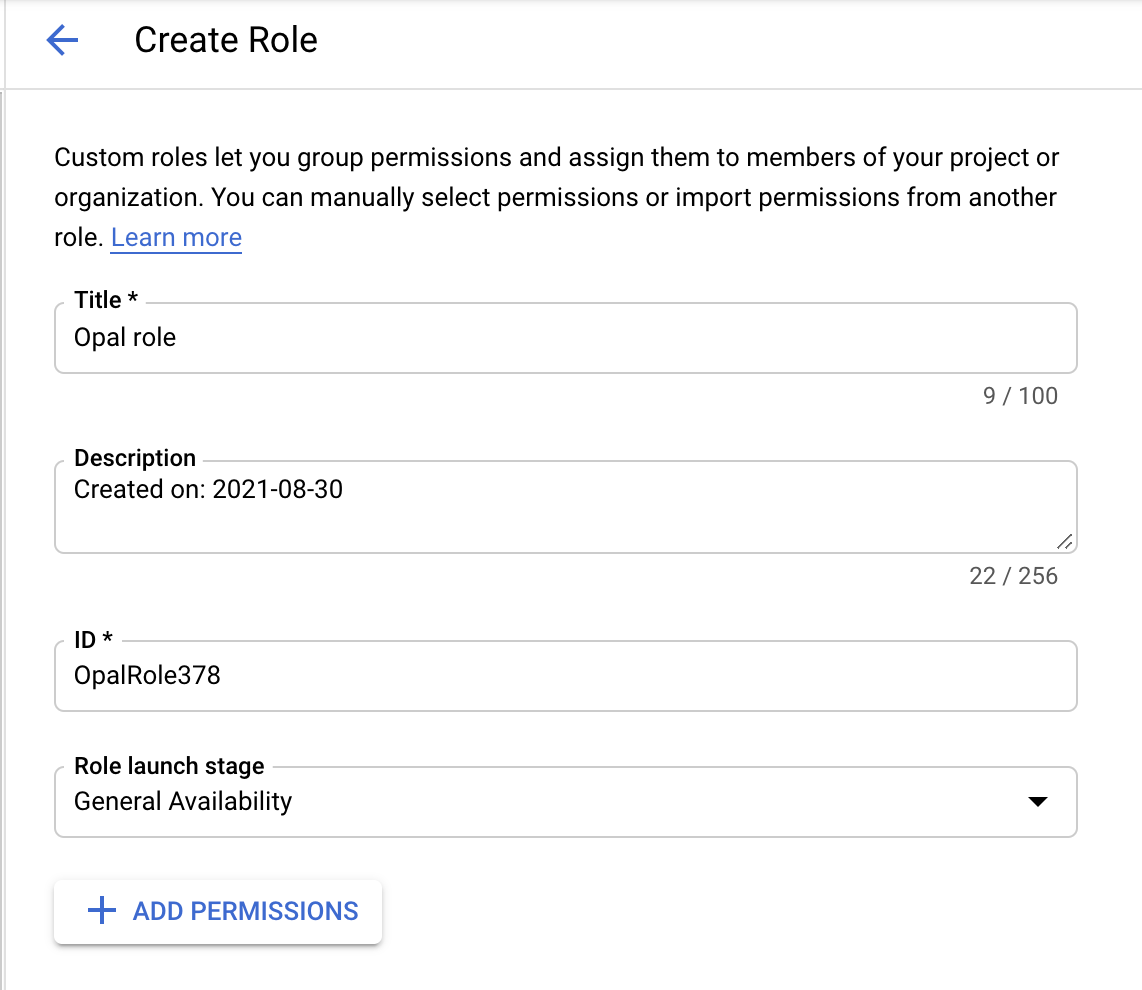
- Click + Create Role.
- Give it a title, ID and set the launch stage to General Availability.
- Click + Add Permissions.
- Add the following permissions. The
resourcemanager.organizations.getpermission is required, and the rest are optional. Use the Explanation tab to learn which permissions are necessary for your use case.
- Click Create.
- Select the top level organization:
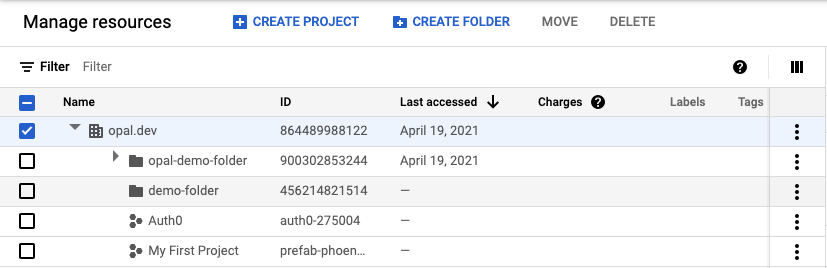
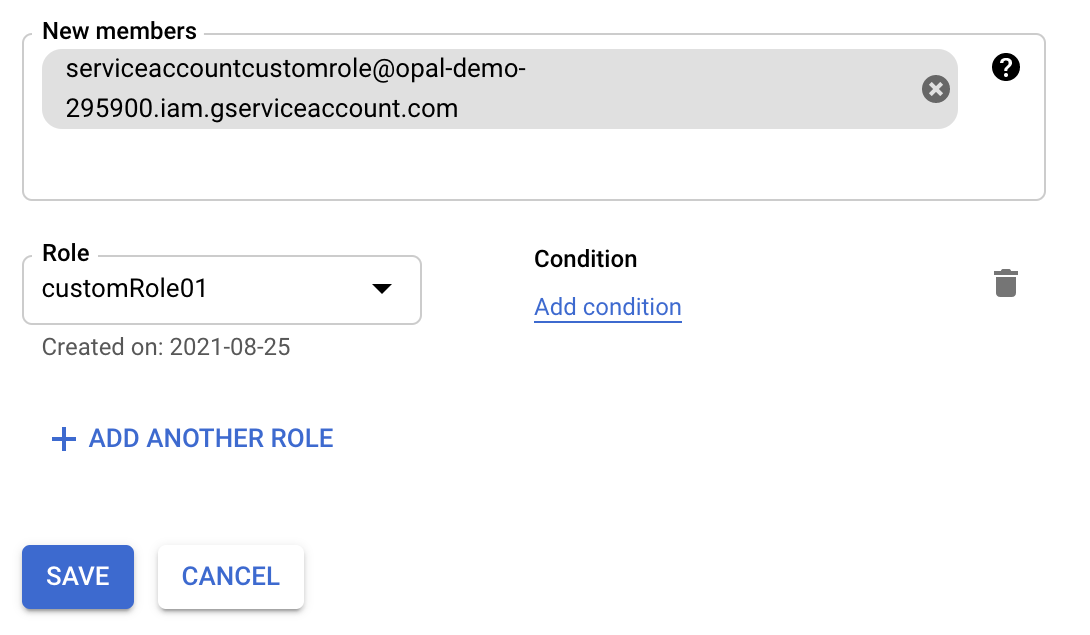
- On the right side “Info Panel”, click Add Principal:
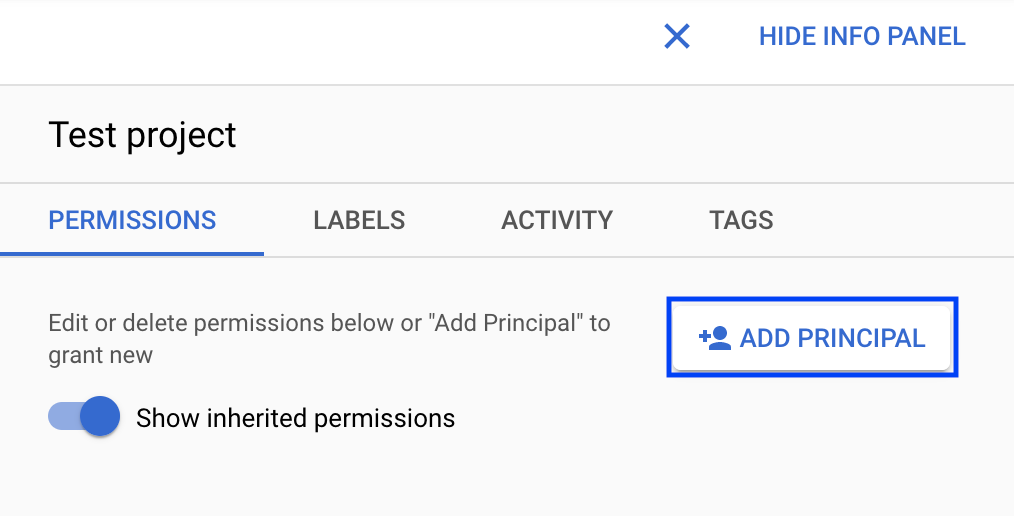
- Enter the service account email, and select the new custom role. Then click Save.
Connect app to Opal and confirm app validations
In Opal, go to the Inventory and select +App, then find the Google Cloud Platform tile. Fill out the form using the above steps. After you save your app, you can view existing sync issues from the Setup tab on the app detail page. Missing permissions and sync issues show in the App Validations section. Select the refresh icon to rerun validation checks.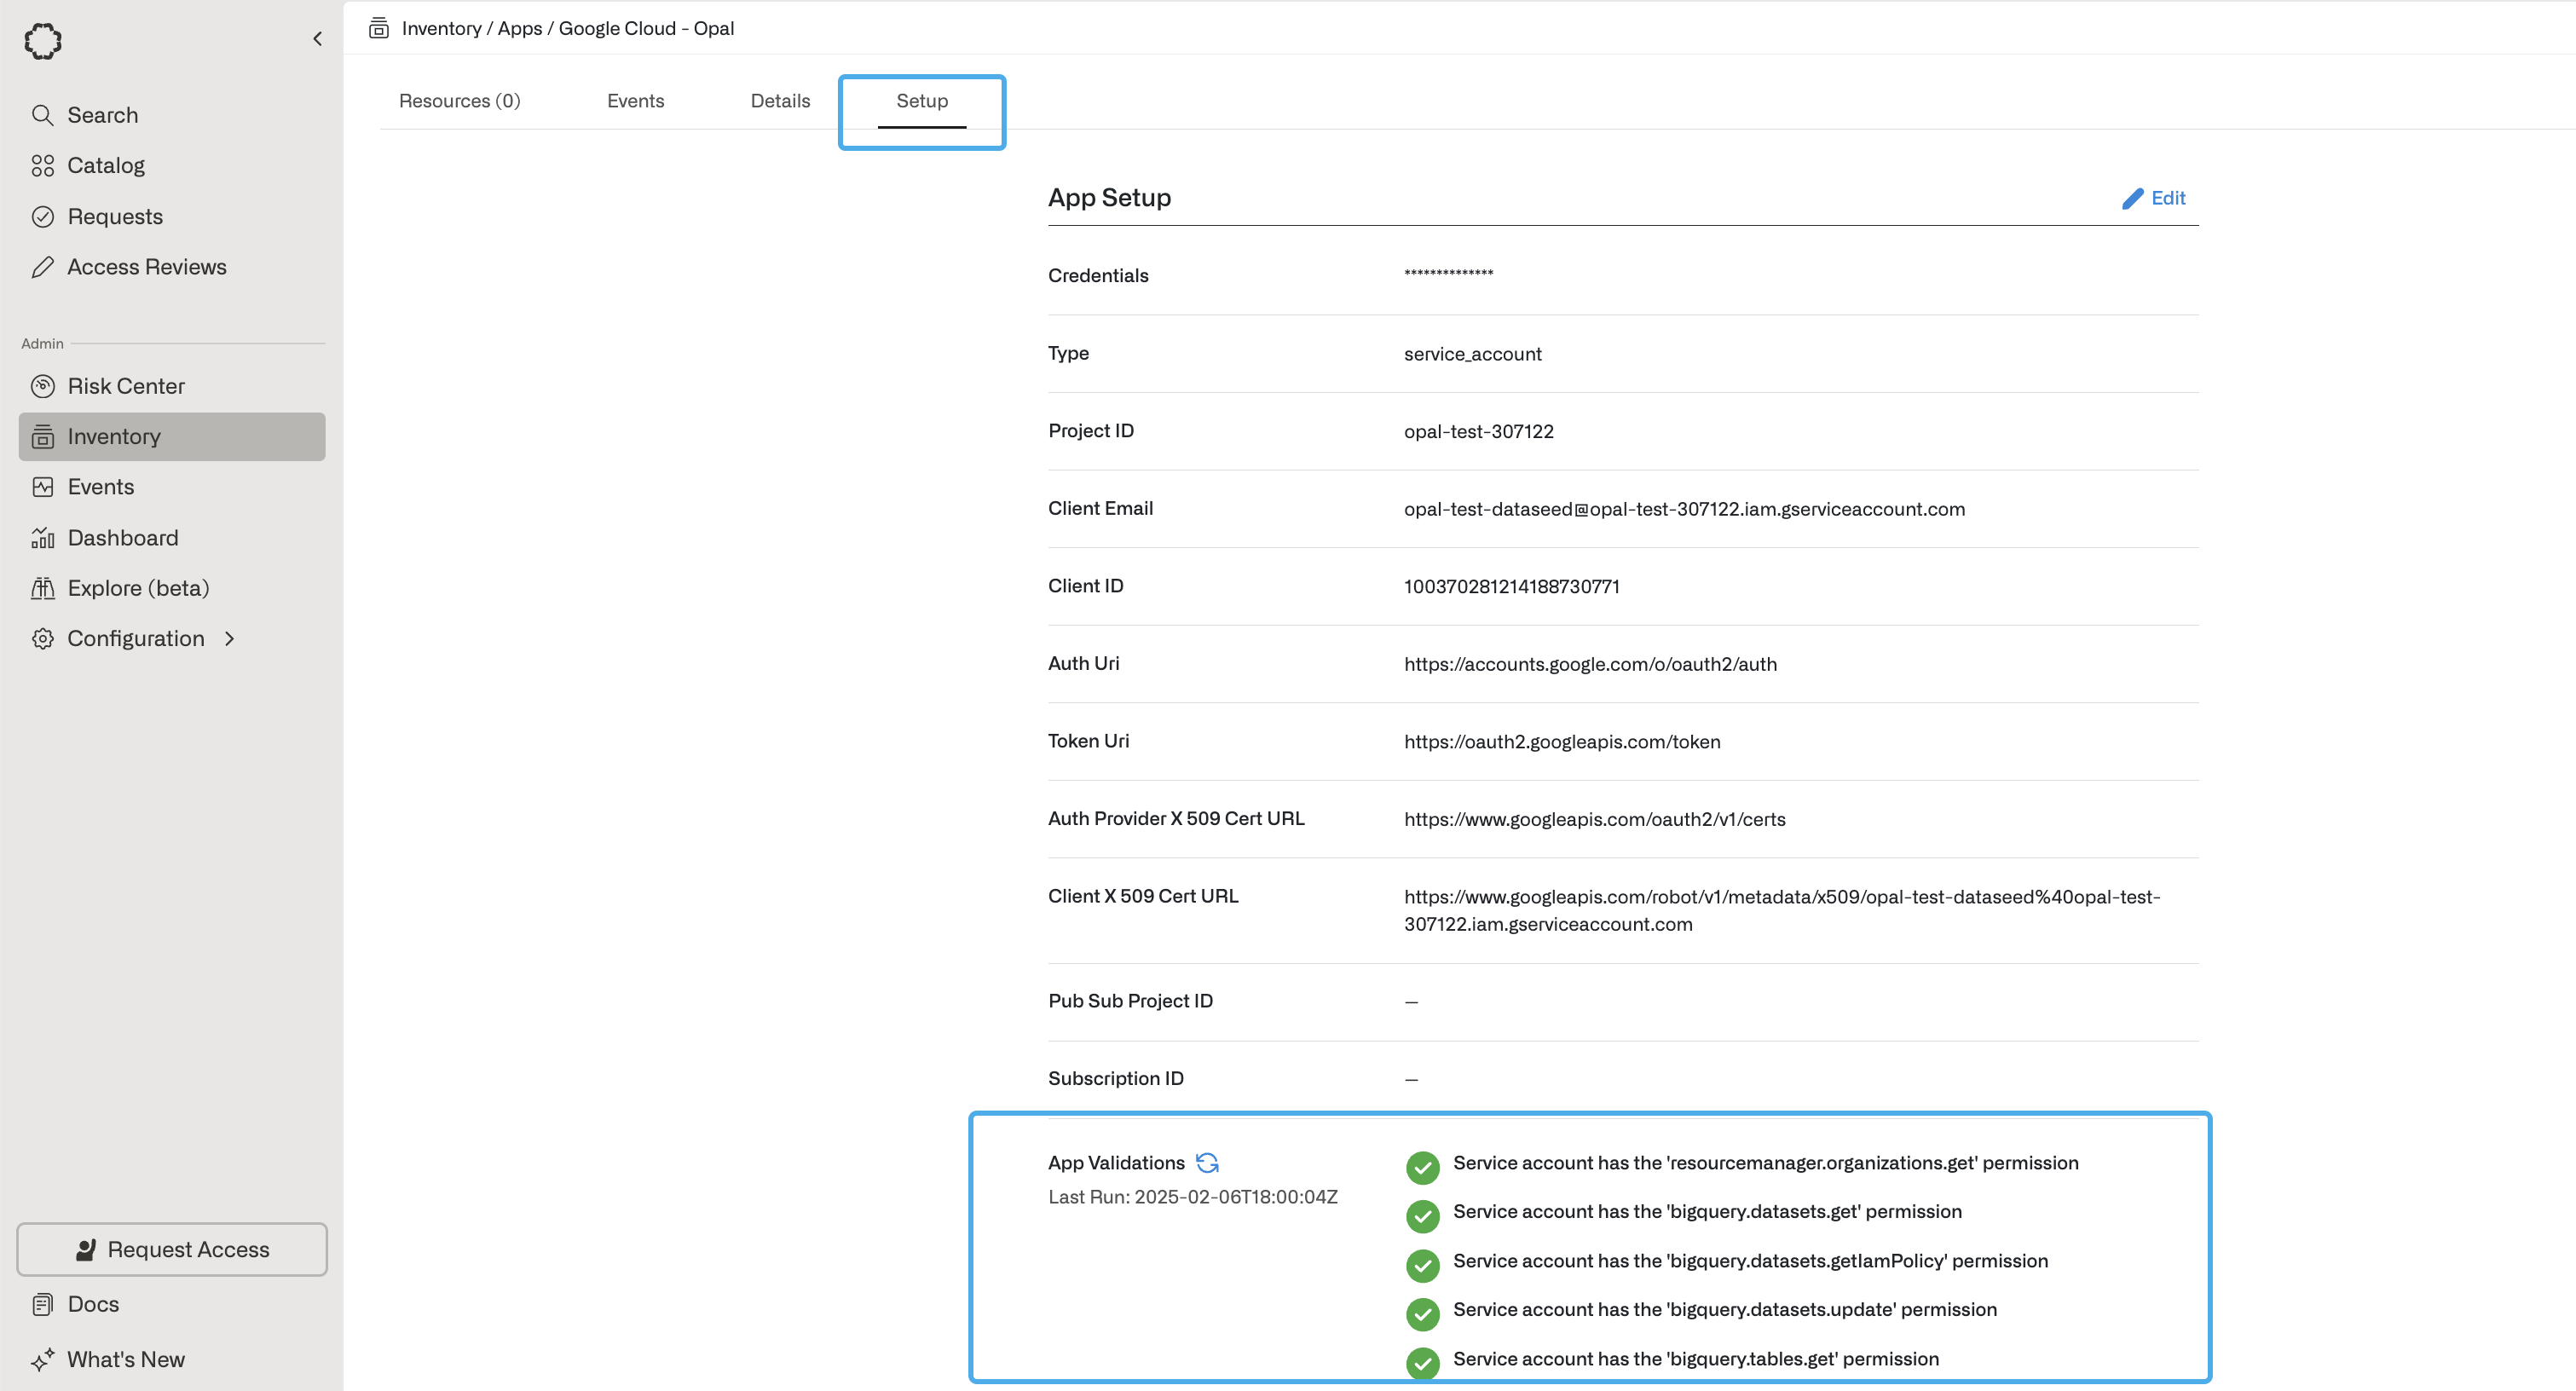
Usage data and Risk Center
Opal can ingest usage data from your GCP environment to help identify usage patterns and surface unused access grants in the Risk Center. You’ll need to enable data access audit logs in your environment following the GCP documentation. Opal currently ingests primarily read usage events, so theADMIN_READ and DATA_READ permission types must be enabled.
Enable these audit logs for the following services:
Identity and Access Management (IAM) APIGoogle Cloud StorageCompute Engine APICloud Resource Manager APICloud SQL