

- Import, sync, and manage access to Snowflake Roles and Securable Objects
- View granular privileges granted to each user and role
- Perform User Access Reviews (UARs) to assign managers or group admins to periodically review users with access to Snowflake Roles
- Audit Event logs for any access changes on managed Snowflake Resources
- Allow users to request JIT time-bound access to Snowflake Roles
There is a limit to 10,000 users, roles, databases, schemas, and tables each. If you would like to increase this, please reach out.
Supported functionality
In Opal, you can grant users access to Snowflake Roles, and add and remove Snowflake Tables, Schemas, and Databases to Snowflake Roles.
The integration also supports user account provisioning.
Requirements
To configure Snowflake, you must be an Opal Admin and have appropriate permissions in Snowflake.1. Configure your Snowflake Service Account
In order for Opal to manage access to your Snowflake Roles, you must first configure a Snowflake User that uses key pair authentication. In Snowflake,- Create a public/private key pair. Follow Snowflake’s Key Pair Authentication instructions.
- Create a Snowflake User and Role in Snowflake. You can use the below script as a sample:
2. Fill out Opal form to connect to Snowflake
In Opal, go to the Inventory, select the +App button on the top right, then select the Snowflake tile. Fill in the details of your Snowflake configuration. You need the following information:OrganizationAccountLocatorAccount identifierSnowflake URLPublic keyPrivate keyPrivate key password
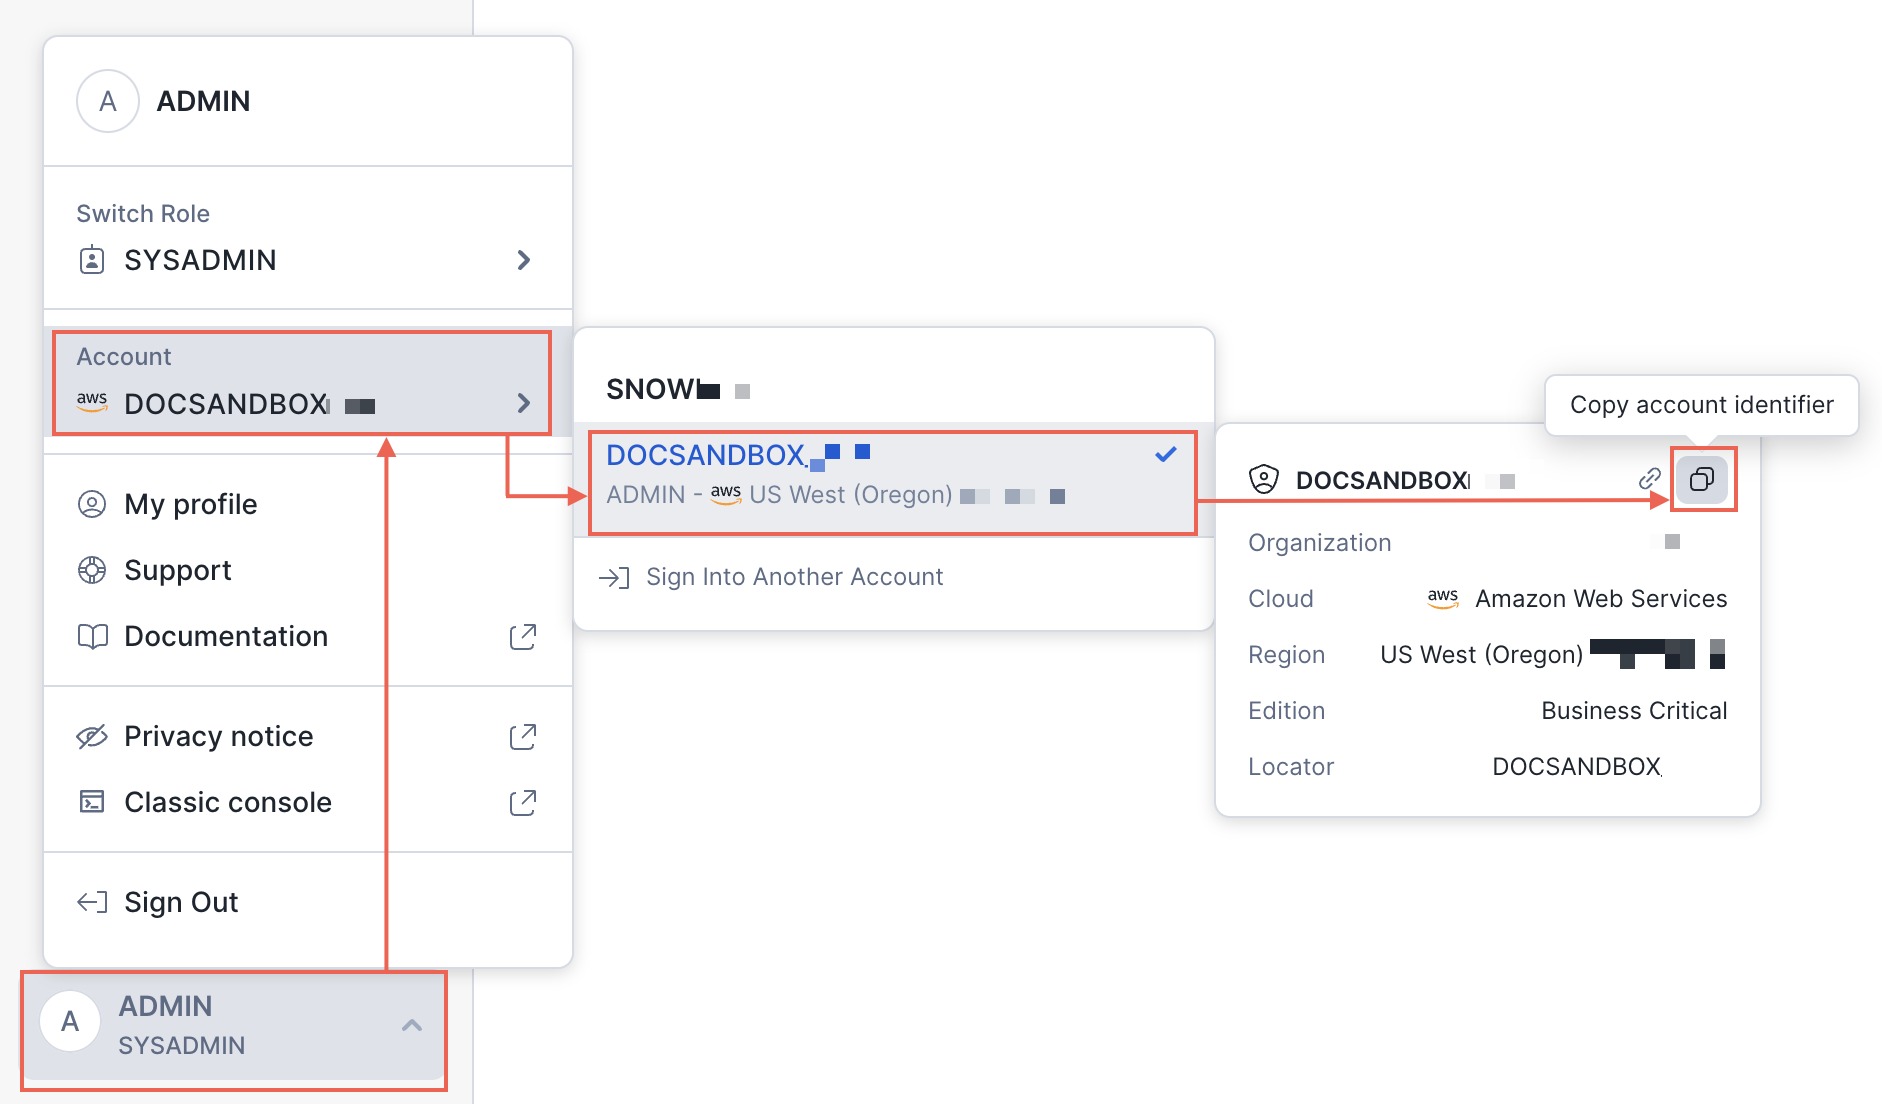
3. Import Snowflake Roles and Securable Objects
After the Snowflake App is set up, select Import items under the... on the top right to see a list of available Snowflake Roles and Securable Objects you can import and manage in Opal.
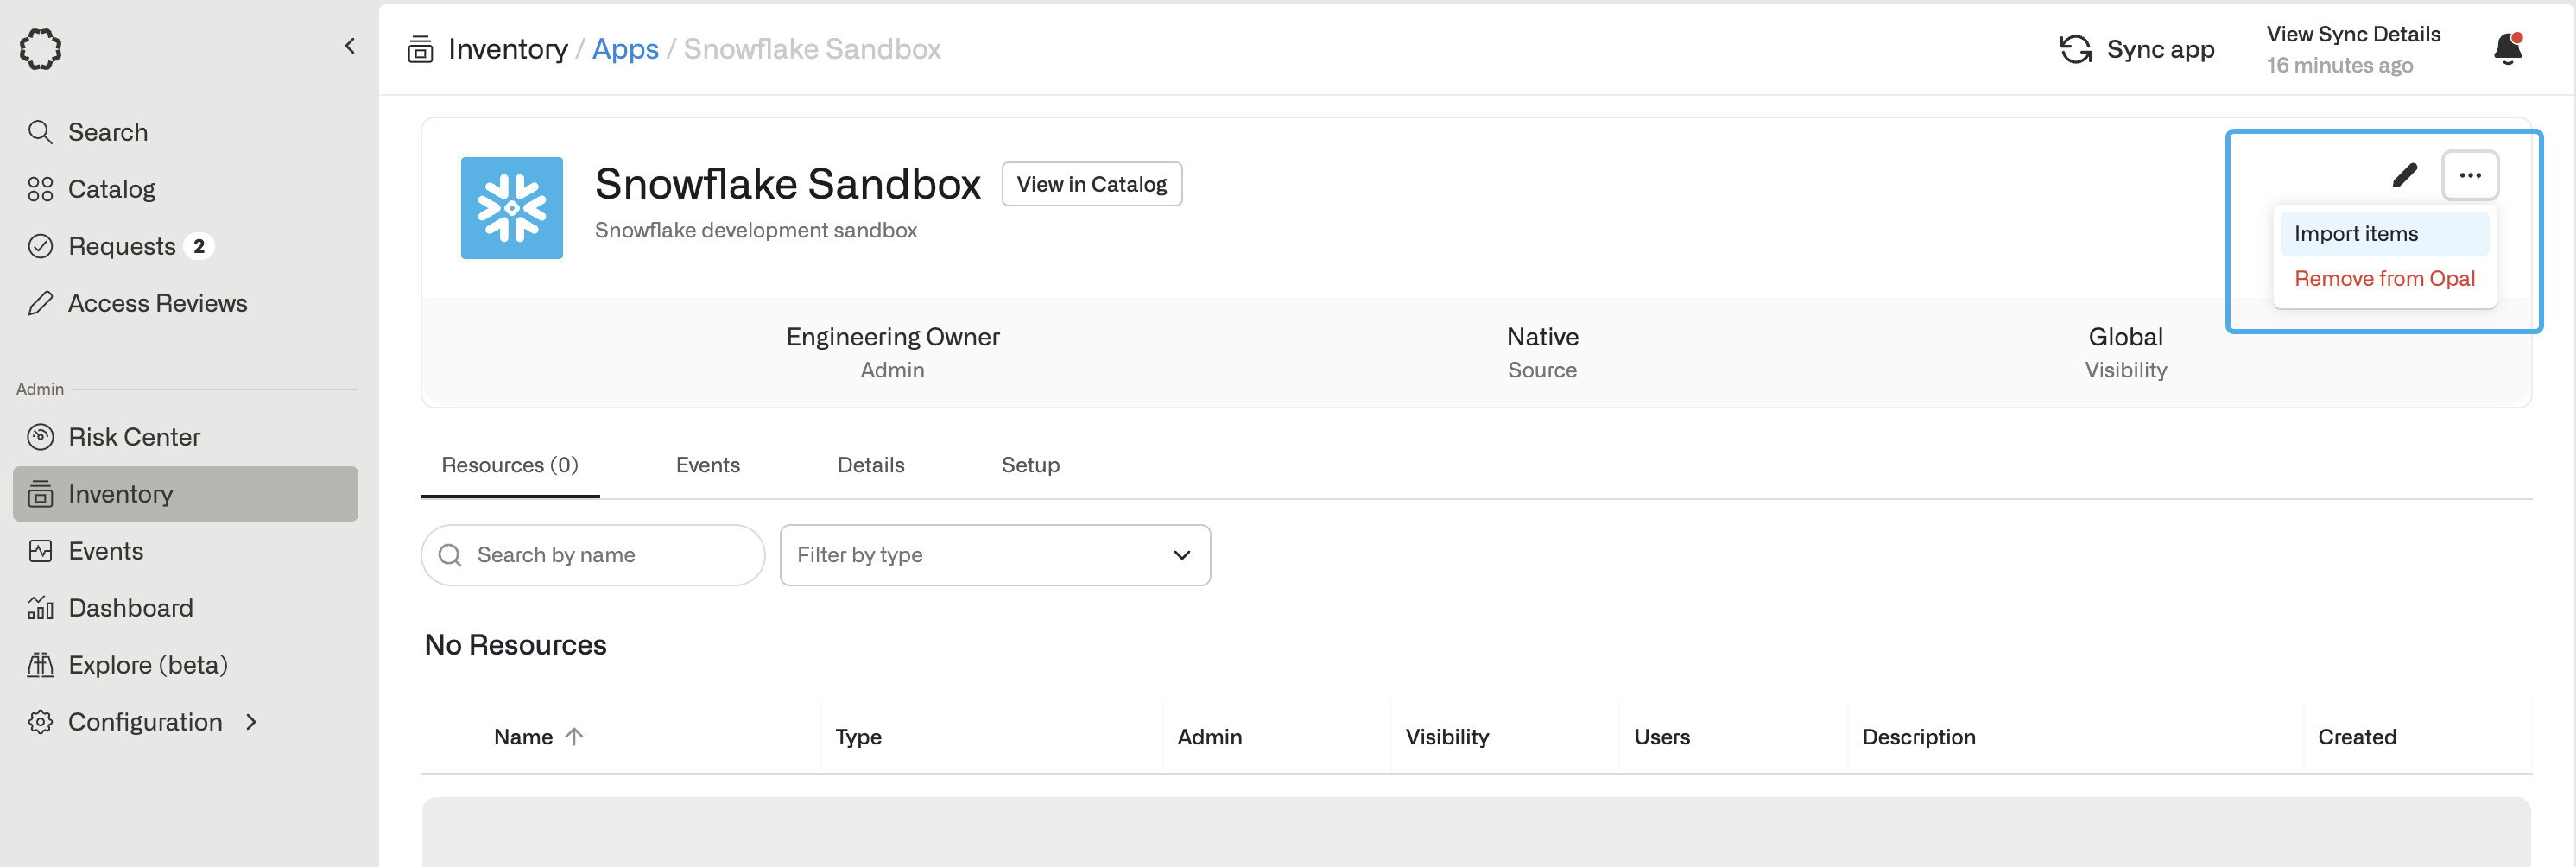
Admins can choose to import only a select Snowflake Role, or automatically import it along with all the Securable Objects it can access. Importing a Securable Object, such as a Table, automatically creates a resource hierarchy, making it easy to visualize the parent Schema and Database in Opal.
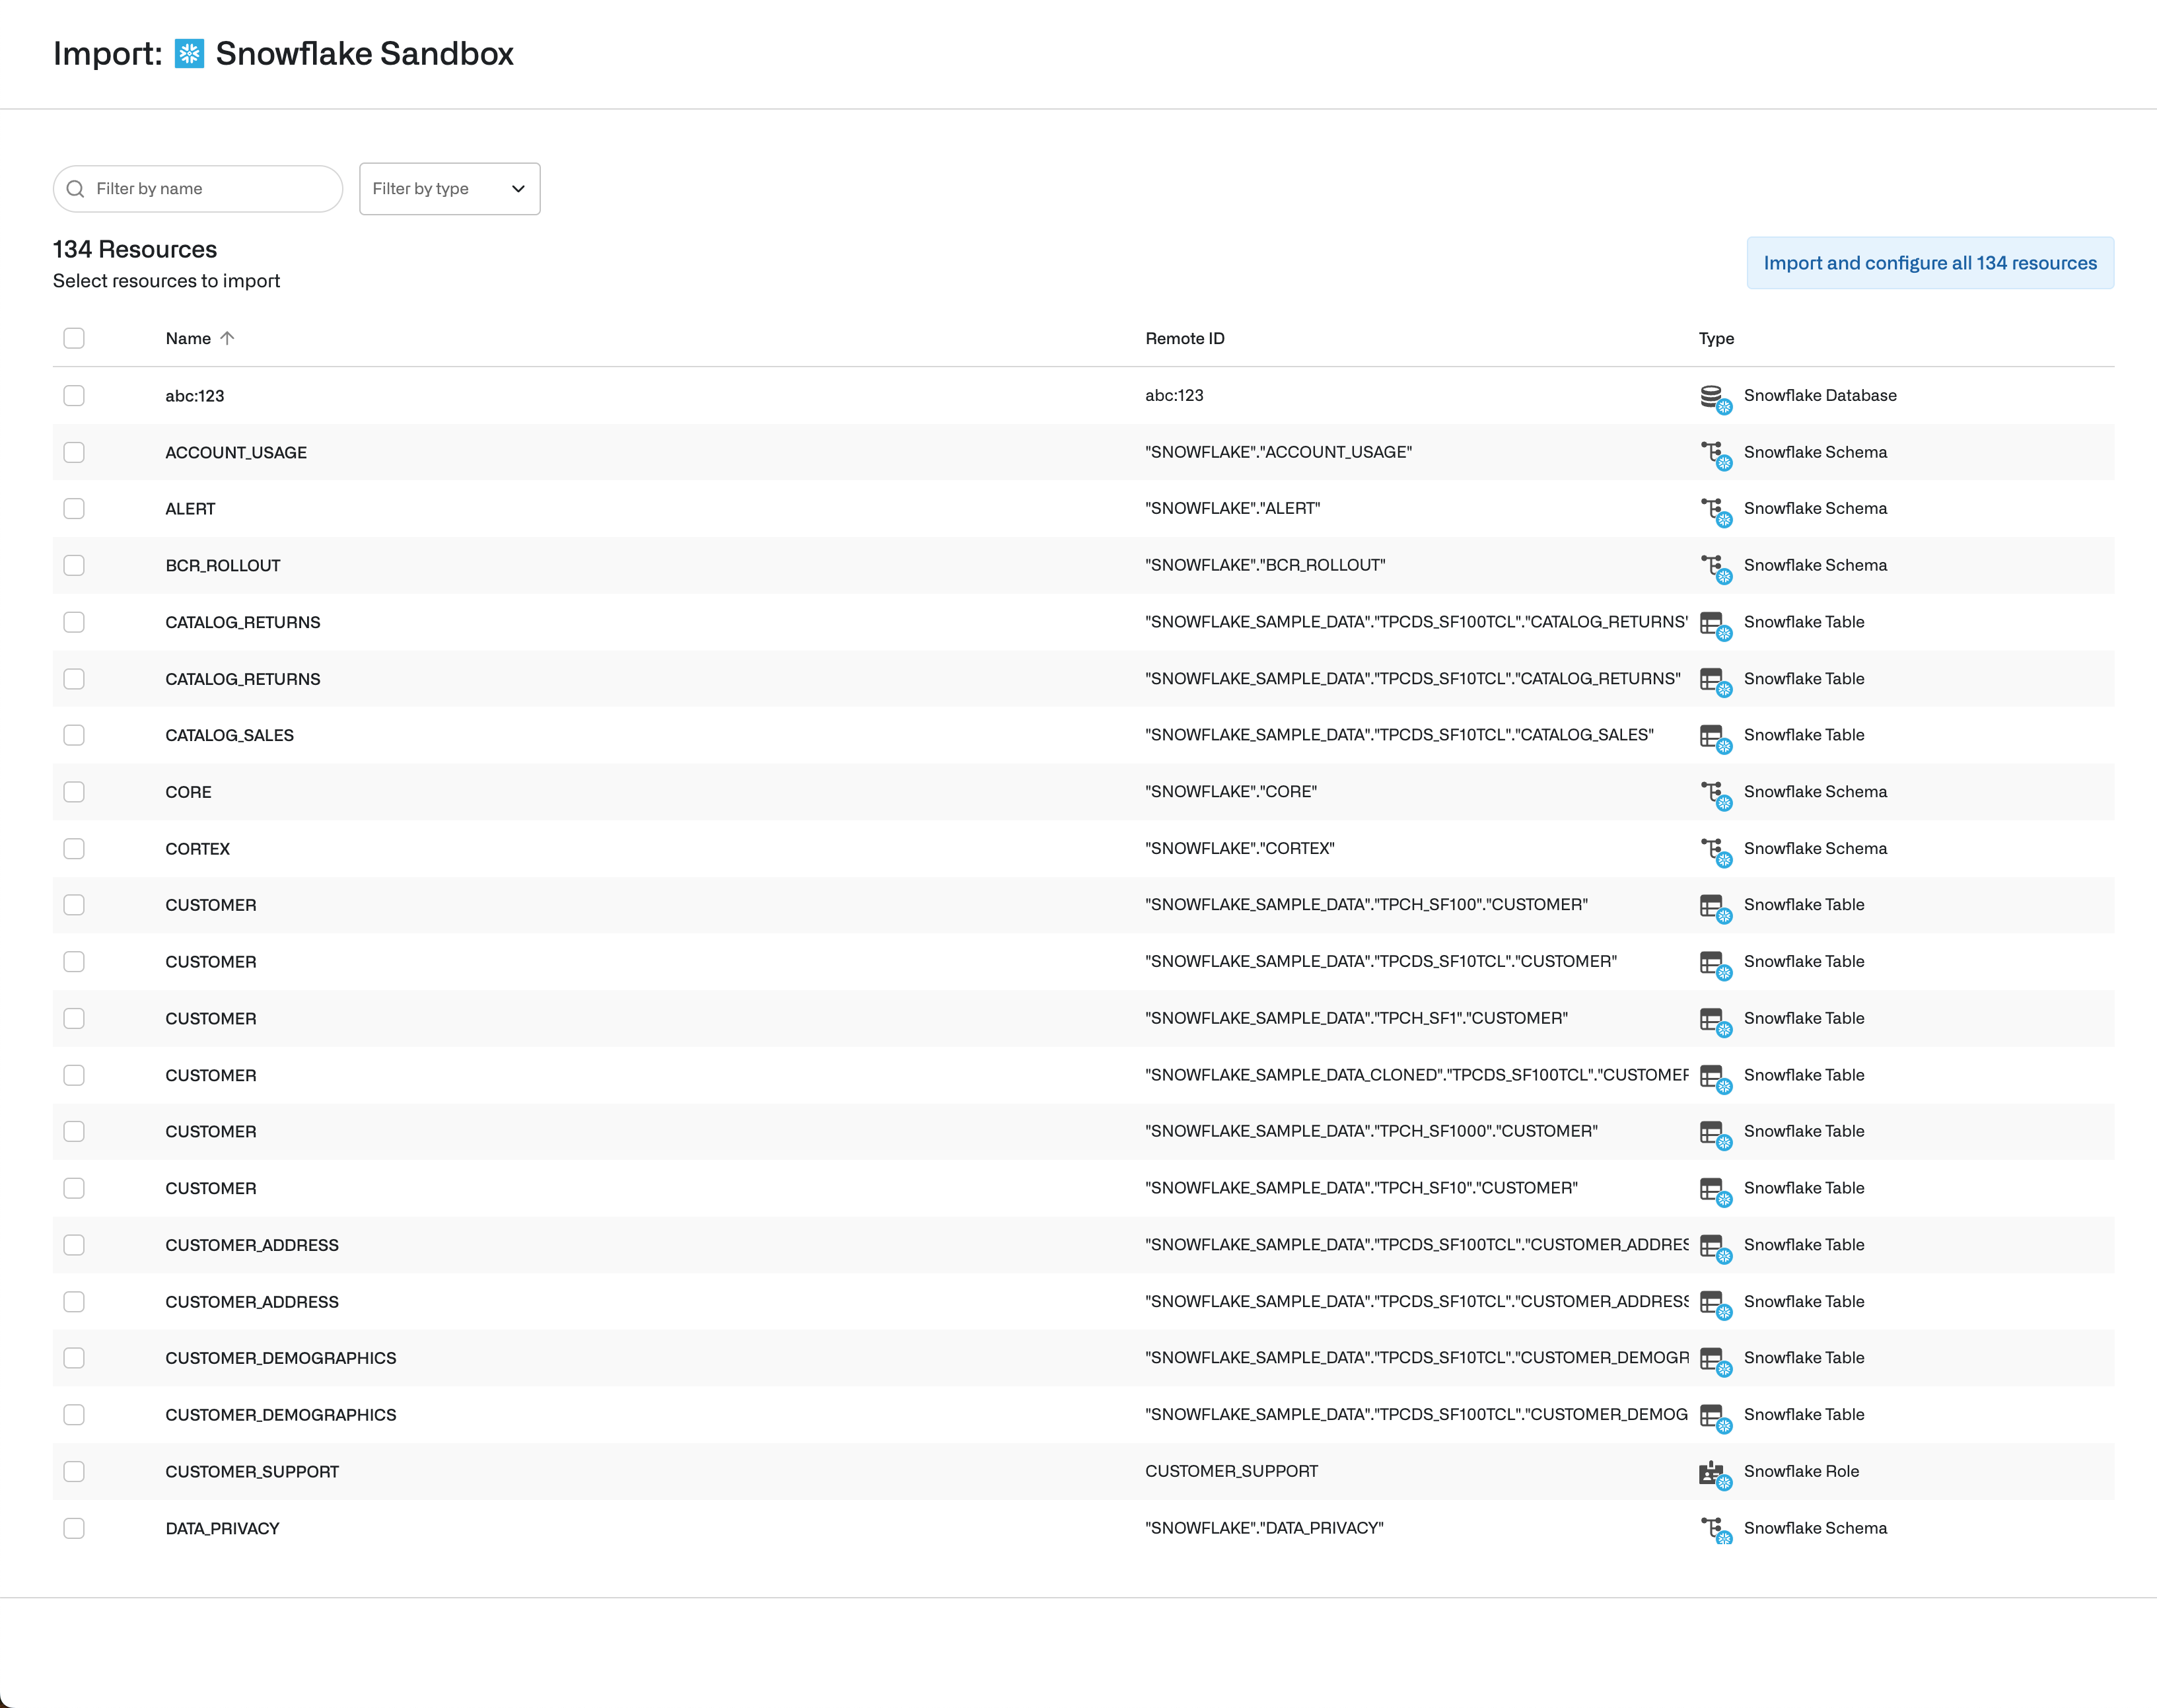
4. View and manage Snowflake resources
After you import Snowflake Roles and Securable Objects you want to manage in Opal, you can:- Navigate to each role and learn which users and groups have access to it, and which Securable Objects it has access to
- Add or remove users to and from the Snowflake Roles
- Add or remove Securable Objects to and from Snowflake Roles
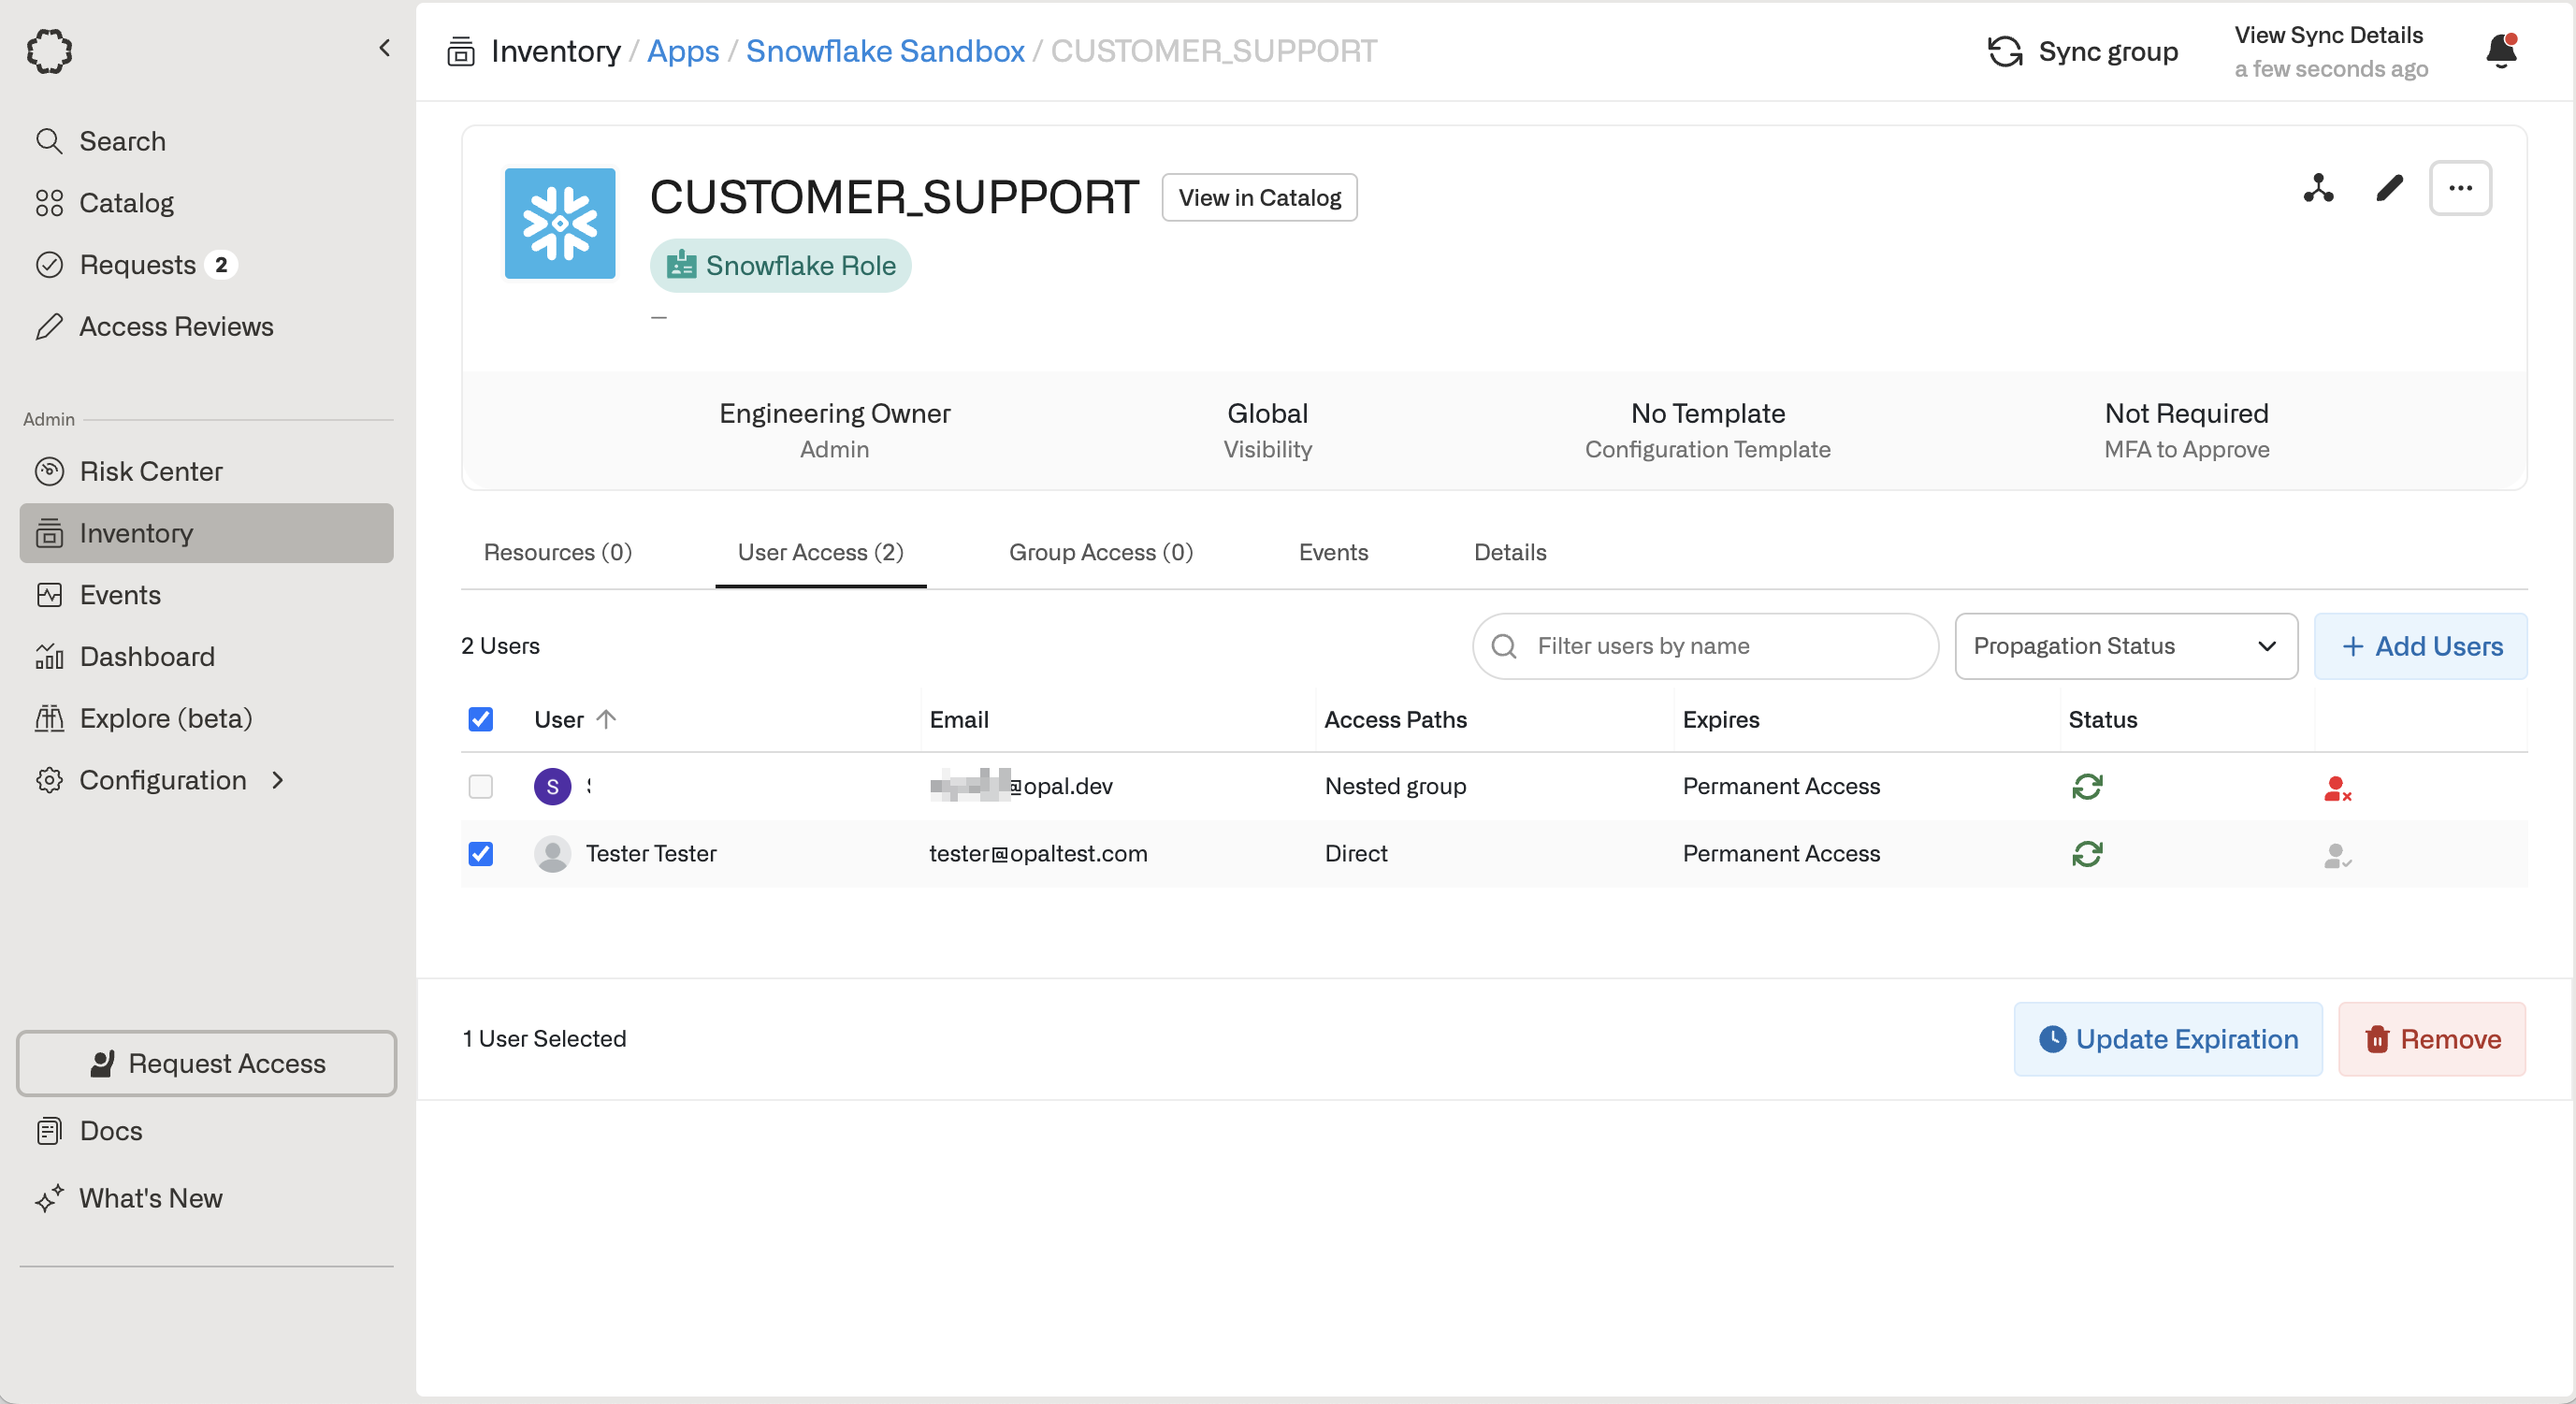
The Customer Support Snowflake Role has two users with access, no groups with access to it, and it does not have access to any Securable Object resources. Selecting Remove in this example revokes Tester’s access to the role.
User provisioning
User provisioning requires a SCIM security integration in Snowflake. Follow
Snowflake User Provisioning to
set it up.