Supported resources
The Workday integration does not currently support syncing Workday service users.
1. Create an Opal app
To get started, go to the Inventory > Apps page, select +App at the top right, and select +Connect under the Workday tile.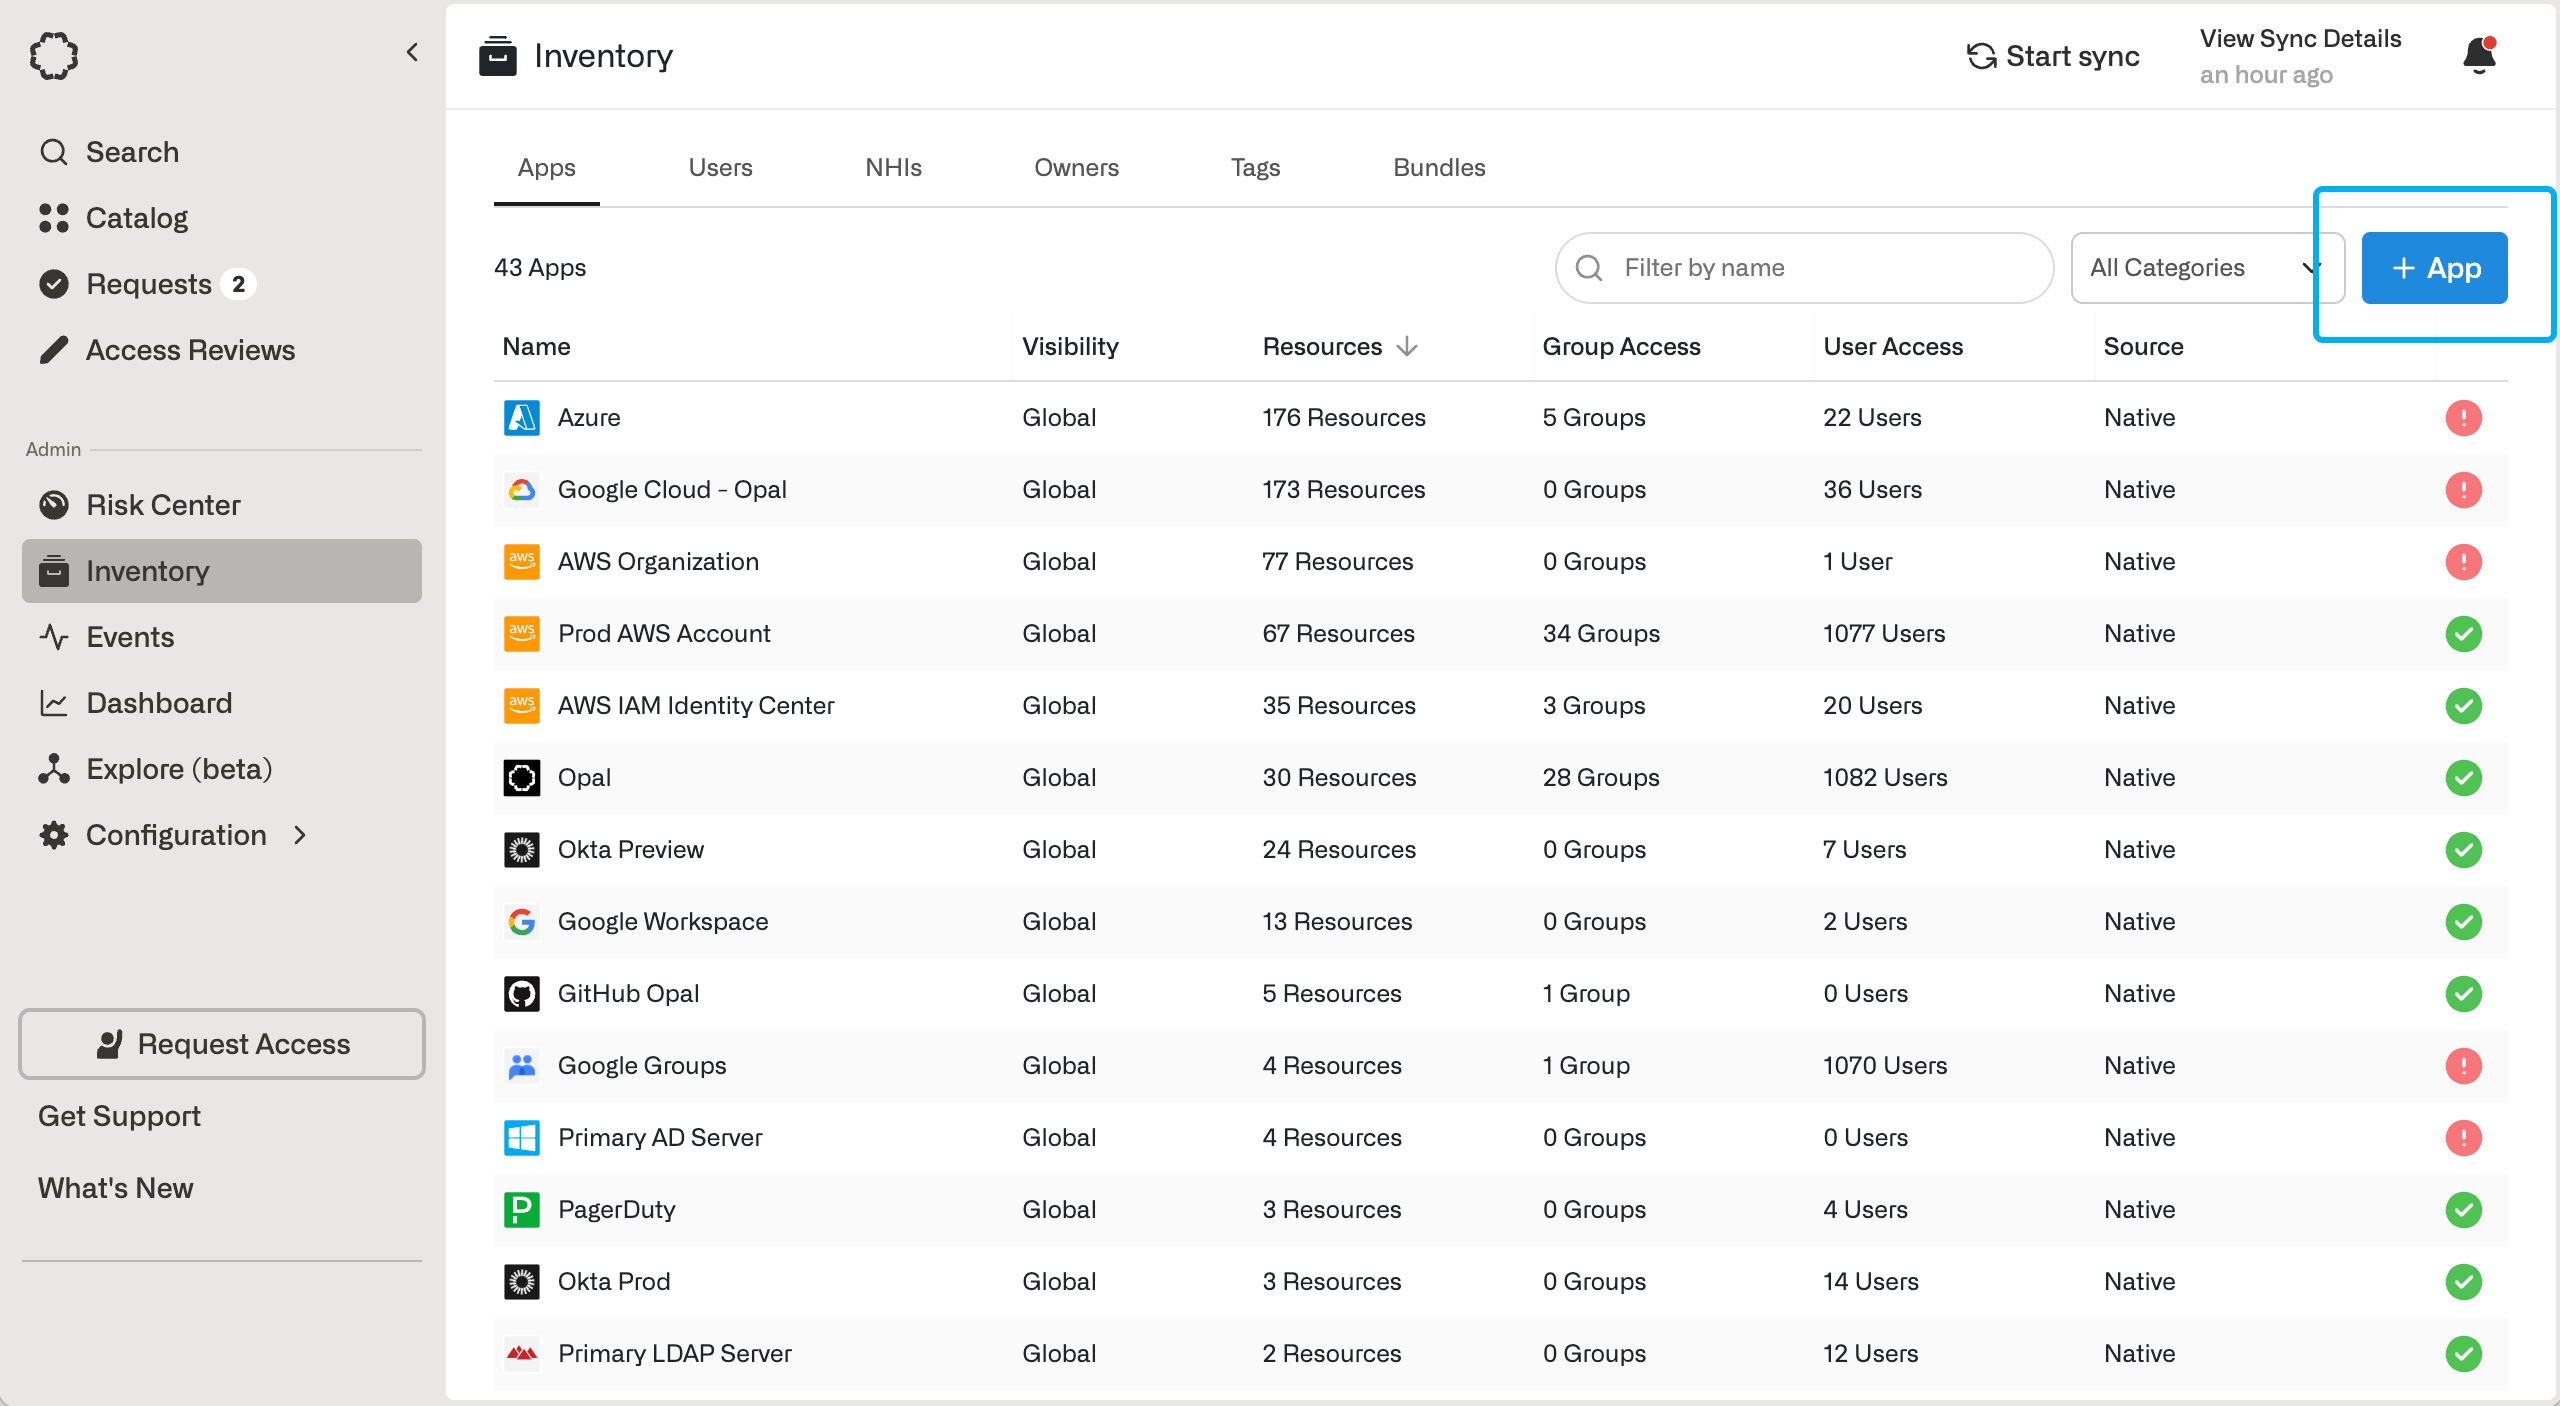
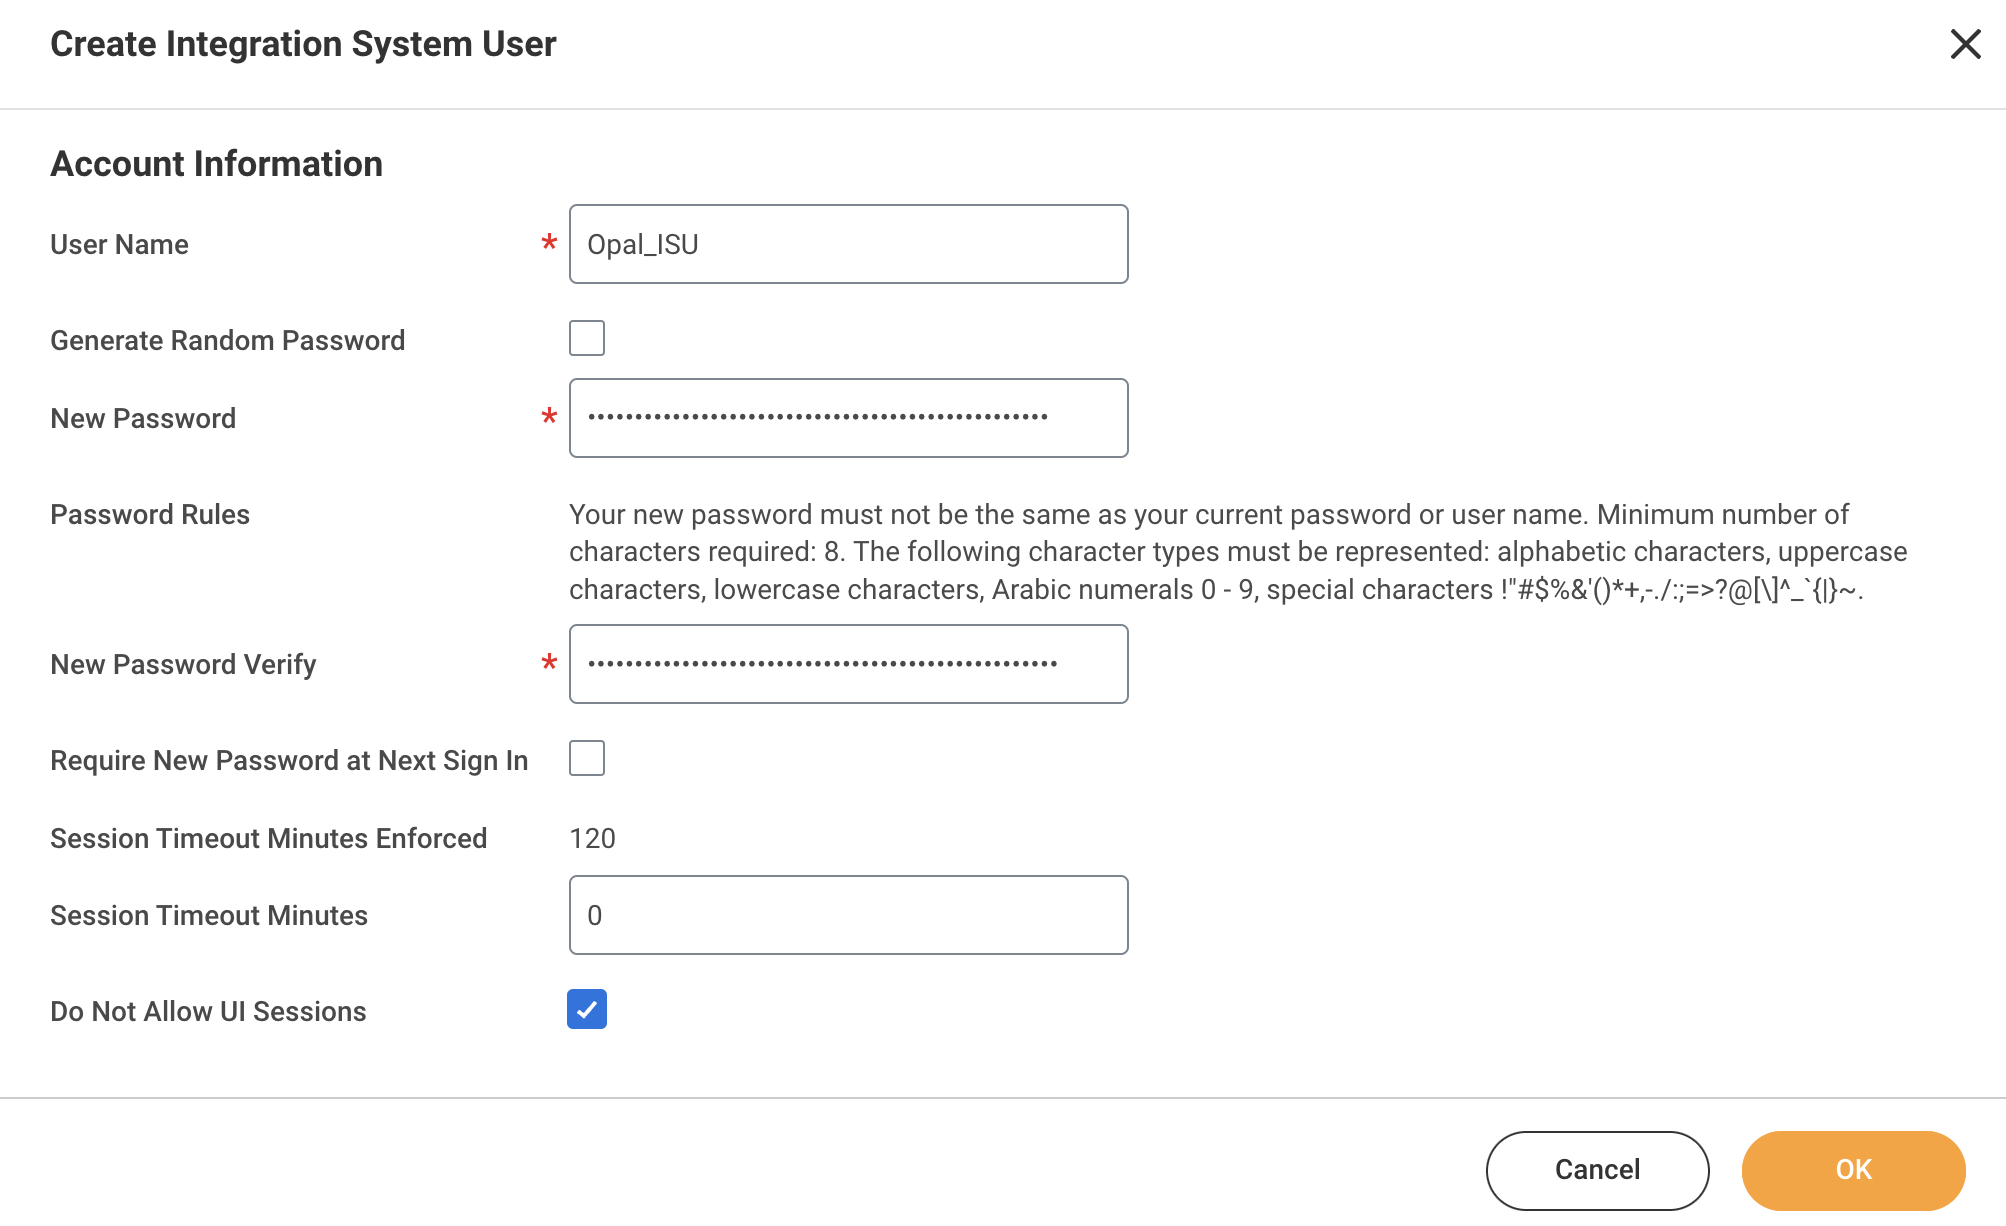
2. Create an Integration System User (ISU)
In the Workday Search bar, enter Create Integration System User, and select the corresponding Task.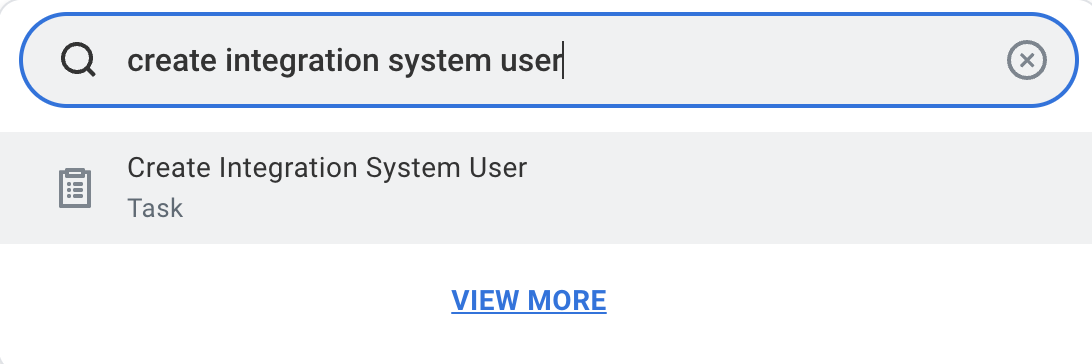
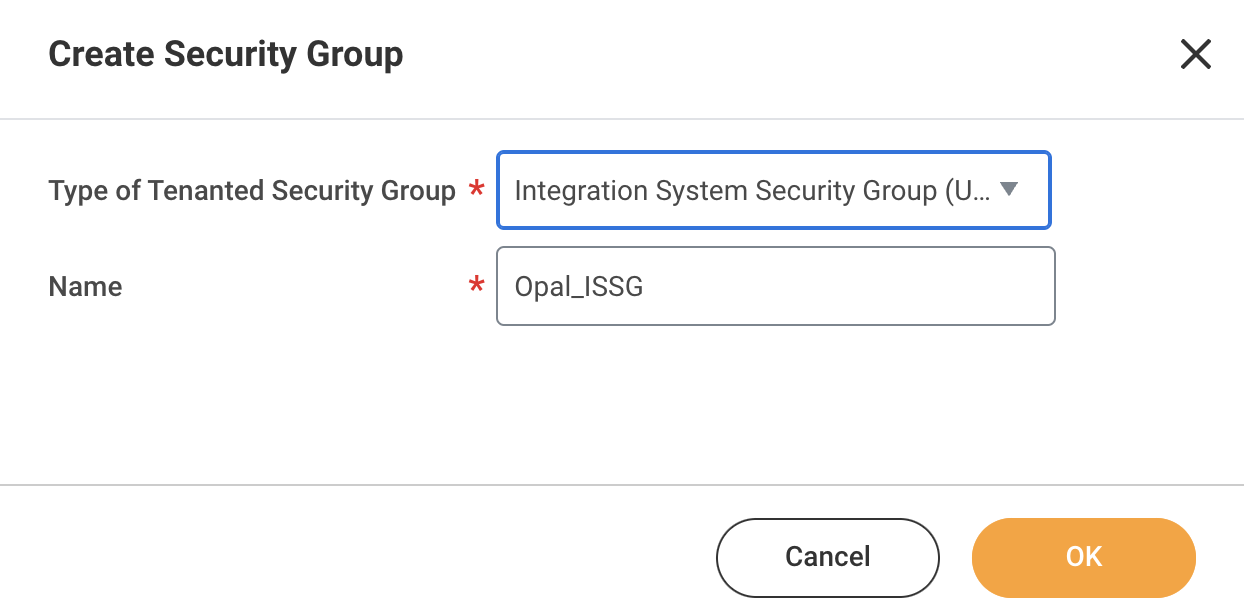
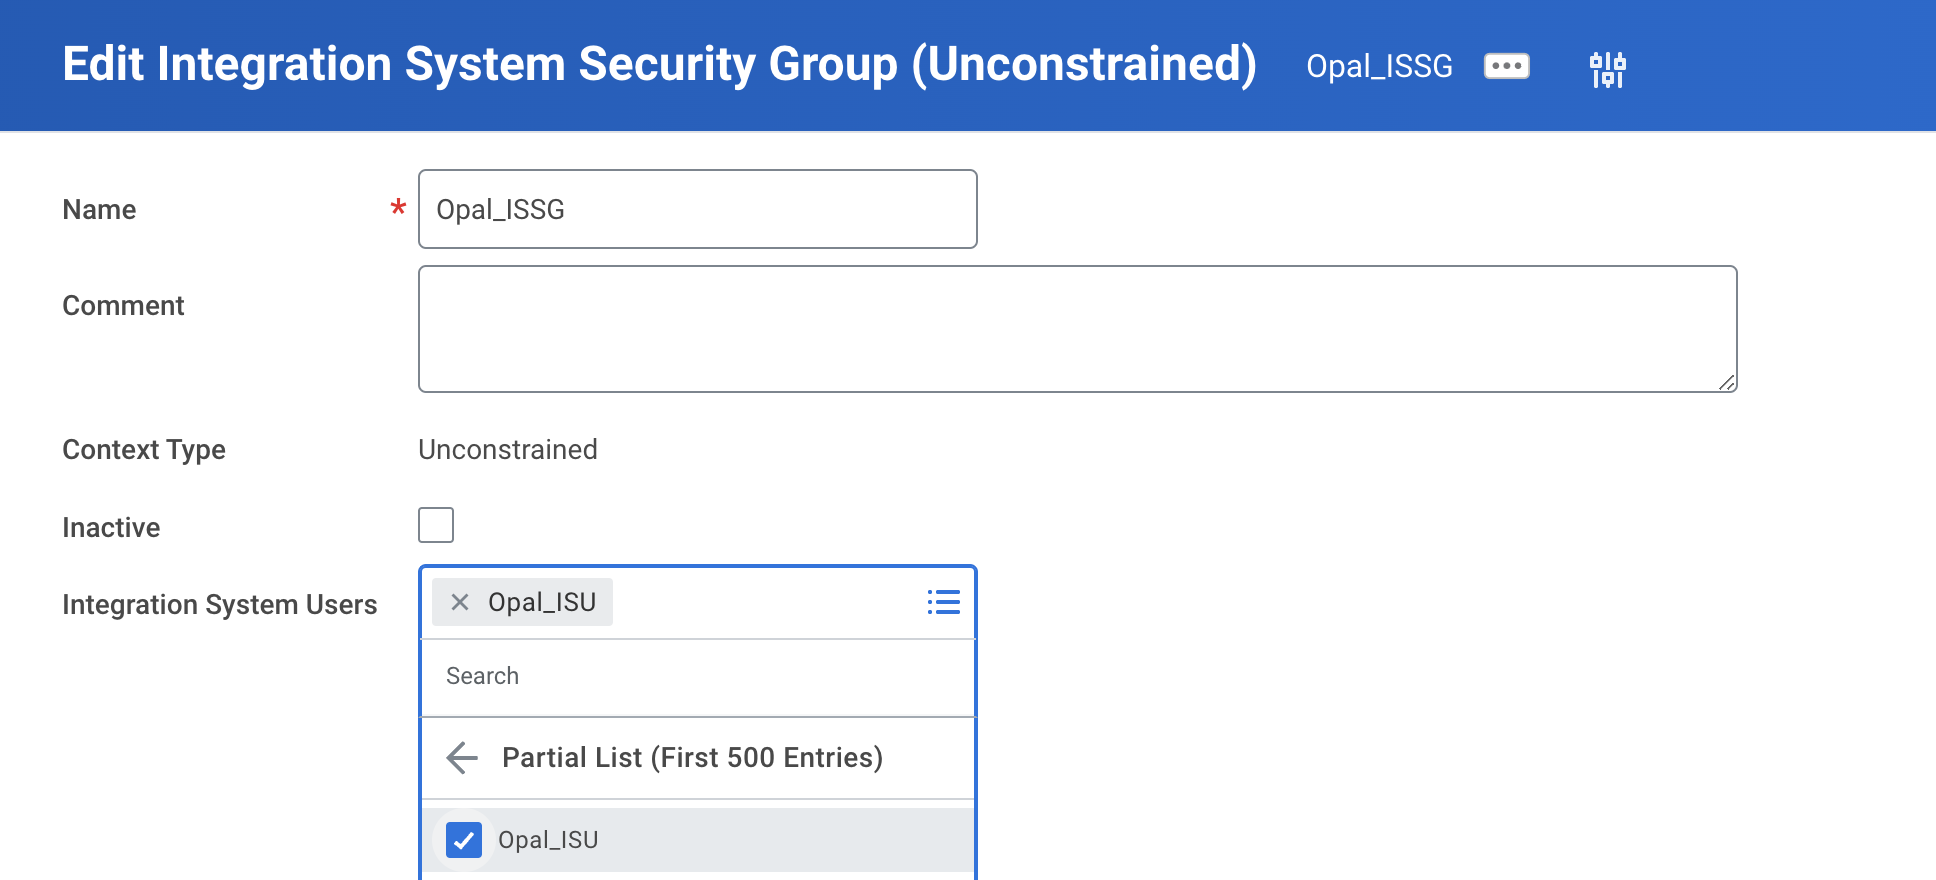
3. Create a Security Group and assign it an ISU
In the Workday Search bar, enter Create Security Group, and select the corresponding Task.
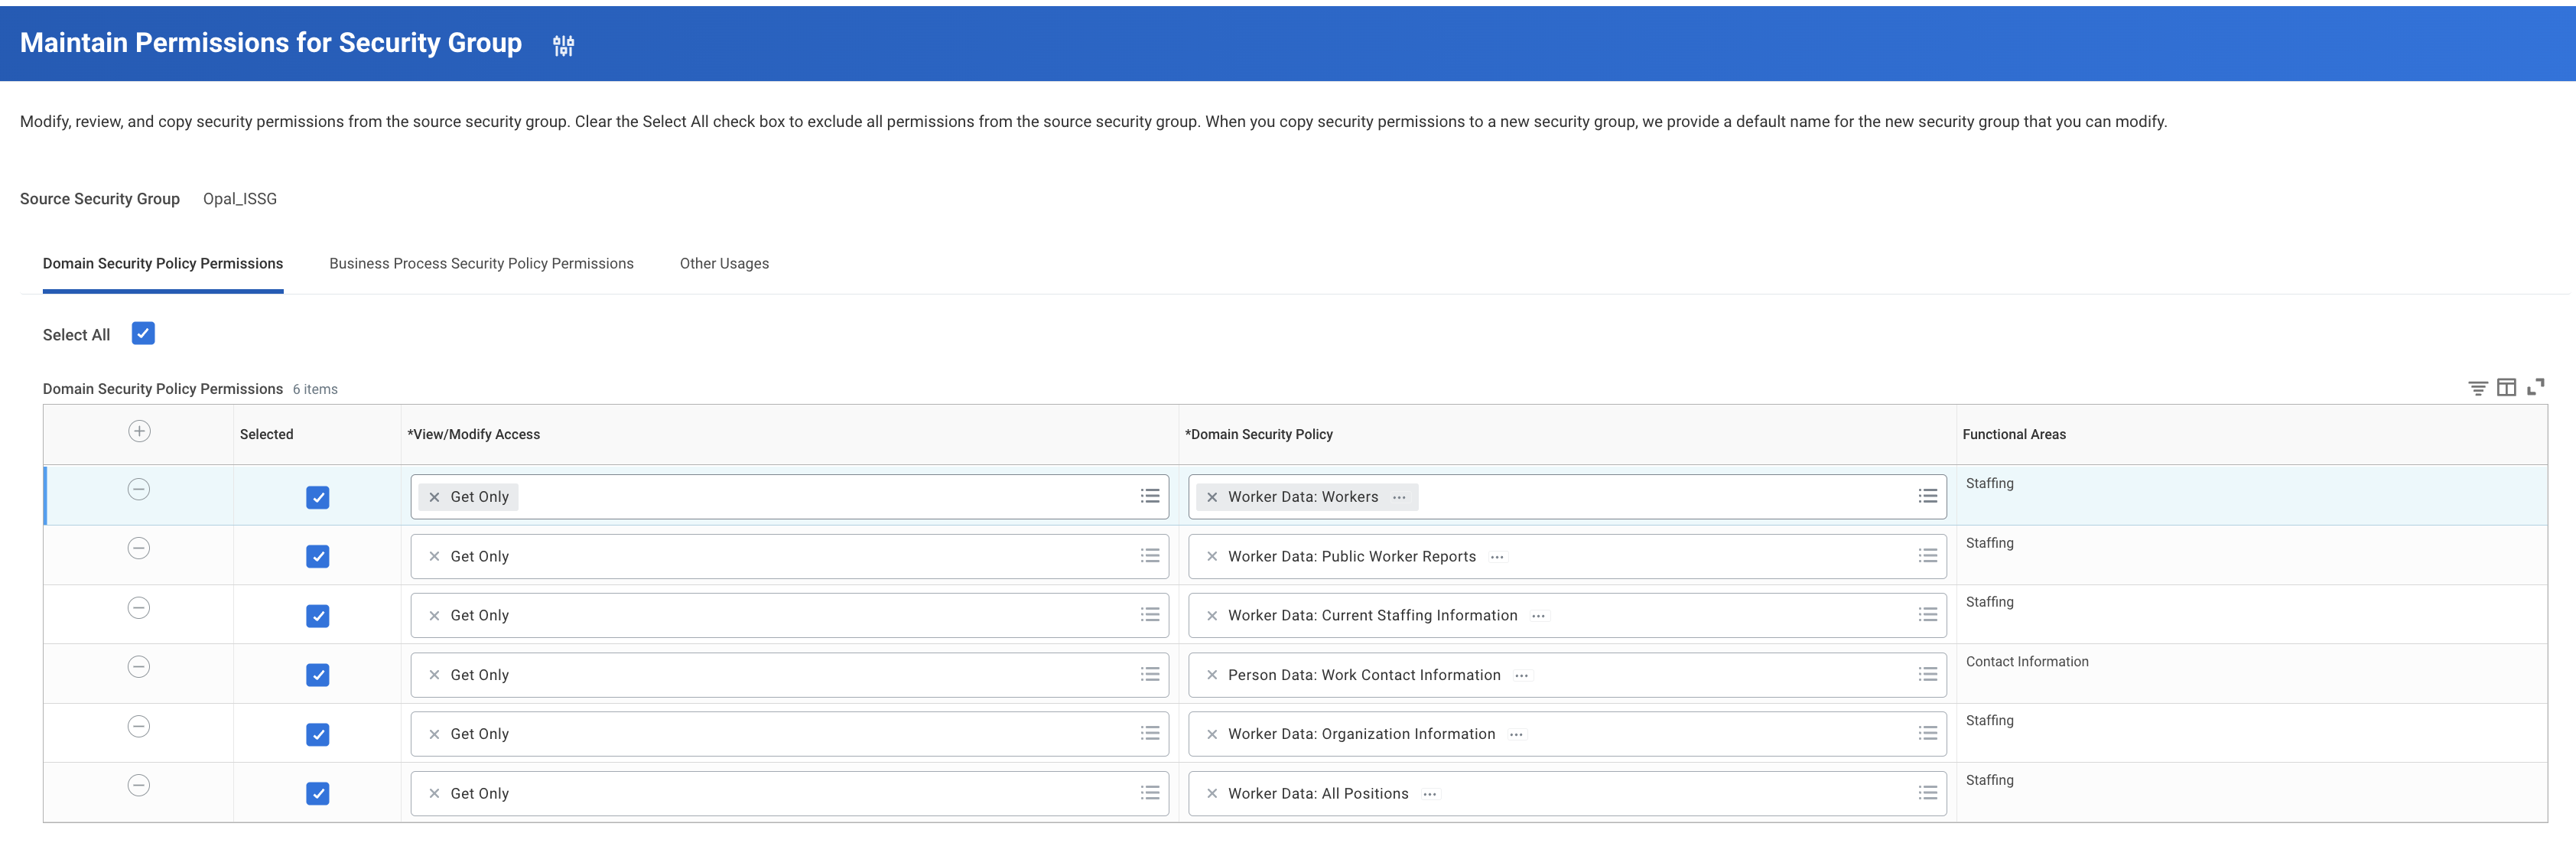
4. Configure Domain Security Policy Permissions
In the Workday Search bar, enter Maintain Permissions for Security Group, and select the corresponding Task.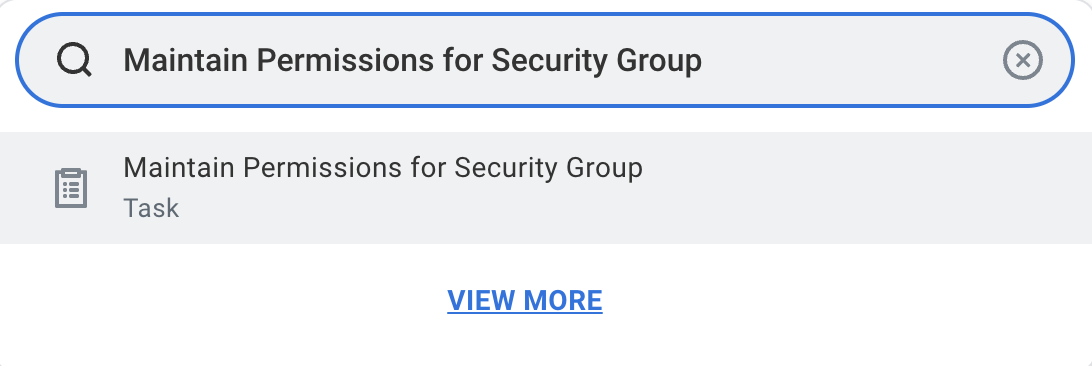
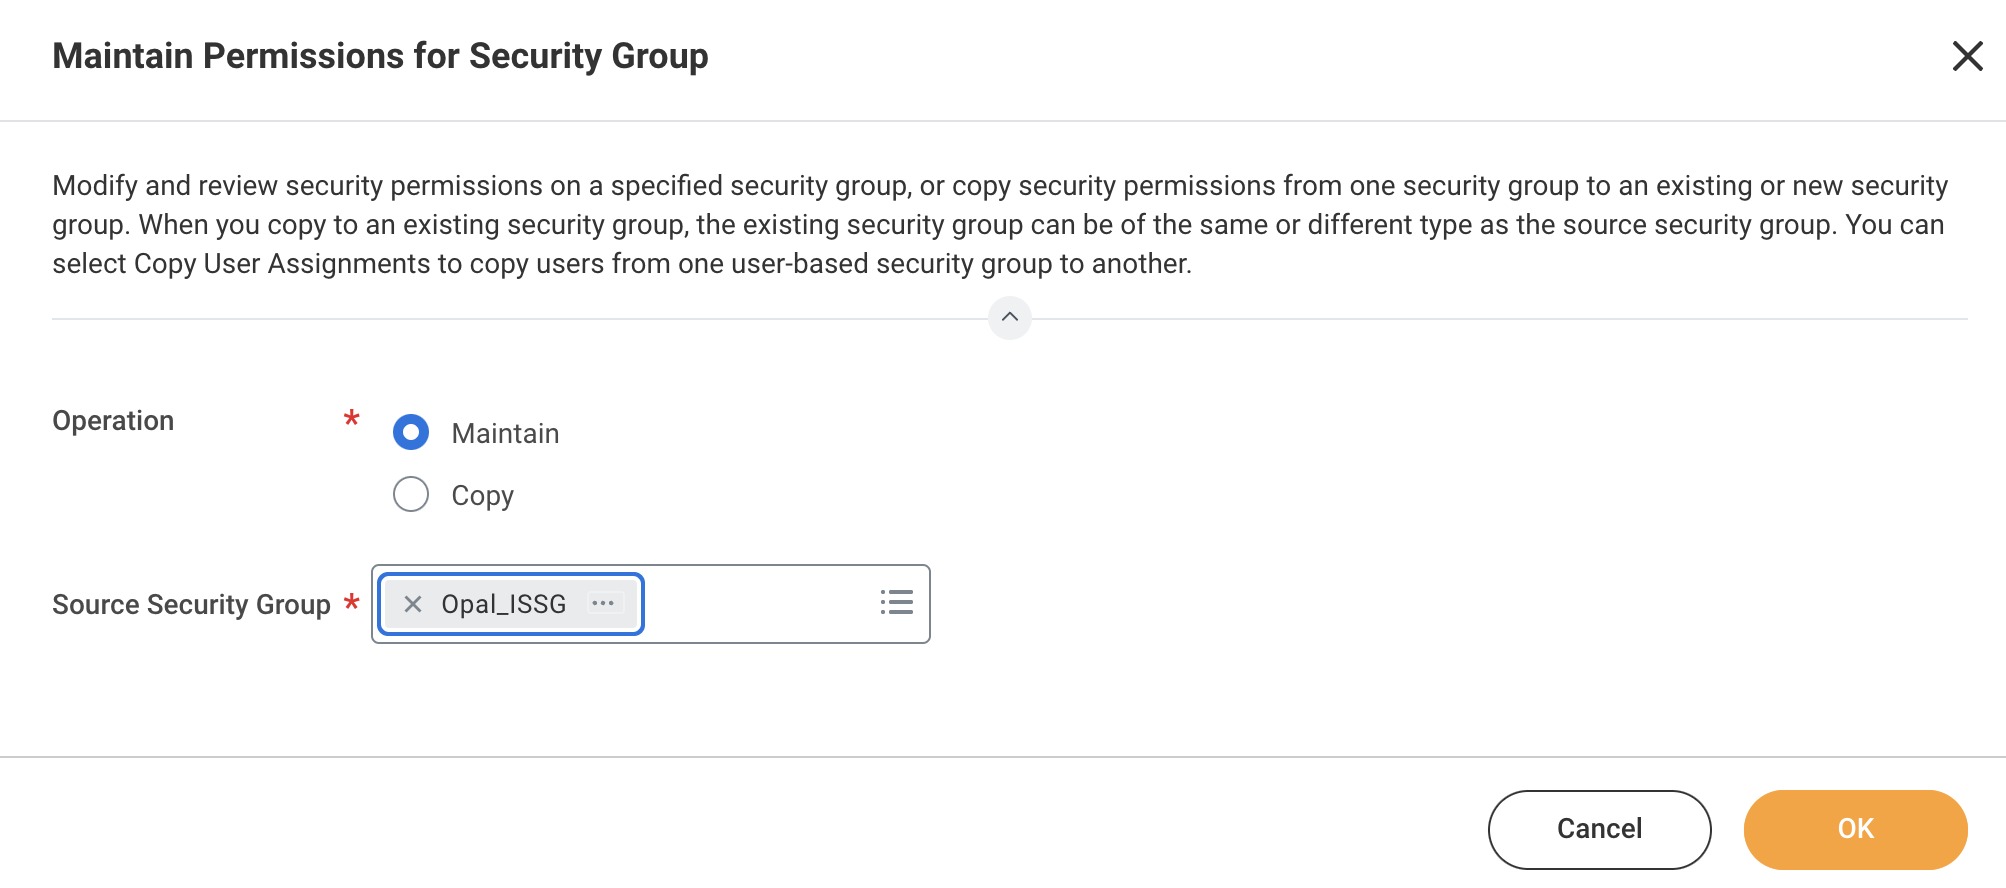
In Workday, you can add each by clicking on the + button on the top left of the table. For example:
5. Activate Security Policy Changes
In the Workday Search bar, enter Activate Pending Security Policy Changes, and select the corresponding Task.

6. Manage Authentication Policies
In the Workday Search bar, enter Manage Authentication Policies, and select the corresponding Report.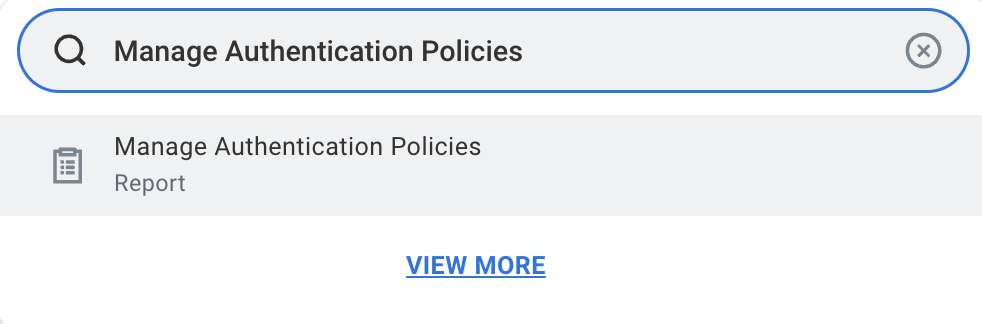
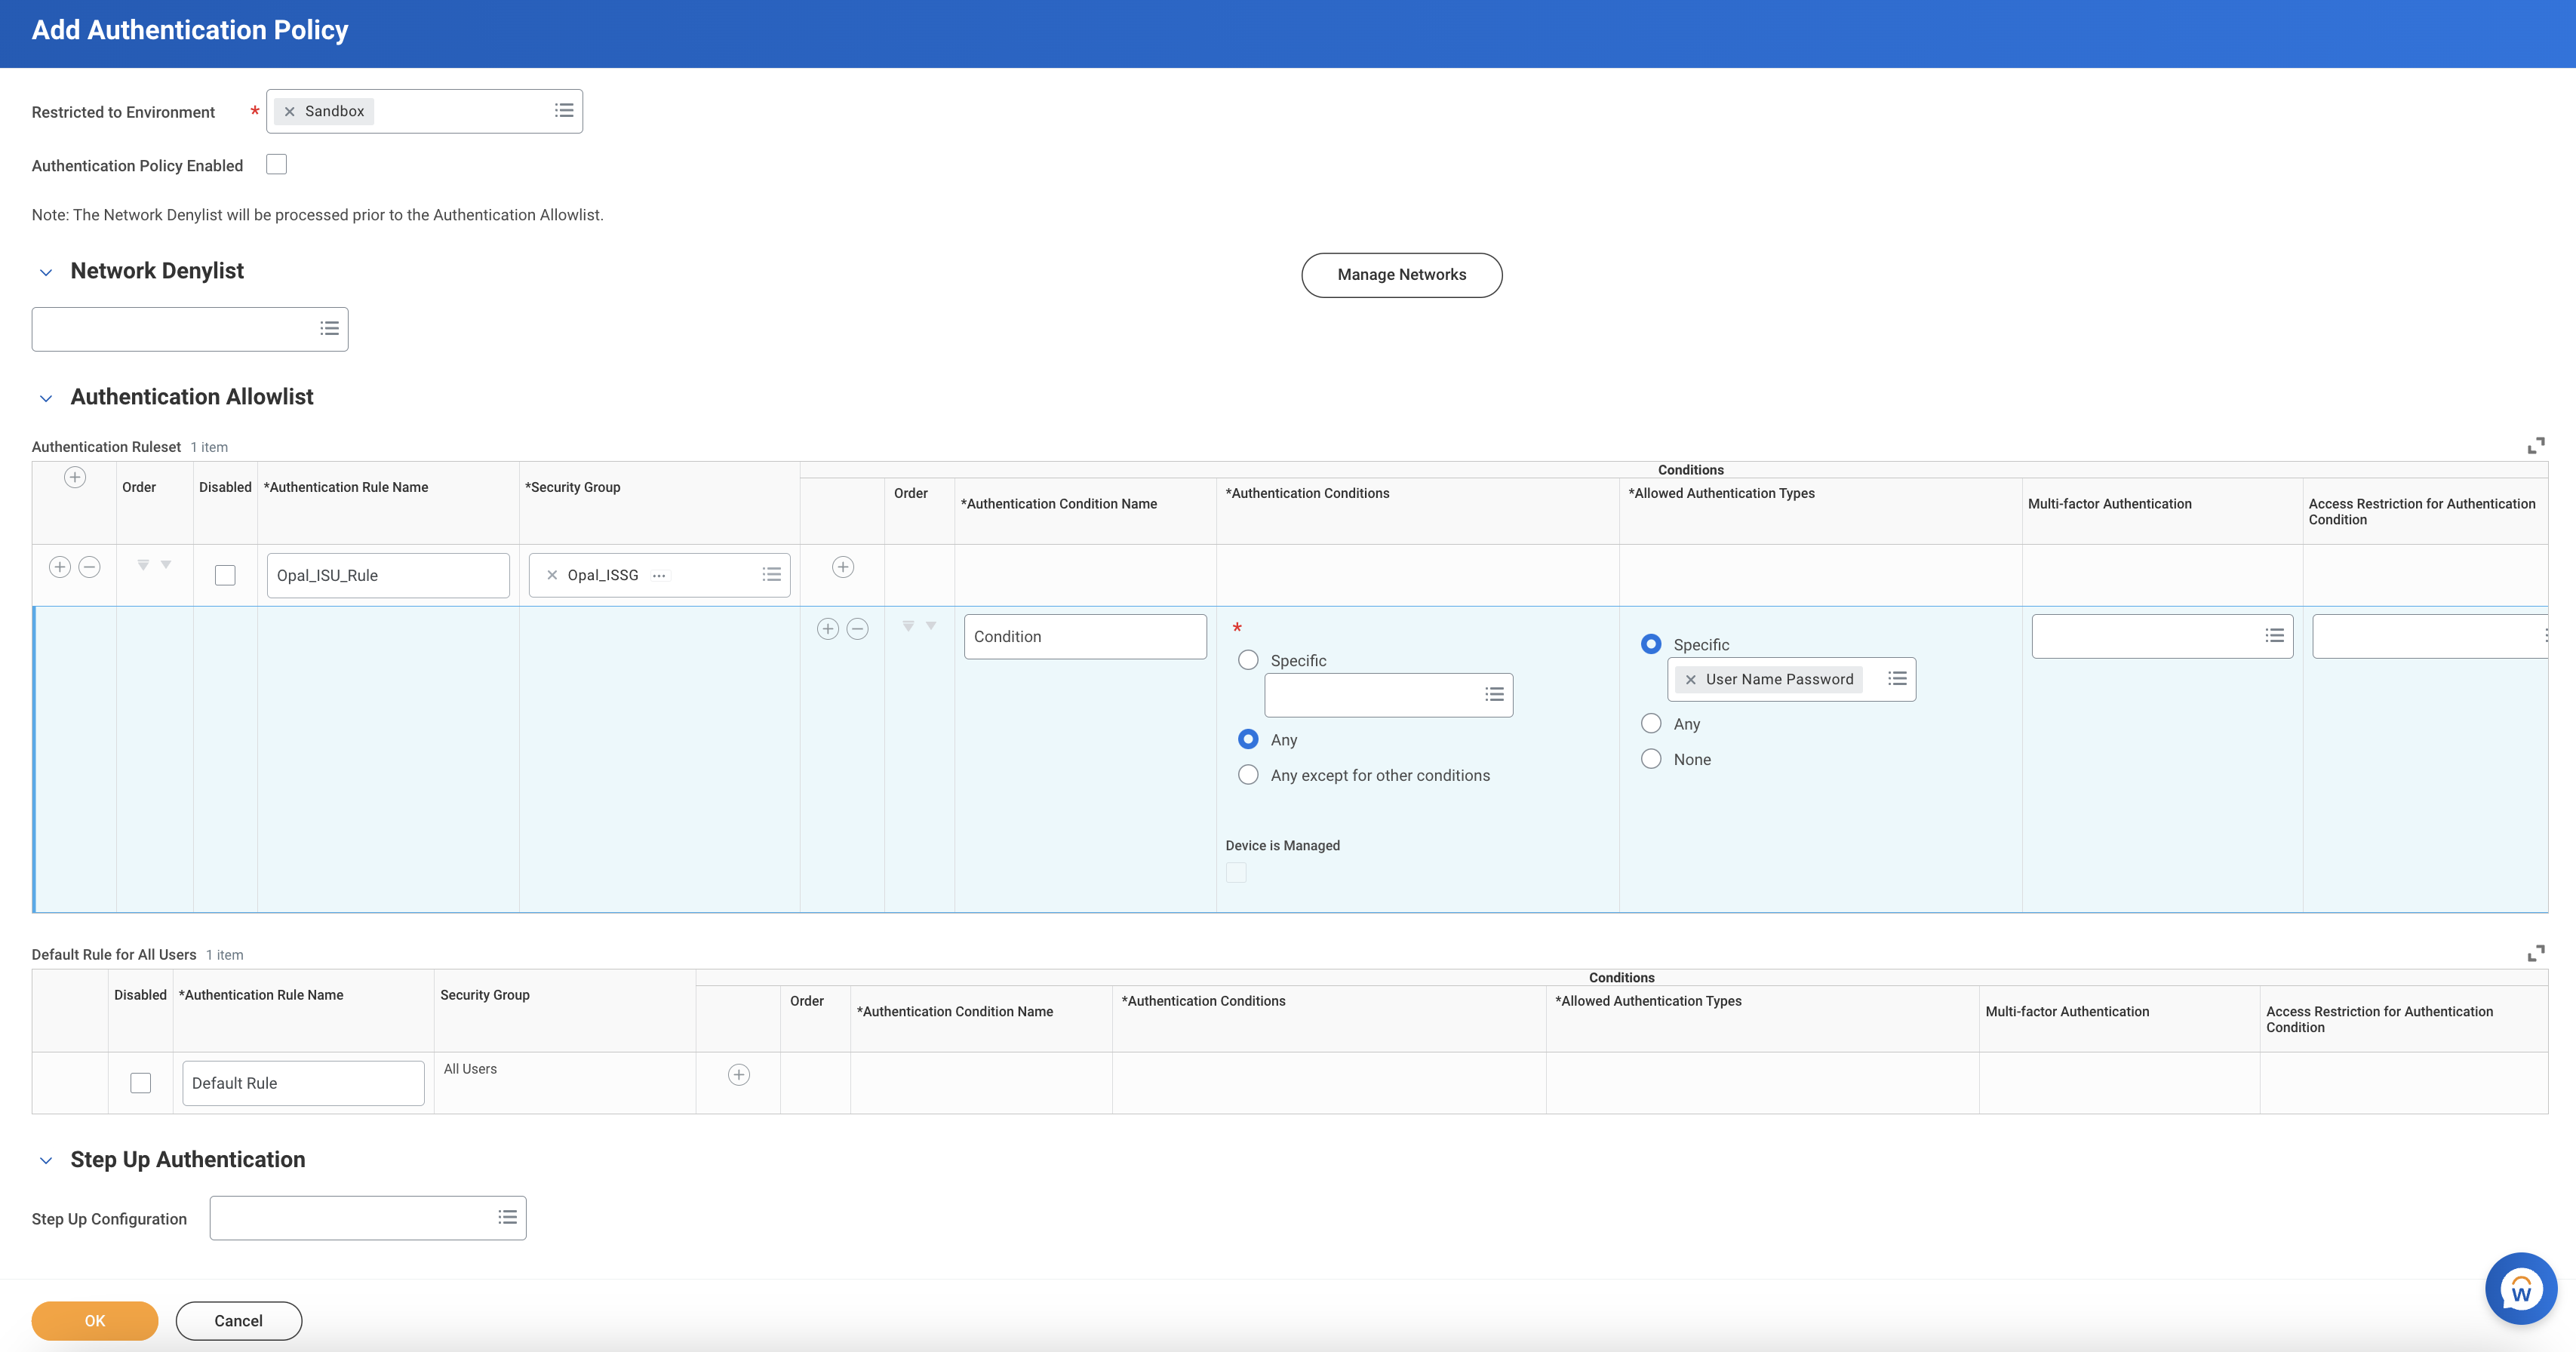
- select Add Authentication Policy on the page.
- Select from the dropdown the corresponding Environment you would like the policy to apply to.
- In the table below, add an Authentication Ruleset by selecting the + button on the top left.
- Provide an Authentication Rule Name and set the Security Group to the one you created in Step 2. For the Authentication Conditions, select Any. For Allowed Authentication Types, select User Name Password.
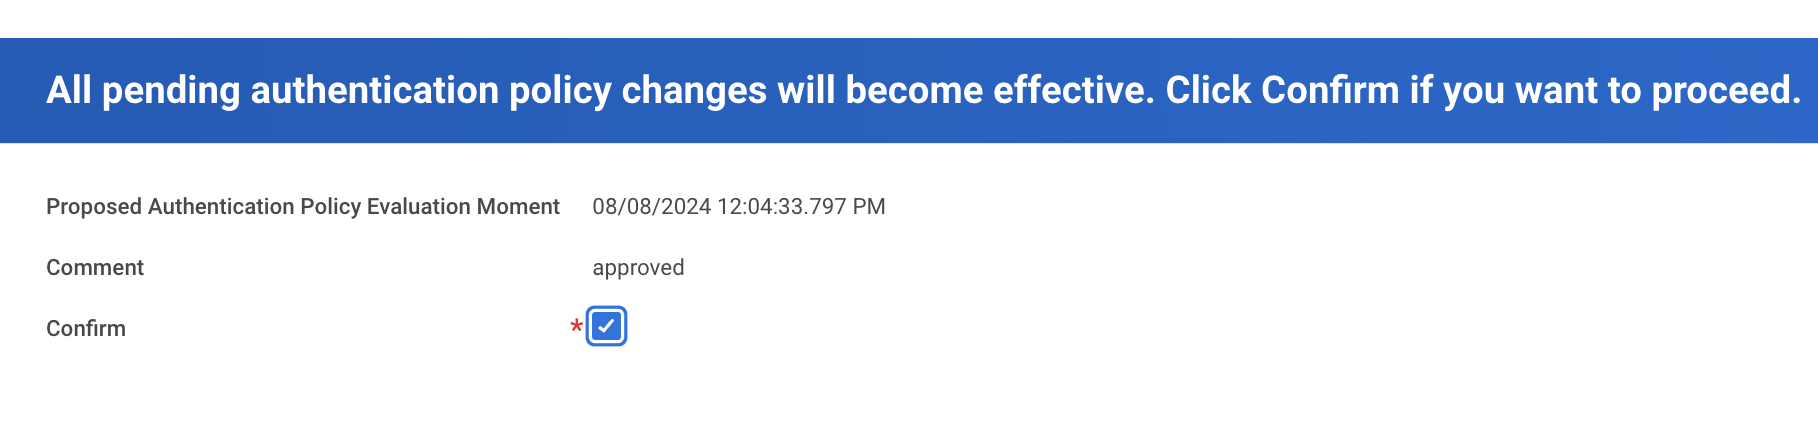
7. Activate All Pending Authentication Policy Changes
In the Workday Search bar, enter Activate All Pending Authentication Policy Changes, and select the corresponding Task.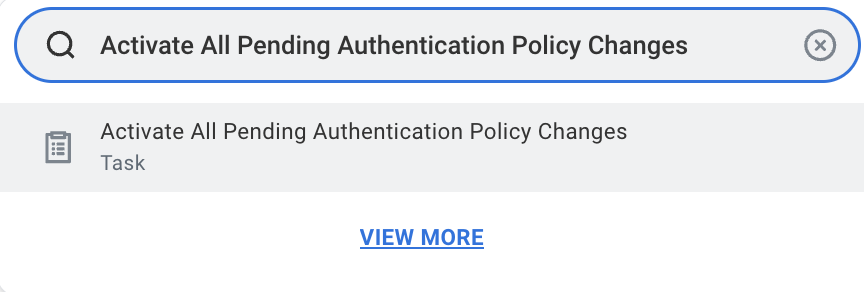
8. Obtain the Web Services Endpoint for tenant
In the Workday Search bar, enter Public Web Services, and select the corresponding Report.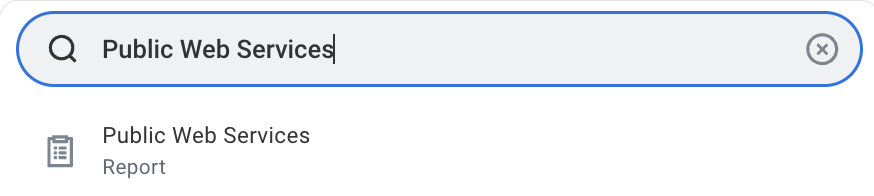
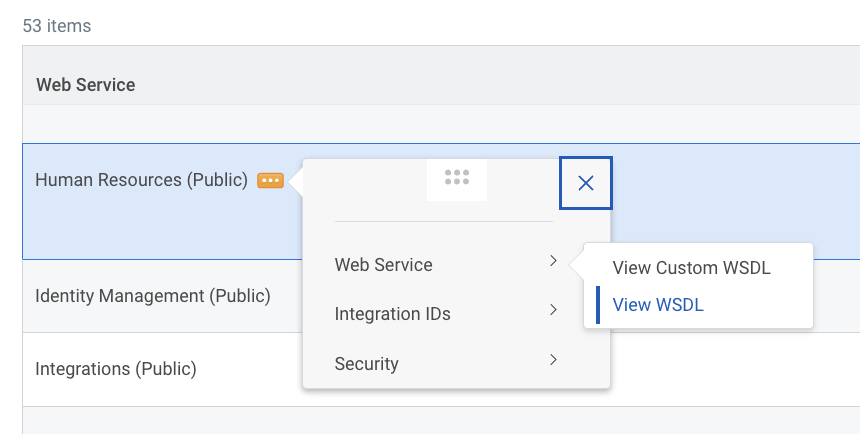
/service, and you should see a URL address that looks like the following:

/service path is your Workday Web Services Endpoint. Note that each tenant may have a different endpoint, so a new endpoint would need to be created for each environment you would like to connect. The text directly after /service should represent your Workday Tenant Name. As an example, if your Workday log in URL is https://impl.workday.com/HelloWorld, your Workday Tenant Name would be HelloWorld.
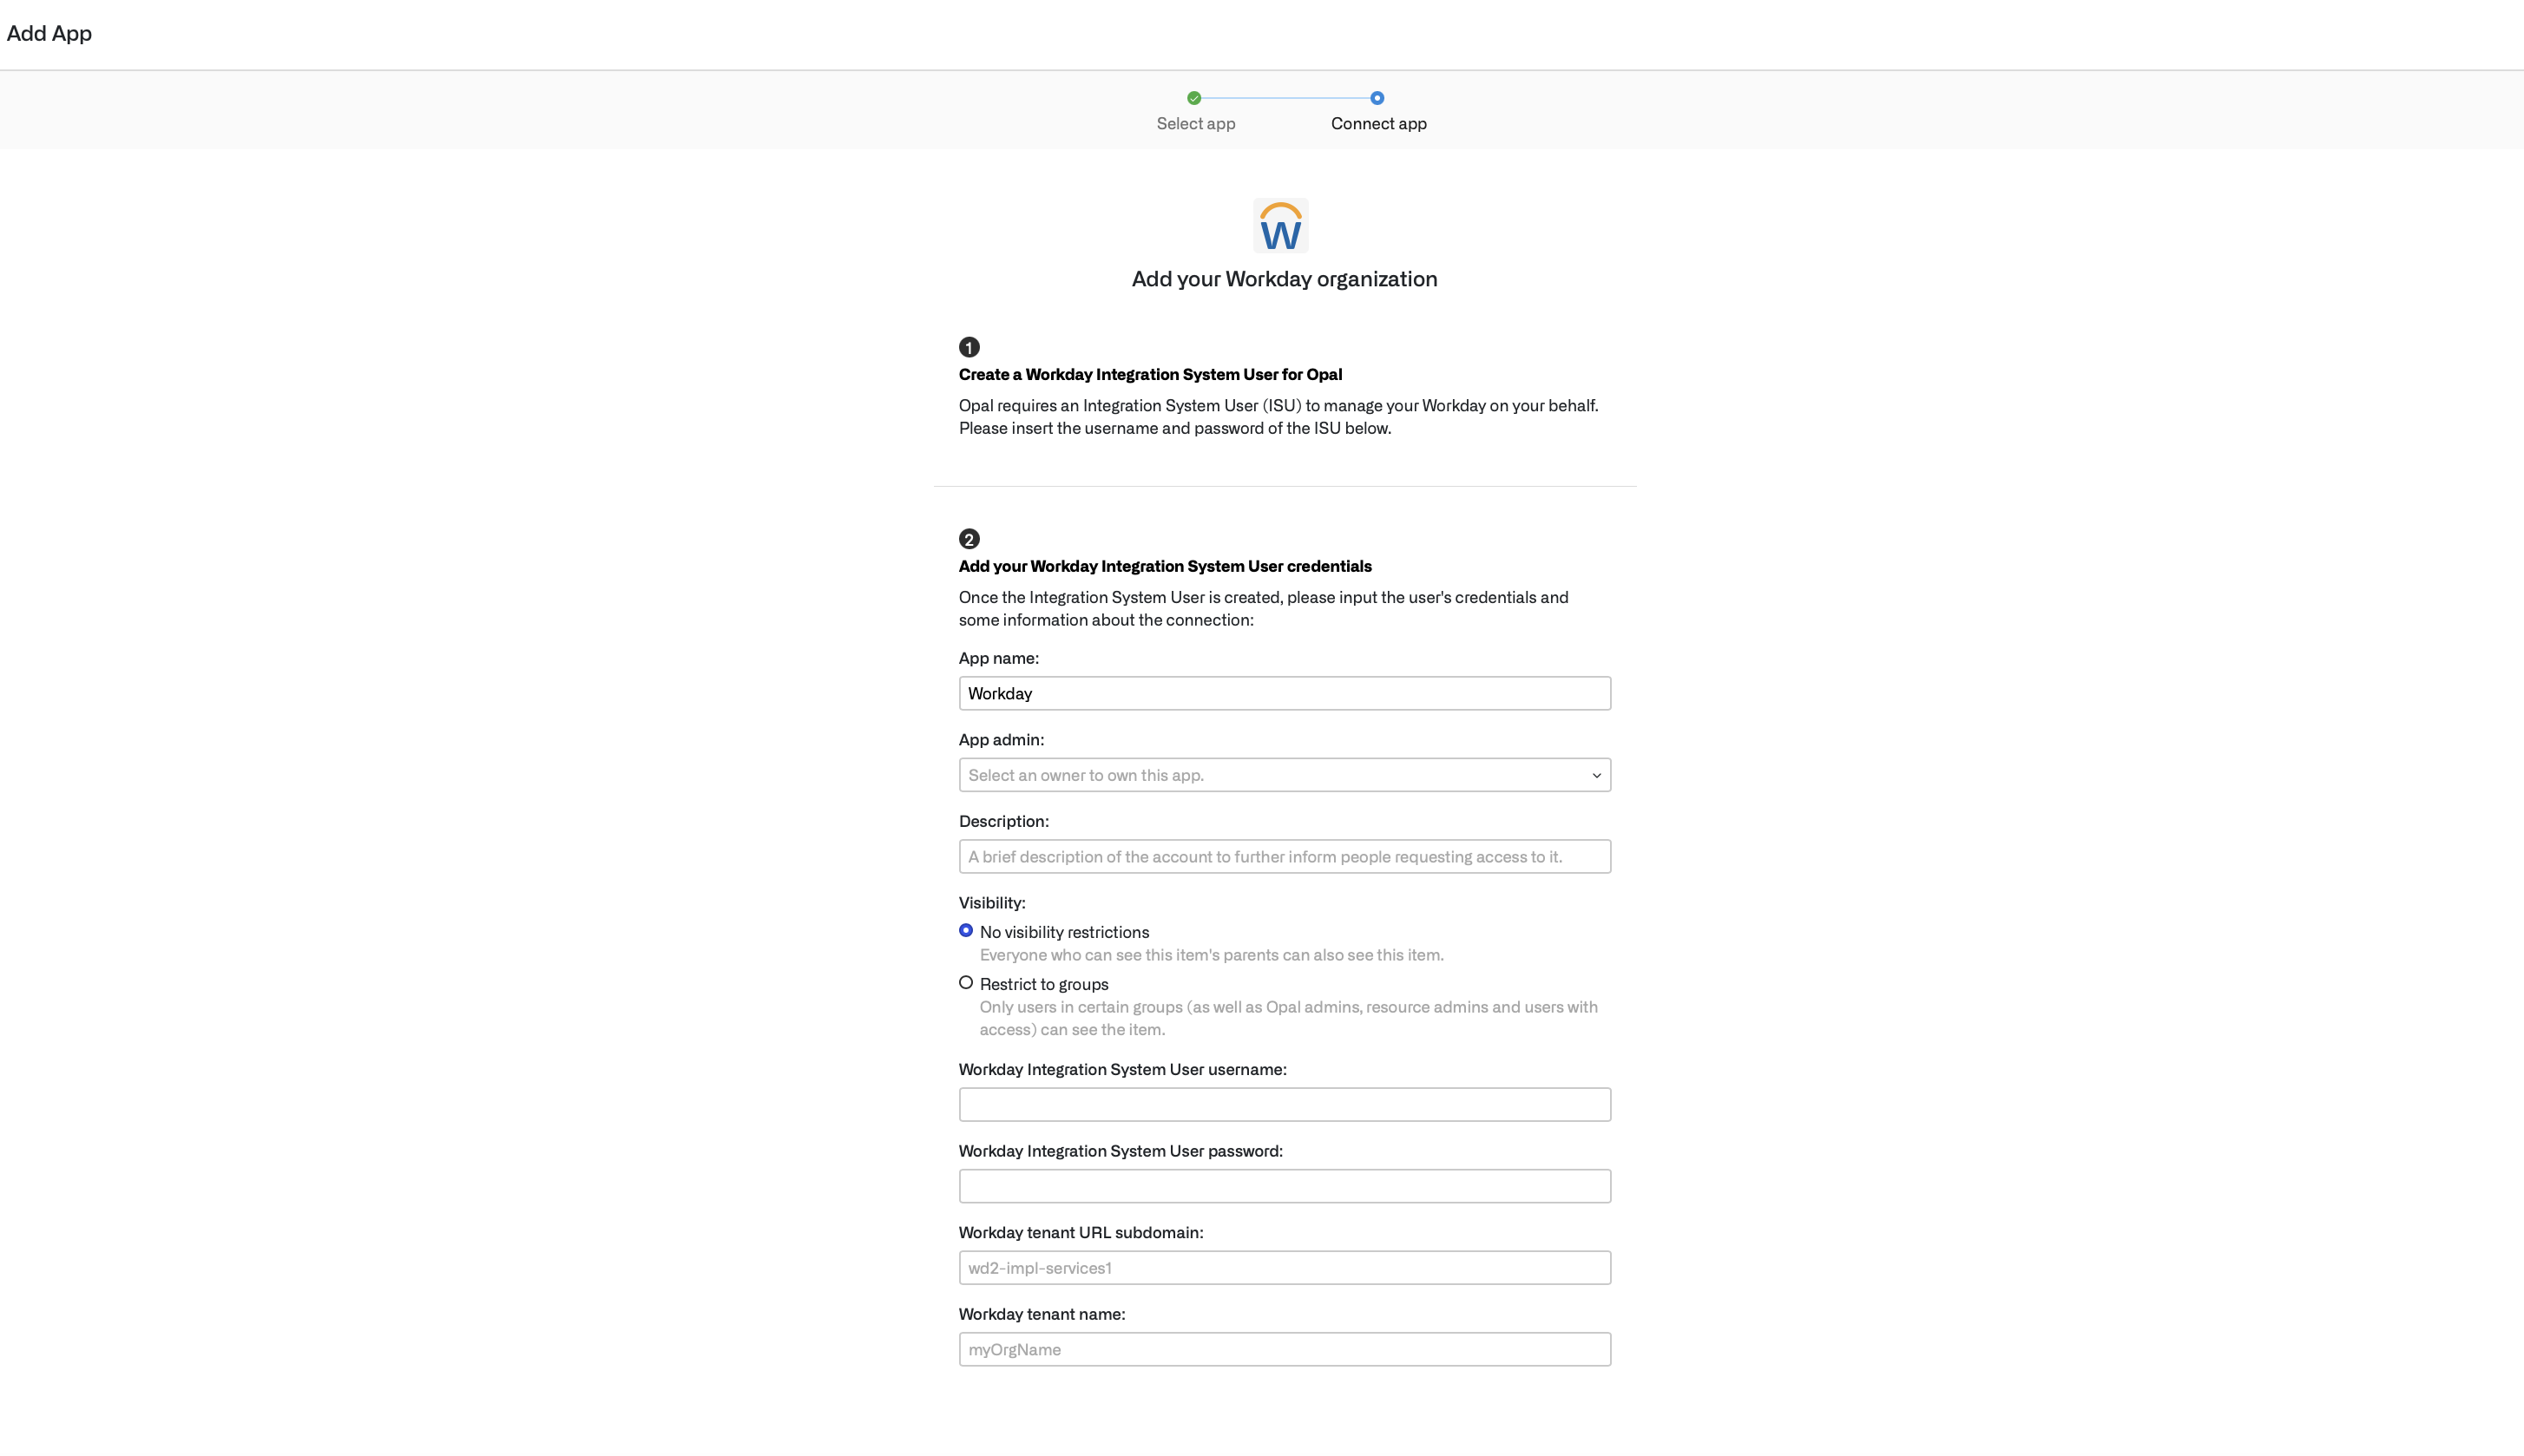
9. Complete the Opal form to connect Workday
In Opal, enter the details based on the Workday items you configured in the previous steps:- Workday Integration System User username (Step 2)
- Workday Integration System User password (Step 2)
- Workday tenant URL subdomain (Step 8)
- Workday tenant name
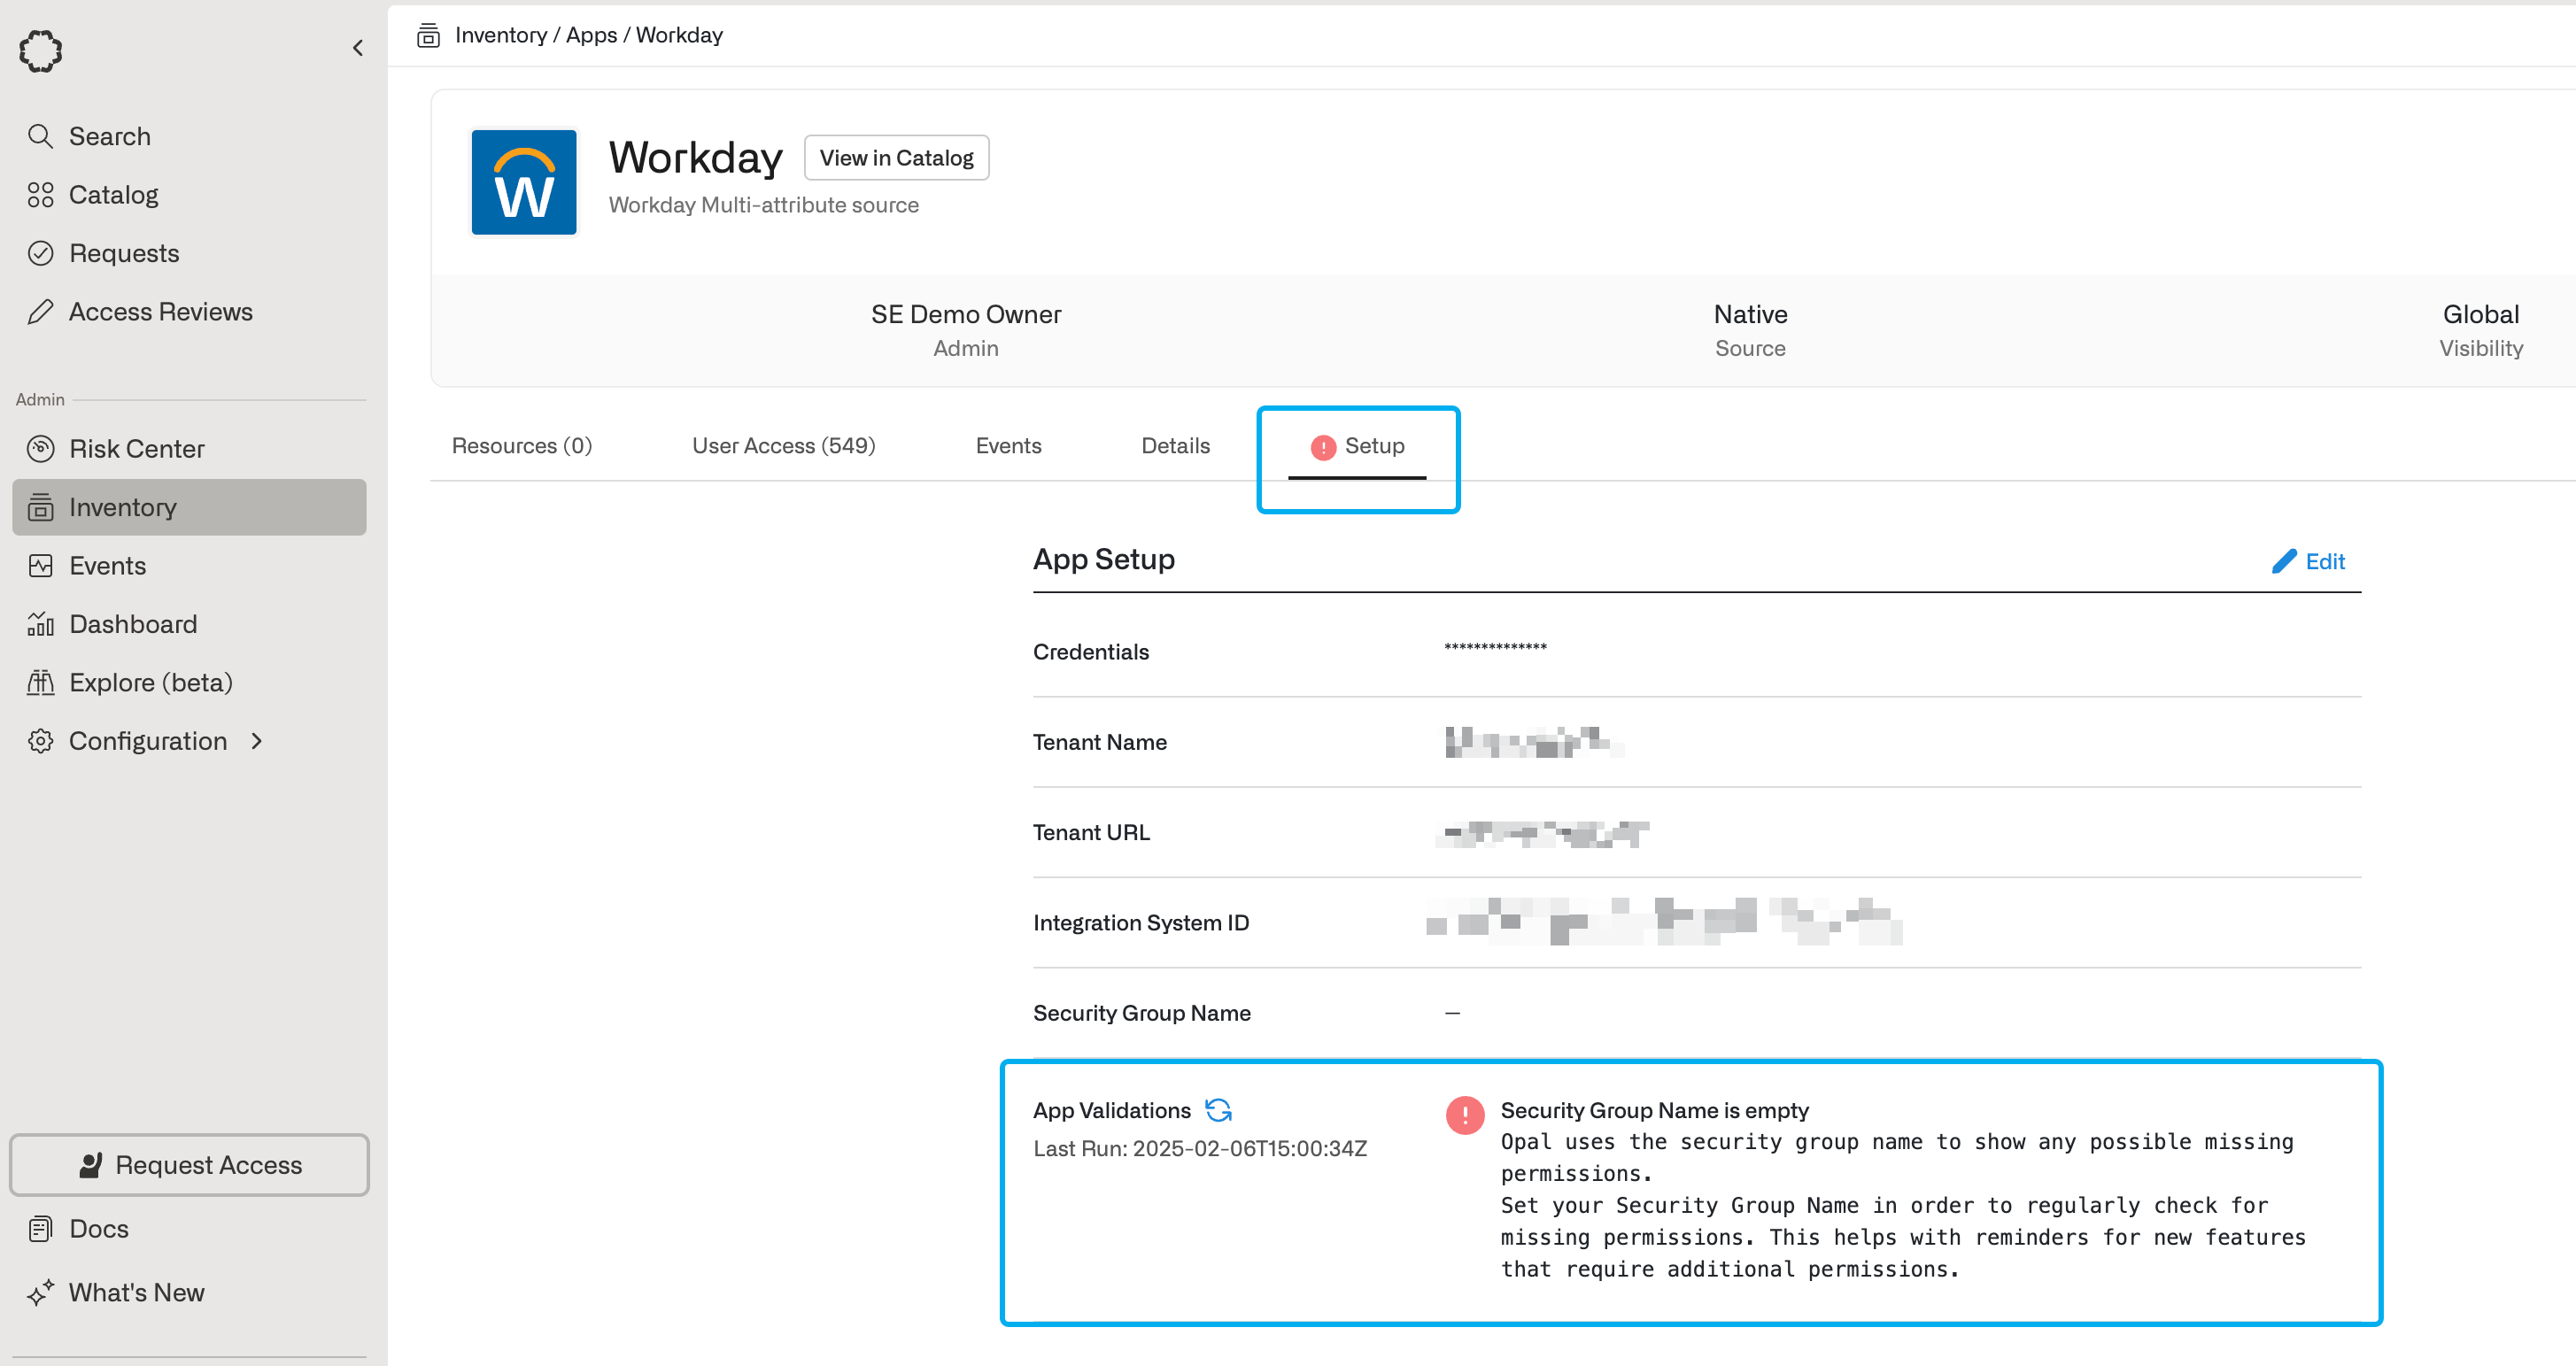
Run app validation checks
After you save your app, you can view existing sync issues from the Setup tab on the app detail page. Missing permissions and sync issues show in the App Validations section. Select the refresh icon to rerun validation checks.