Adding a Compute Engine Instance
Overview
Opal lets your developers find and request access to SSH into GCP Compute instances. In this article we'll walk you through how to add Compute instances to your Opal dashboard.
Step 1: Set up OS Login on the VM Instance
Follow Steps 1 and 3 in the following guide. By the end of it, you should have added the enable-oslogin key with value TRUE in the VM instance metadata.
Step 2: If needed, configure osLoginExternalUser for the user
This step is optional and only applies to Opal users who you want to grant GCP Compute Instance access who are outside of your Google Cloud organization. Read this guide to enable osLoginExternalUser for a user (the user email must correspond to the Opal user's email).
Step 3: Grant the compute.Viewer permission for the user
The Opal user who you want to grant access to needs the compute.Viewer permission to be able to SSH into the instance. This can be done via the following:
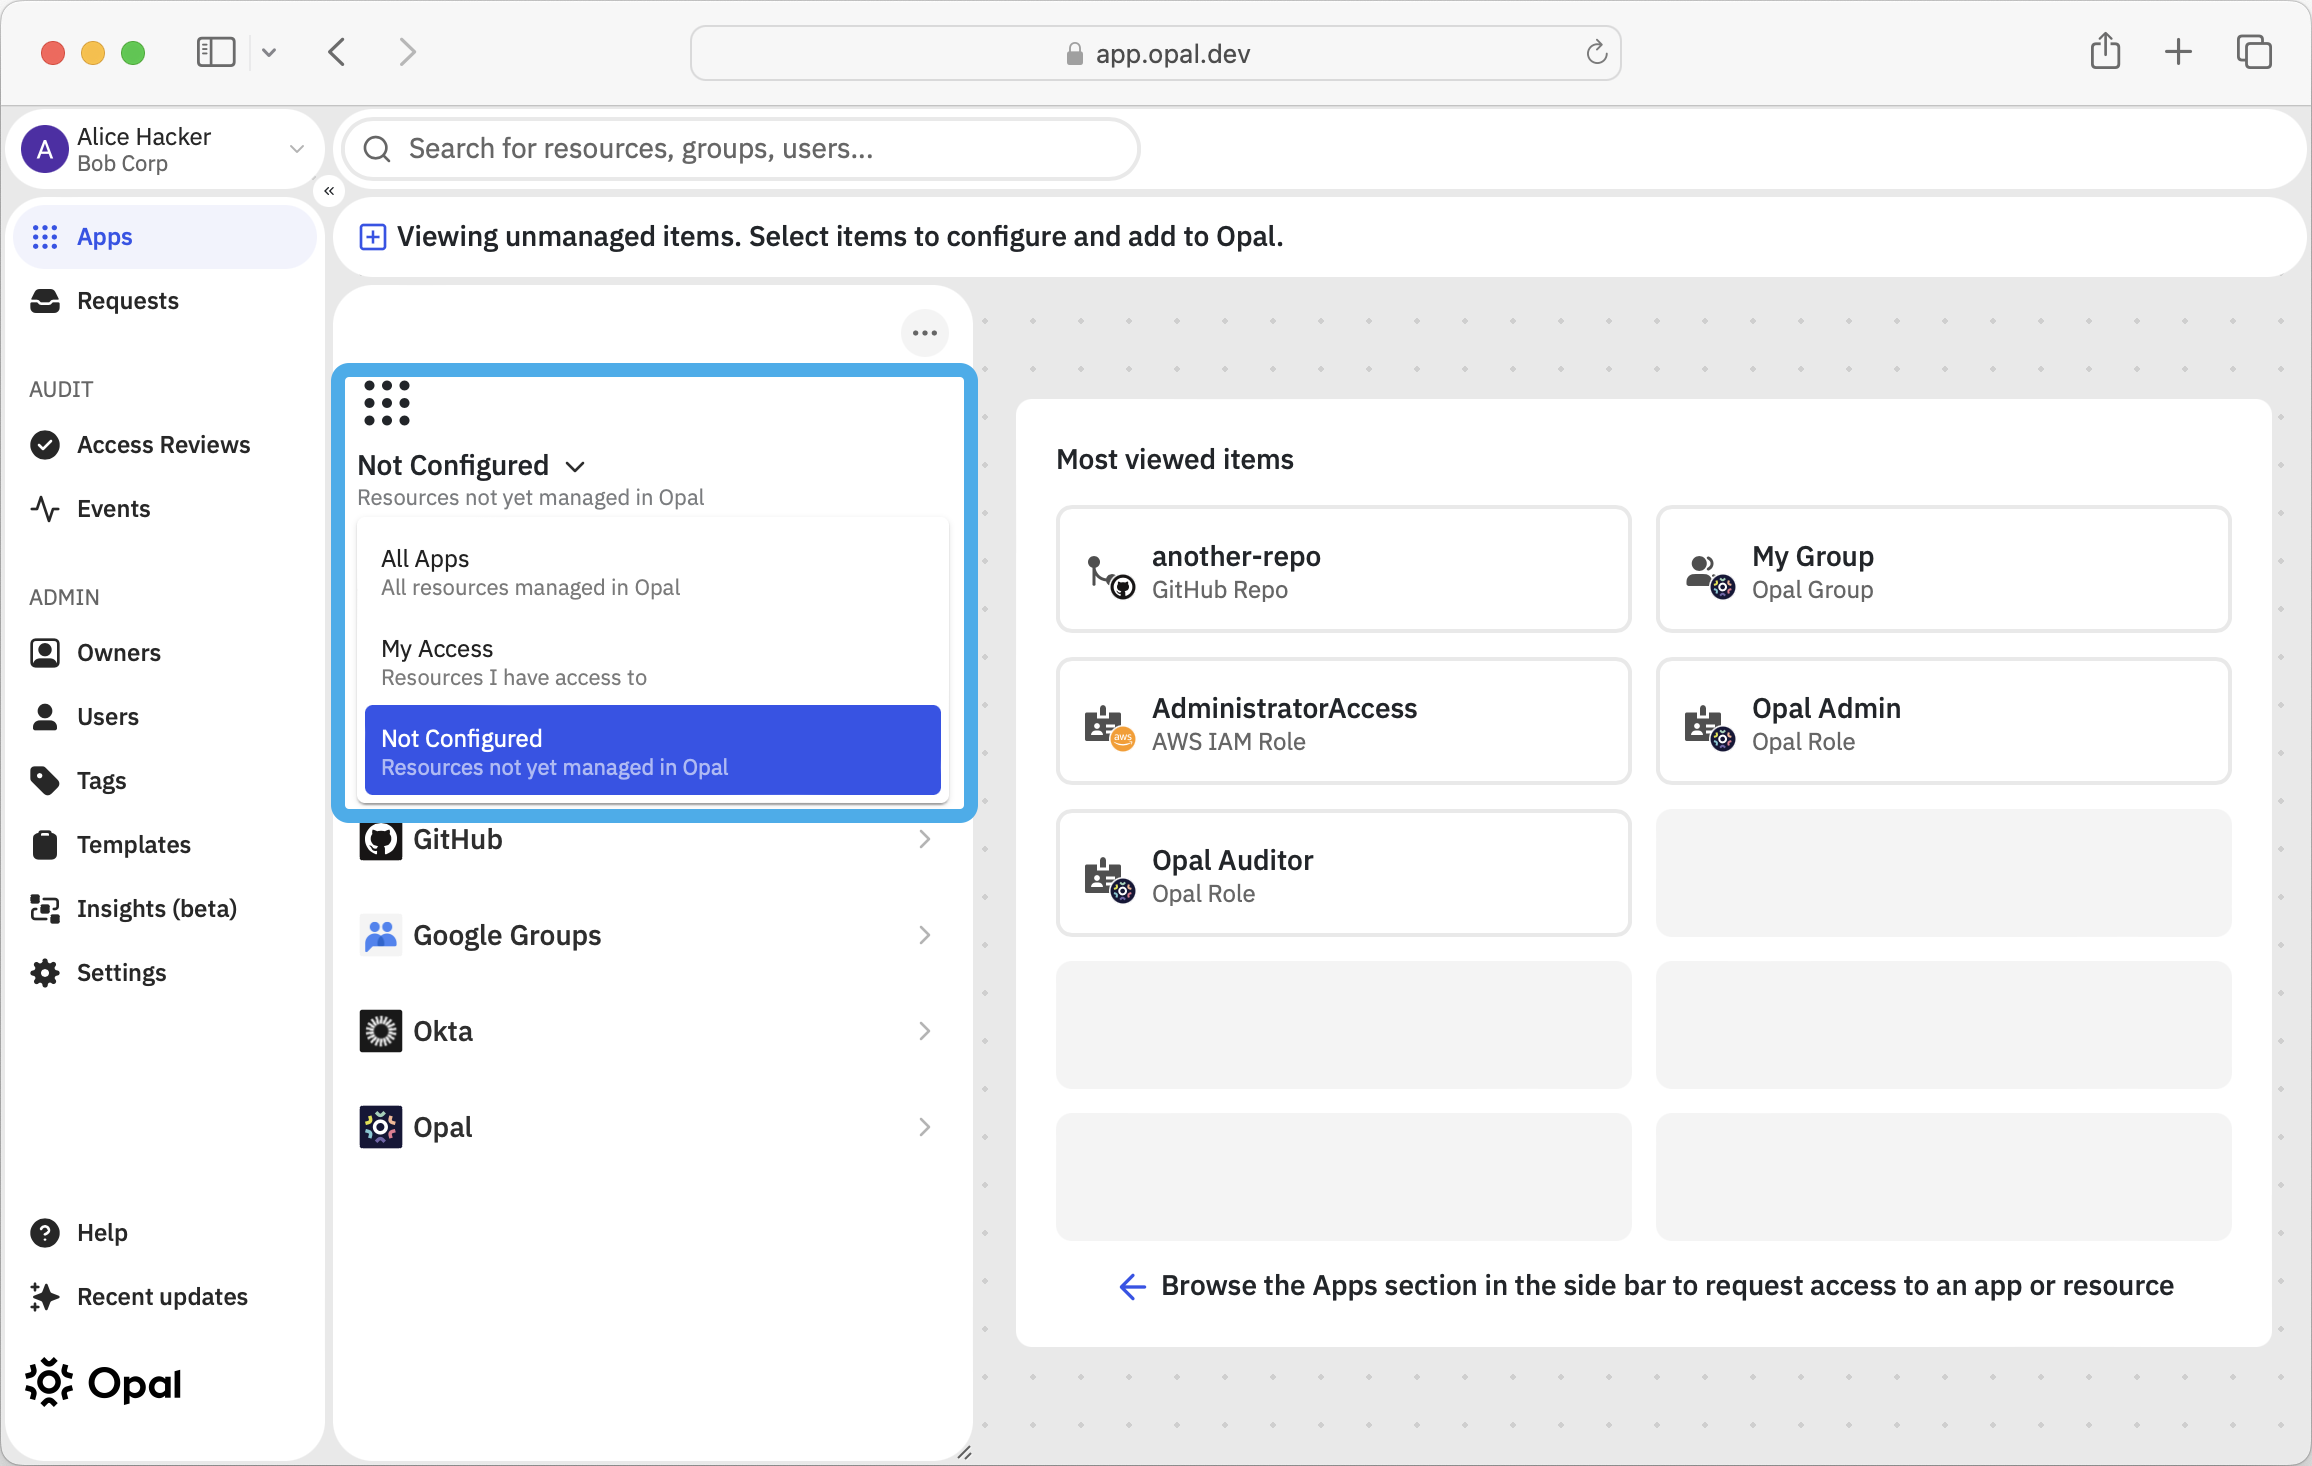
First, import the project corresponding to the VM instance in Opal. This can be done by navigating to the Apps -> Selecting "Not Configured" -> choosing GCP and selecting Compute Engine Instances.

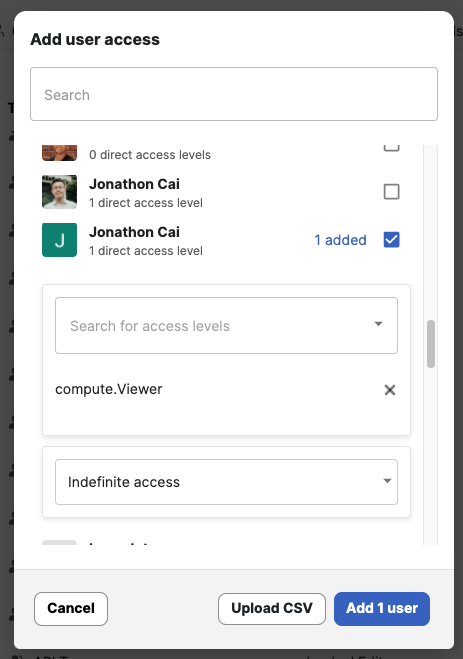
Navigate to the resource you just added and select the Users tab of the resource. Add the user to the project with the compute.Viewer access level.

Step 4: Grant the compute.OsLogin permission for the user on the VM instance
First, import the VM instance into Opal. This can be done by navigating to the Google Cloud connection you created, going to the Resources tab, clicking the pen to the right of the gray Resources text, clicking Import, and selecting SSH as the service type. In the resulting screen, select the relevant VM instance and add the resource to Opal.
Secondly, navigate to Resources on the left sidebar, navigate to the resource you just added (it has the SSH service type), and select the Users tab of the resource. Add the user to the VM instance with the compute.OsLogin access level (if no choice to set the access level is presented, simply add the user without specifying the access level).
Step 5: If needed, install gcloud
Install the gcloud binary, as described in this guide. This command will be used to SSH into the instance.
Step 6: Perform gcloud auth login with the user
The user who was granted permission must perform gcloud auth login in the shell, logging in with an email matching the Opal user.
Step 7: SSH into the VM instance
Approximately a couple minutes or so after the user was granted the compute.OsLogin permission, the user should be able to SSH into the instance with a command of the form: gcloud compute ssh --project=PROJECT_ID --zone=ZONE_ID COMPUTE_INSTANCE_NAME. An example command is gcloud compute ssh --project=my-project --zone=us-central1-a my-compute-instance.
Updated over 2 years ago
