> ## Documentation Index
> Fetch the complete documentation index at: https://docs.opal.dev/llms.txt
> Use this file to discover all available pages before exploring further.
# Salesforce
> Learn how to connect your Salesforce accounts with Opal to manage and review access.
Opal natively supports an integration with Salesforce. This integration enables organizations to manage access to permission sets, profiles, and roles.
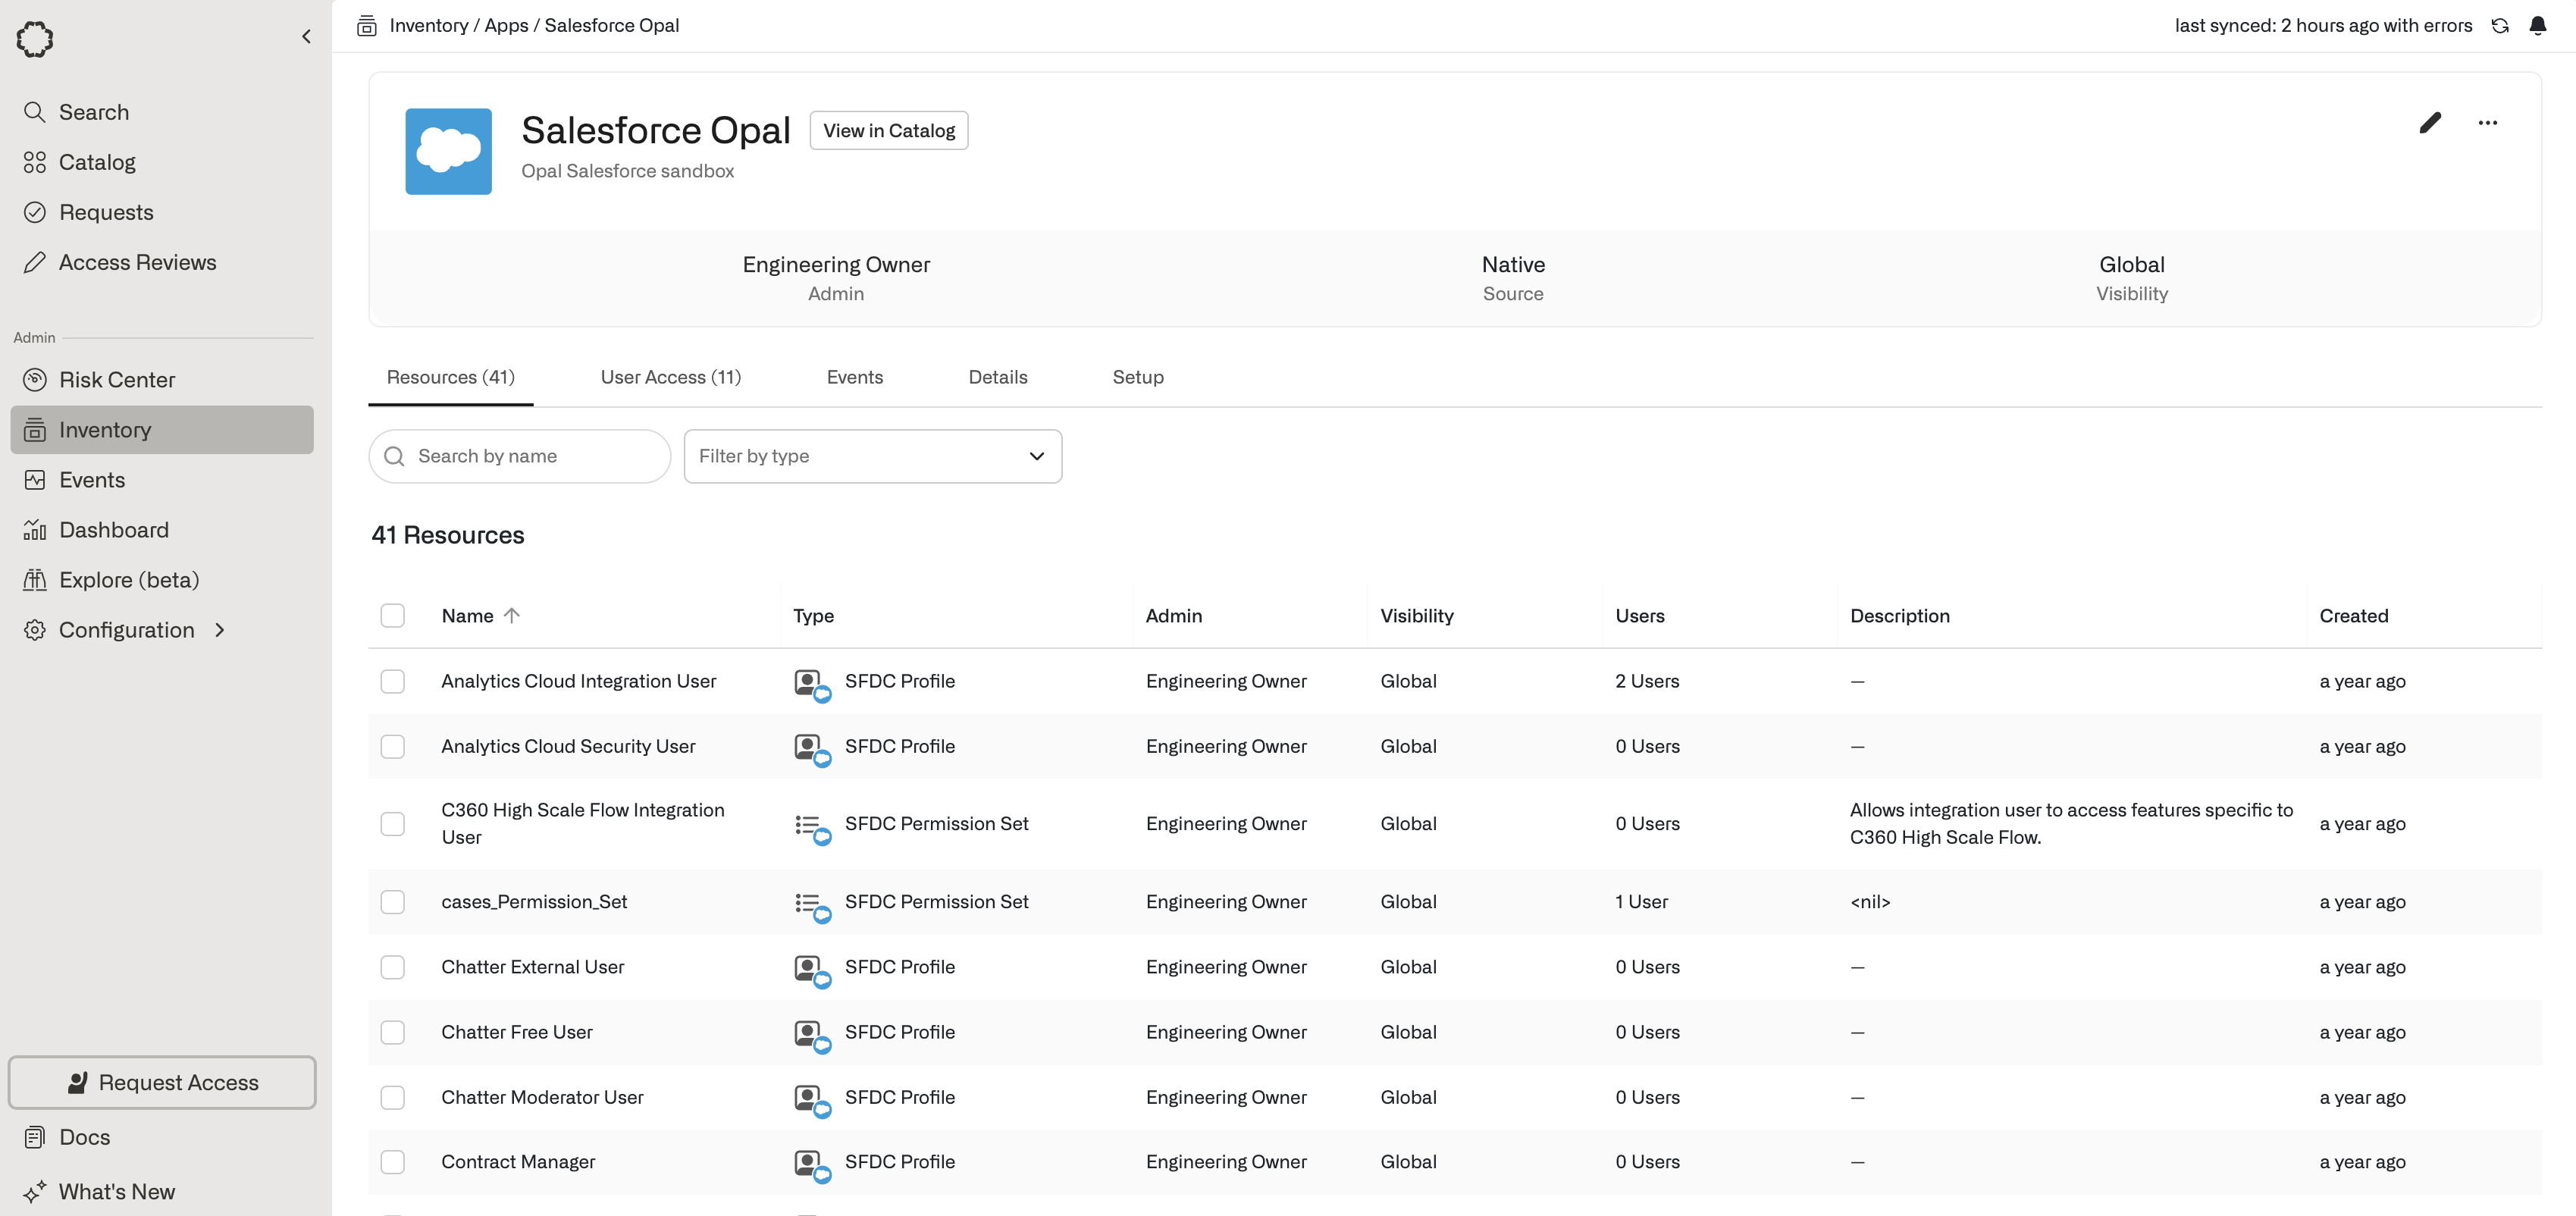 ## Supported resources and functionality
| Resource | Read | Grant and revoke access | Available in Risk Center |
| -------------------- | ---- | ----------------------- | ------------------------ |
| SFDC Permission Sets | ✔️ | ✔️ | ✔️ |
| SFDC Profiles | ✔️ | ✔️ | ✔️ |
| SFDC Roles | ✔️ | ✔️ | ✔️ |
The Salesforce integration also supports user account [deprovisioning](/docs/user-provisioning).
## 1. Create app in Opal
In Opal, go to the **Inventory**, select the **+App** icon, and go to the **Salesforce** app.
## 2. Create a service account for Opal
Opal requires a service account to manage your Salesforce on your behalf. Follow these instructions:
1. In Salesforce, open **Setup > Platform Tools > Apps > App Manager > New Connected App** (top right). Use the following settings. NOTE: These apps must be **Connected Apps**, if you do not see the option to create a Connected App, ensure [creation of connected apps is enabled](https://help.salesforce.com/s/articleView?id=xcloud.connected_app_create_basics.htm\&type=5).
| Setting | Value |
| --------------------- | --------------------------------------------------------------------- |
| Name | `Opal` |
| API name | `opal` |
| Enable OAuth Settings | Enabled |
| Callback URL | `https://auth.opal.dev`(for on-prem `https://auth..com`) |
| Scopes | Manage User Data via APIs Perform requests at any time |
Save the app, then copy the **Consumer Key** and **Consumer Secret**. Click **Manage > Edit Policies**. Under **Oauth Policies > Permitted Users**, select **All users may self-authorize**. Under **IP Relaxation**, select **Relax IP restrictions**. Save these settings.
2. On the left menu, open **Setup > Administration > Users > Profiles**, and create a new profile for Opal. We recommend using the Existing Profile **Minimum Access - Salesforce** and setting the Profile Name to **Opal Integration**.
3. On the following page, select **Edit** and ensure the profile has the following permissions:
* API Enabled
* Assign Permission Sets
* Manage Internal Users
* Manage Profiles and Permission Sets
* Manage Roles
* View all Profiles
* View all Users
* View Roles and Role Hierarchy
* View Setup and Configuration
The Opal integration will be prohibited from assigning any profile with the **Modify All Data** permission (e.g. System Administrator) unless it also has that permission, so enable **Modify All Data**.
* Modify All Data
4. In **Setup > Administration > Users > Users**, create a new user. Select the **Salesforce** User License and the **Opal Integration** profile you created. You must use a real email address to complete account activation; save the username. Note that the username and email address can differ, but we advise using the same value. Finally, set all other the required fields to any values; e.g., set Last Name to **Opal**.
5. Open the account activation email and set a long, 32+ random character password—think of this as an API key. For the security question, choose a different long 32+ random character random value. Save the password.
6. Log in to the service account and click the user profile avatar in the top right of the page. Copy the Salesforce hostname listed in the dropdown, and save it.
## 3. Add your credentials in Opal
After you create the service account, go back to Opal and input the user's credentials and the required fields using the values you saved in the previous steps.
***
## Supported resources and functionality
| Resource | Read | Grant and revoke access | Available in Risk Center |
| -------------------- | ---- | ----------------------- | ------------------------ |
| SFDC Permission Sets | ✔️ | ✔️ | ✔️ |
| SFDC Profiles | ✔️ | ✔️ | ✔️ |
| SFDC Roles | ✔️ | ✔️ | ✔️ |
The Salesforce integration also supports user account [deprovisioning](/docs/user-provisioning).
## 1. Create app in Opal
In Opal, go to the **Inventory**, select the **+App** icon, and go to the **Salesforce** app.
## 2. Create a service account for Opal
Opal requires a service account to manage your Salesforce on your behalf. Follow these instructions:
1. In Salesforce, open **Setup > Platform Tools > Apps > App Manager > New Connected App** (top right). Use the following settings. NOTE: These apps must be **Connected Apps**, if you do not see the option to create a Connected App, ensure [creation of connected apps is enabled](https://help.salesforce.com/s/articleView?id=xcloud.connected_app_create_basics.htm\&type=5).
| Setting | Value |
| --------------------- | --------------------------------------------------------------------- |
| Name | `Opal` |
| API name | `opal` |
| Enable OAuth Settings | Enabled |
| Callback URL | `https://auth.opal.dev`(for on-prem `https://auth..com`) |
| Scopes | Manage User Data via APIs Perform requests at any time |
Save the app, then copy the **Consumer Key** and **Consumer Secret**. Click **Manage > Edit Policies**. Under **Oauth Policies > Permitted Users**, select **All users may self-authorize**. Under **IP Relaxation**, select **Relax IP restrictions**. Save these settings.
2. On the left menu, open **Setup > Administration > Users > Profiles**, and create a new profile for Opal. We recommend using the Existing Profile **Minimum Access - Salesforce** and setting the Profile Name to **Opal Integration**.
3. On the following page, select **Edit** and ensure the profile has the following permissions:
* API Enabled
* Assign Permission Sets
* Manage Internal Users
* Manage Profiles and Permission Sets
* Manage Roles
* View all Profiles
* View all Users
* View Roles and Role Hierarchy
* View Setup and Configuration
The Opal integration will be prohibited from assigning any profile with the **Modify All Data** permission (e.g. System Administrator) unless it also has that permission, so enable **Modify All Data**.
* Modify All Data
4. In **Setup > Administration > Users > Users**, create a new user. Select the **Salesforce** User License and the **Opal Integration** profile you created. You must use a real email address to complete account activation; save the username. Note that the username and email address can differ, but we advise using the same value. Finally, set all other the required fields to any values; e.g., set Last Name to **Opal**.
5. Open the account activation email and set a long, 32+ random character password—think of this as an API key. For the security question, choose a different long 32+ random character random value. Save the password.
6. Log in to the service account and click the user profile avatar in the top right of the page. Copy the Salesforce hostname listed in the dropdown, and save it.
## 3. Add your credentials in Opal
After you create the service account, go back to Opal and input the user's credentials and the required fields using the values you saved in the previous steps.
***